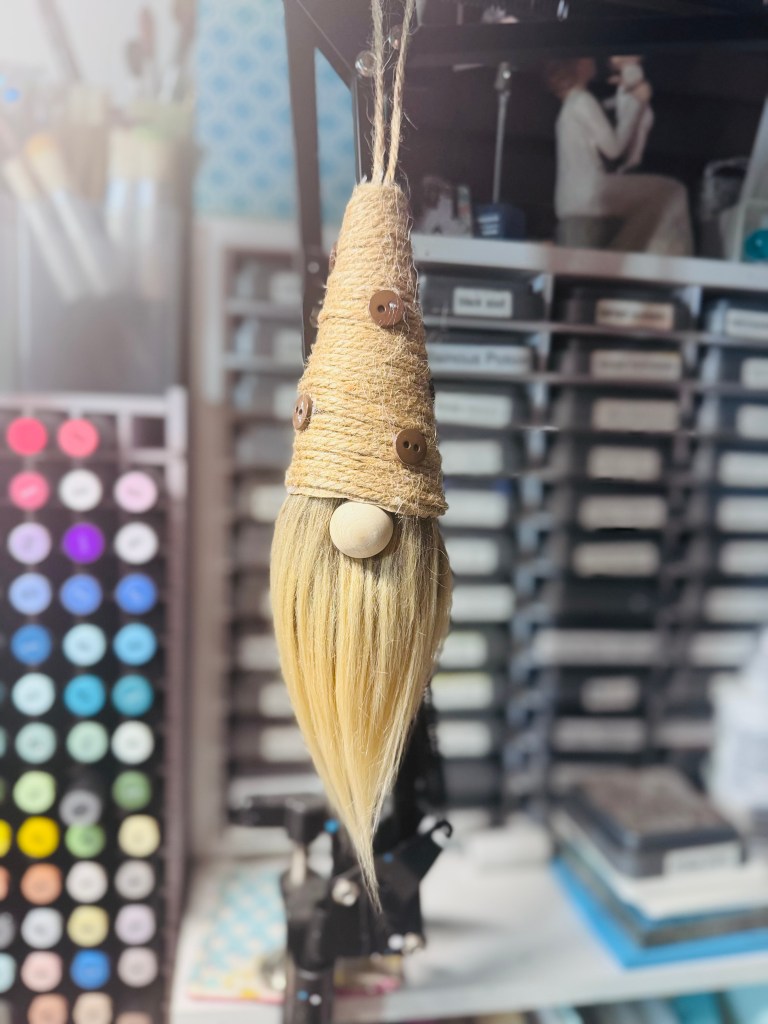
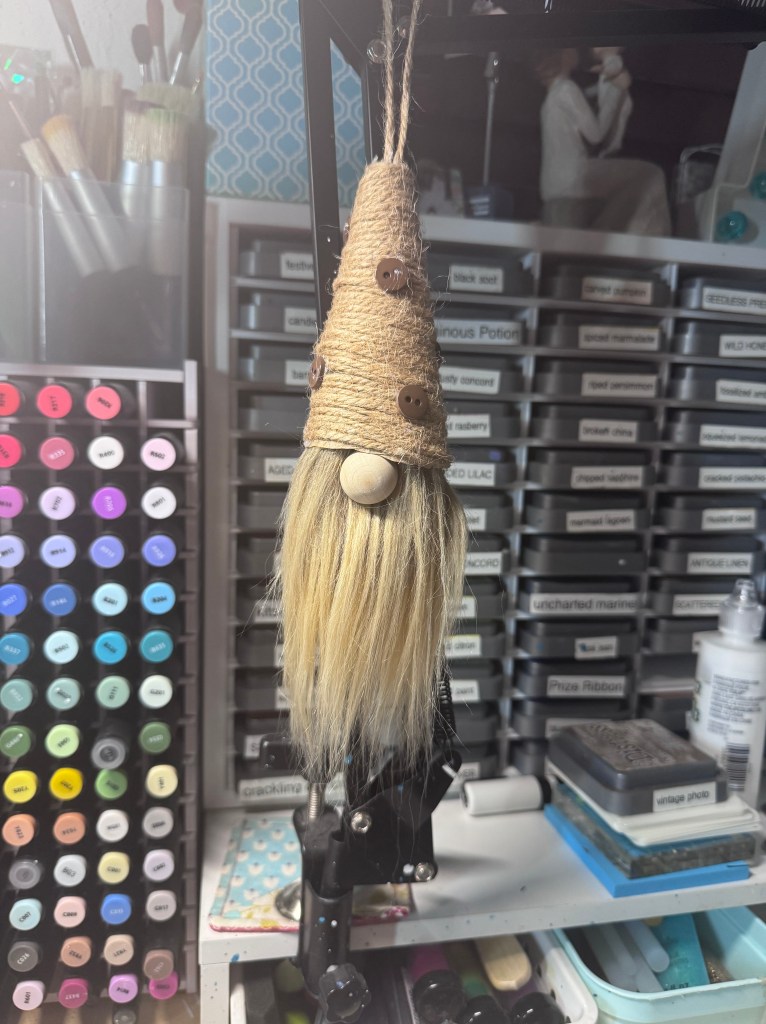
Hello my crafty friends! Hope everyone is well and doing great this evening. I just got done working on another Gnome, I love the way it came out, so I’m sharing with you guys. I hope you try making one like this cute gnome. It was very simple and easy. Let me know what you think about this little Gnome.


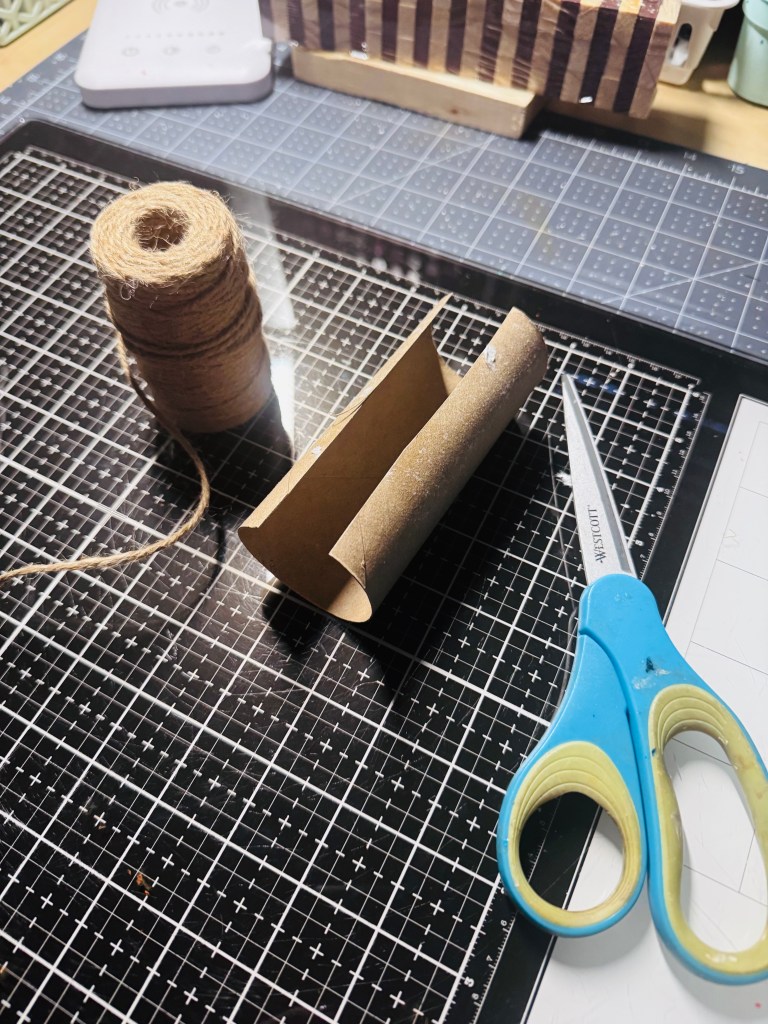

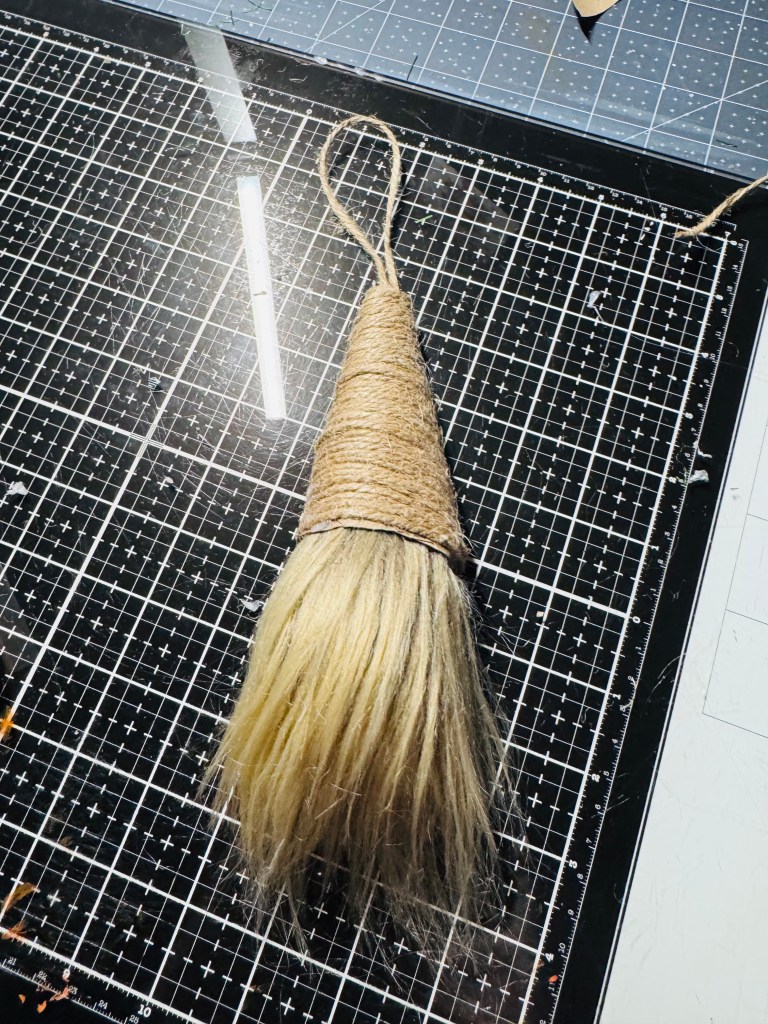
All I did was take a toilet paper roll cut it down the middle and shaped it like a cone then hot glued the tip of it together and cut the bottom of it to make it even for the hat.
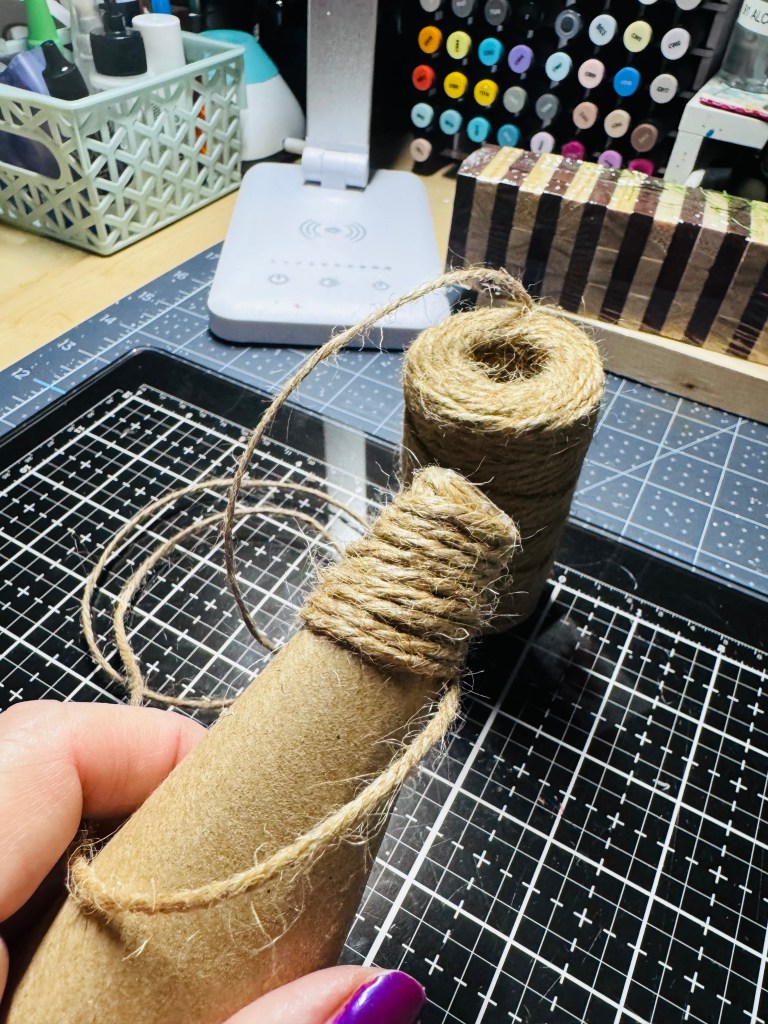
Then I took some twine that I had in my stash and my hot glue gun and started wrapping it around the hat. Glued it here and there till I got to the bottom of the hat.
After that, I took another string put hot glue on it and put it on the top so it can hang.
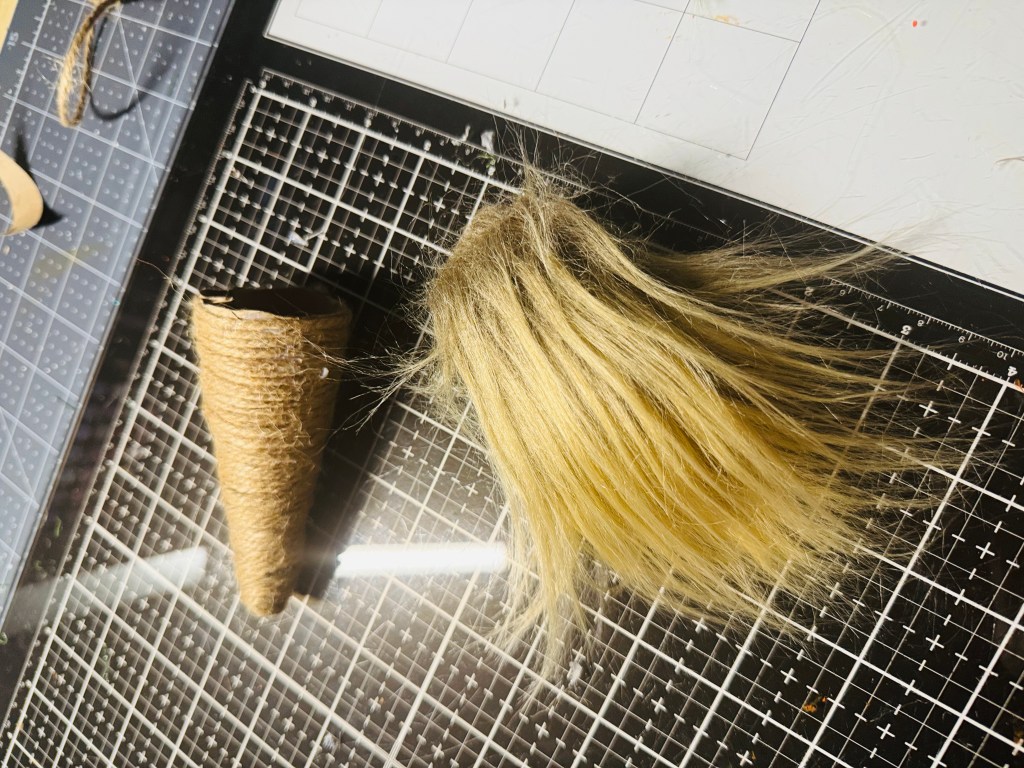
Then I took Tatue doll rugs cut it for the size I needed. Then hot glue it under the hat, then added the nose to it after that. I purchase the Tatuo from Amazon. Then I some cute buttons on his hat. It came out really cute.
Thank you for checking out my blog. And have a blessed evening.
Simplycraftydesigns.com By Annalicia Spannaus


Recent Comments