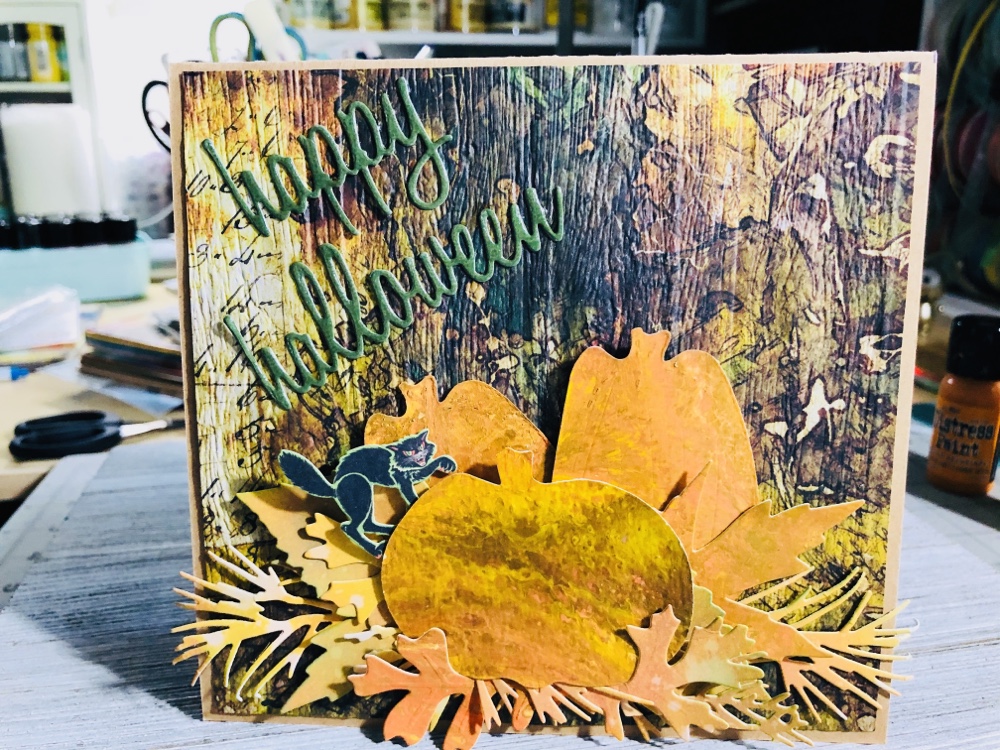
Hello my crafty friends! Yesterday I made this cute Halloween card with Tim Holtz products. Last year Tim Holtz came out with the Jolly St. Nick thinlits. And I fell in love with it. So last year I made a Halloween card with it. It posted of Oct. 2019 if you want to check it out. I told myself that each year I was going to make another one using Jolly St. Nick. So I did yesterday and it came out cute. I’ll list everything for you guys down below. Hope you like and if you do please let me know.
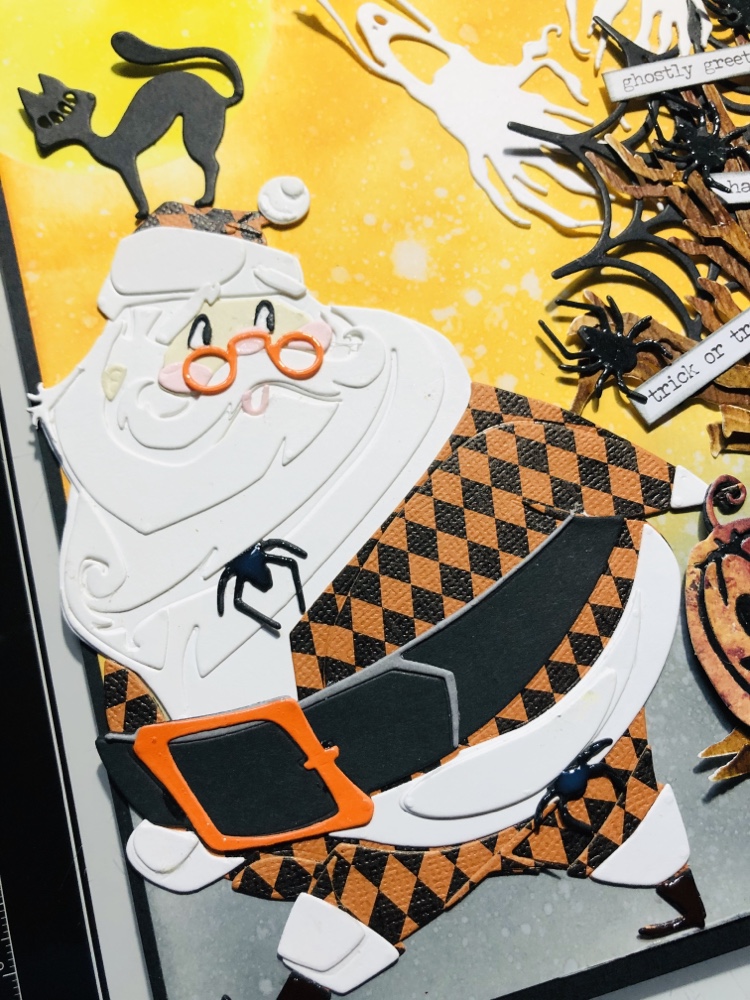
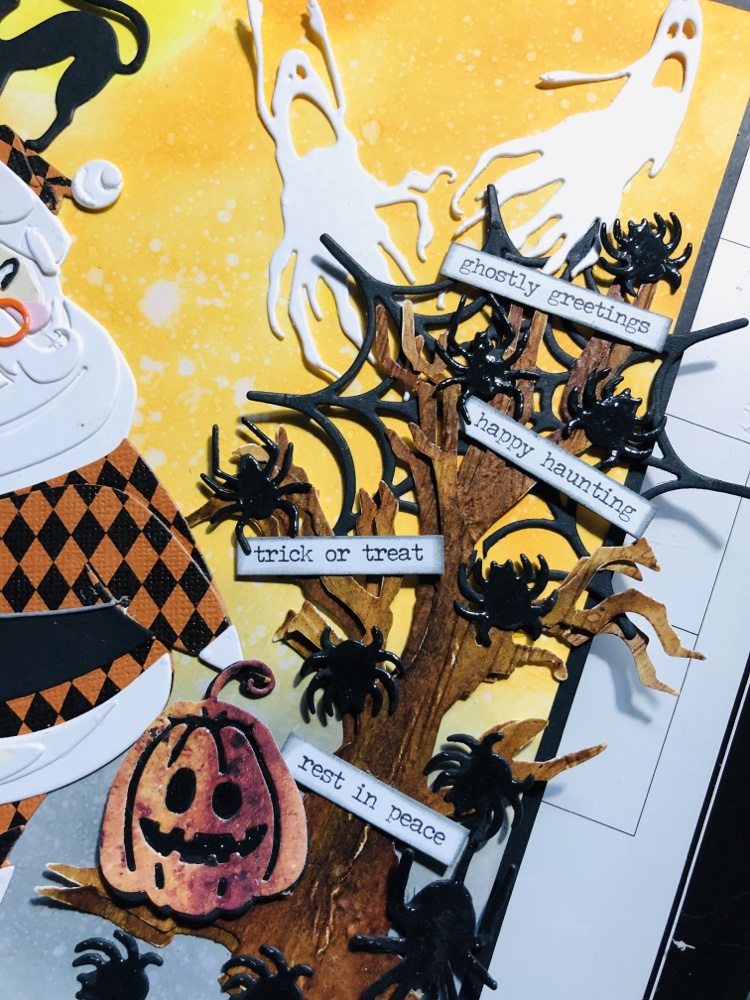
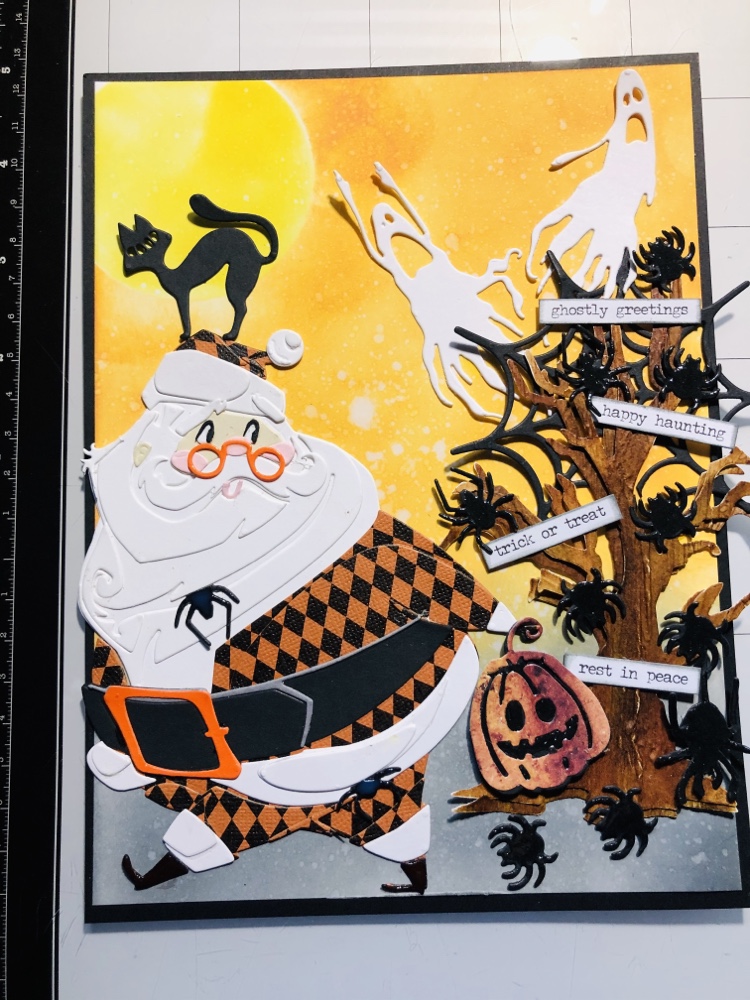
Jolly St. NickLoving the spiders coming out of his beard and jacket. Loving the spiders in the tree, ghost flying away and Jolly St. Nick carrying his pumpkin.
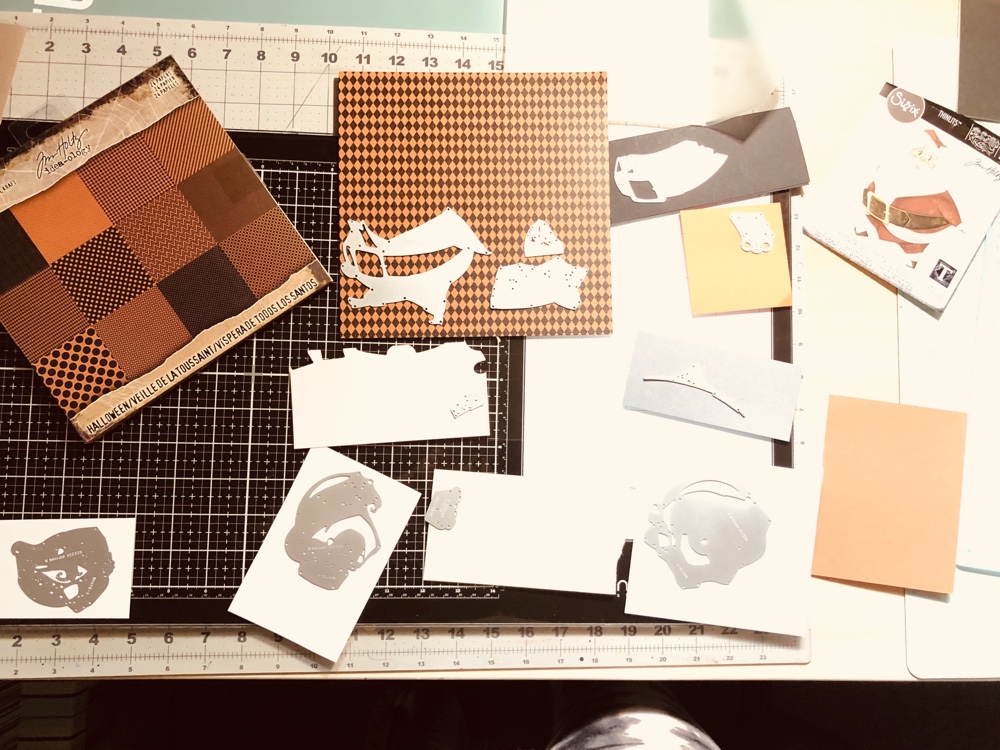
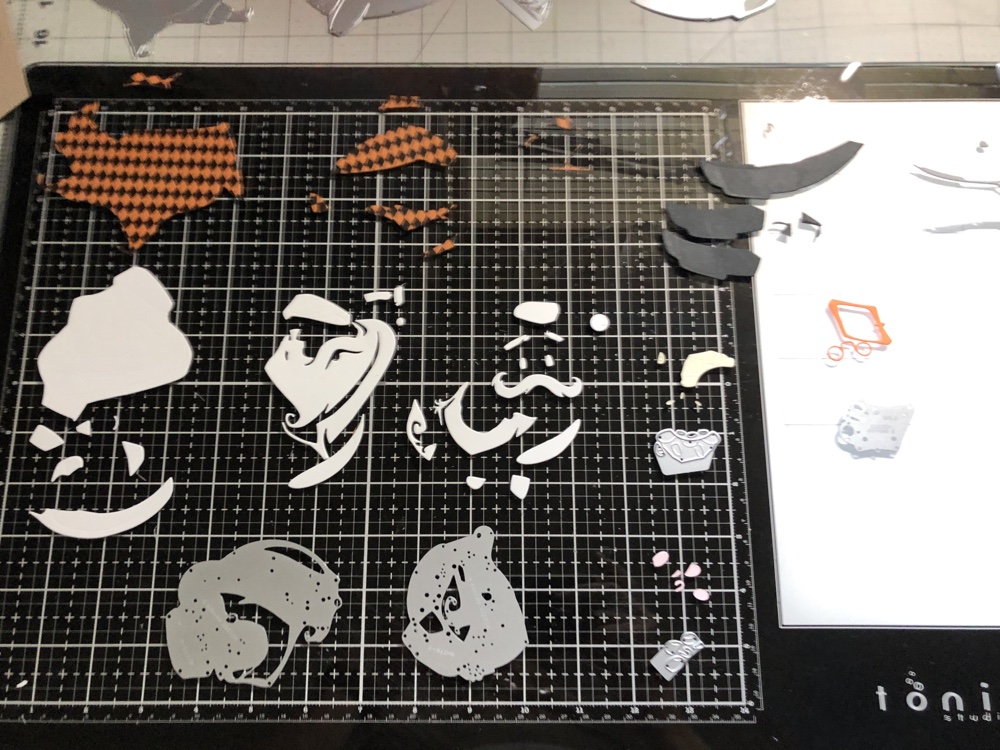
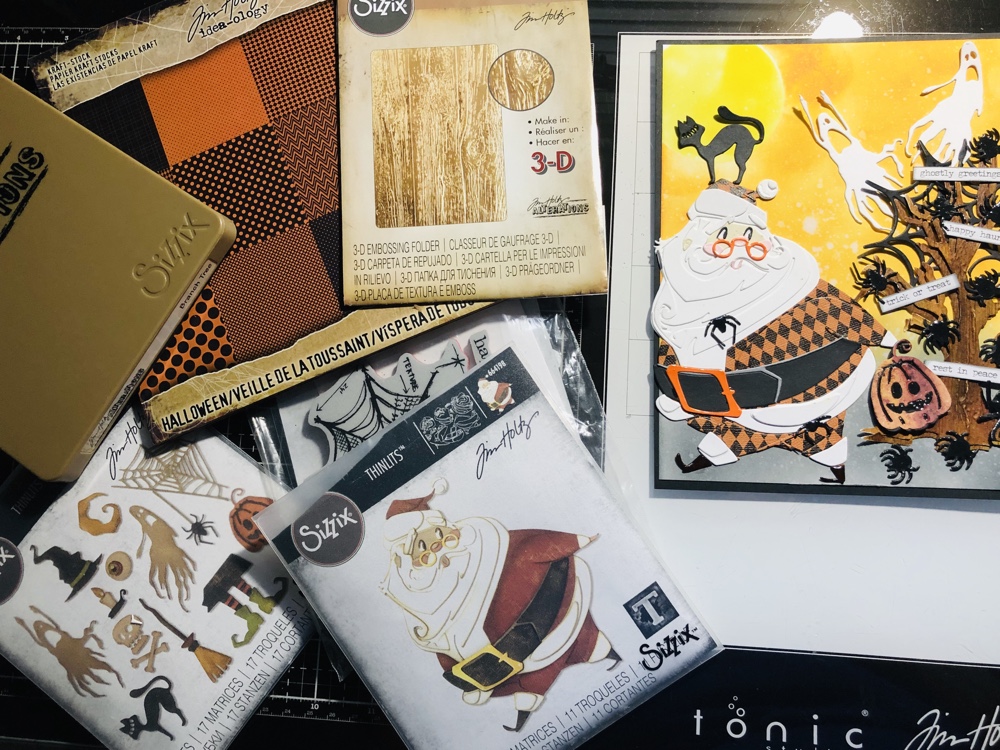
Keep it simple, lay out your Tim Holtz Halloween Kraft-stock and Jolly St. Nick Thinlits first. Then start cutting them out and also it important to keep each piece together.
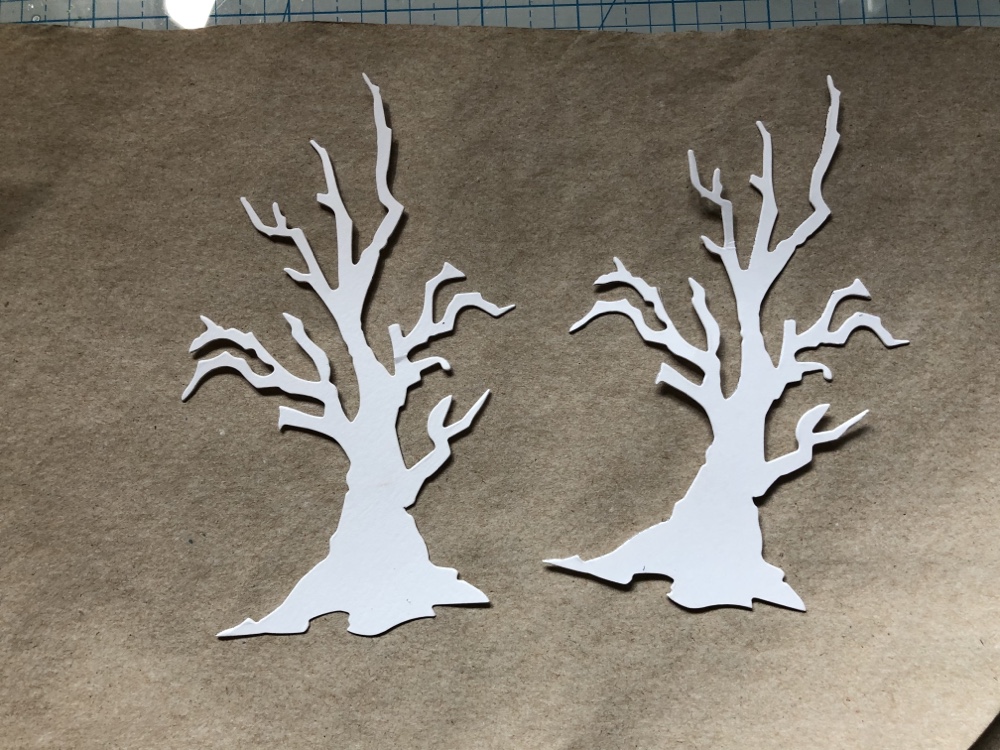
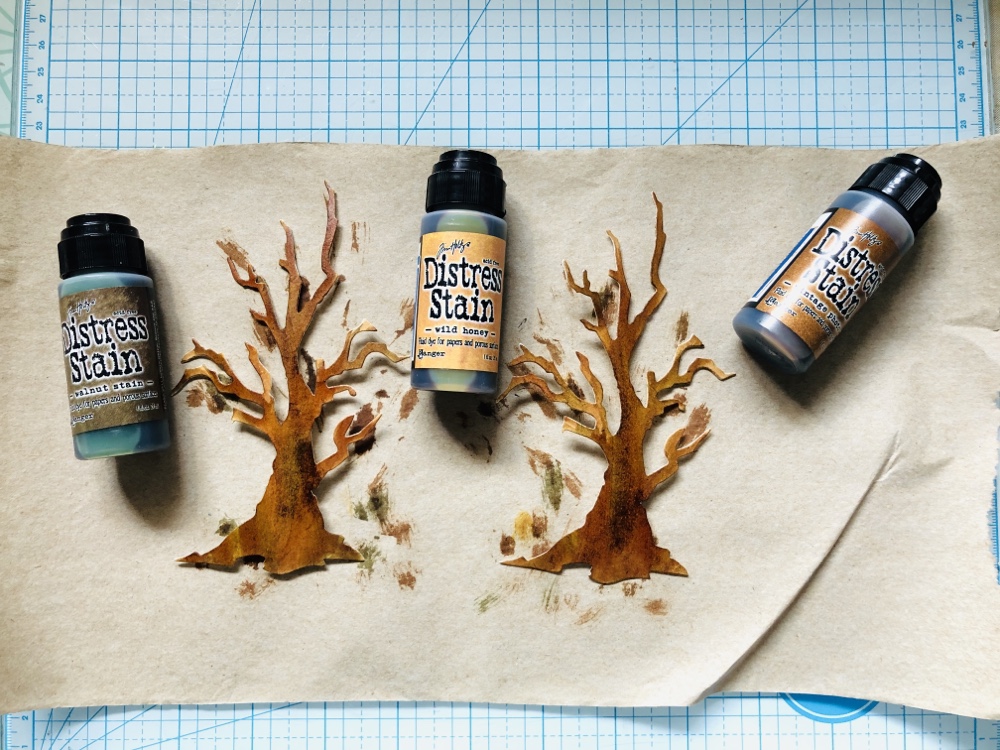
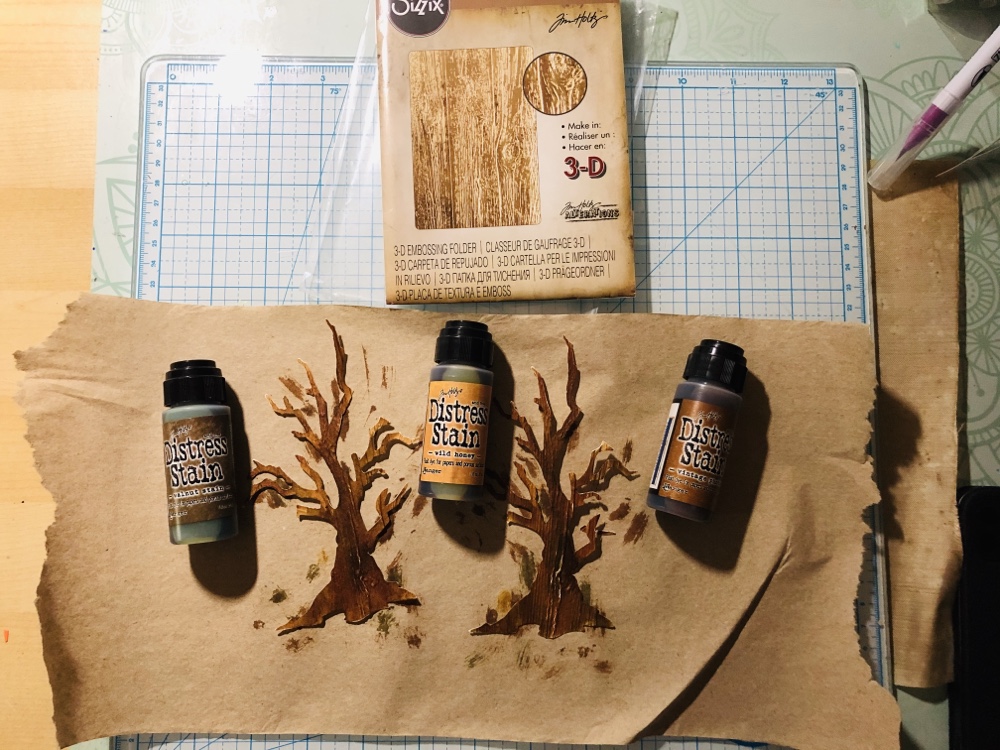
Next I used Tim Holtz watercolor paper and TH alterations big die call (branch tree). Then took distress stain ( vintage photo, walnut stain and wild honey) painted the trees. Let dry before using TH 3-D texture fade (lumber) #662718. Plus as you can see I cut out two tress because I wanted the tree to have dimensions to it.
Next working on my background I took Tim Holtz watercolor paper and distress oxides ( hickory smoke, black soot, carved pumpkin, mustard seed and squeezed lemonade). Blended the colors together. Also die cut a circle to use for the moon. Took a water brush and splatters water over the water color paper and took a paper towel and tap dry. Cut out my spiders, ghost, cat and pumpkin using Tim Holtz Frightful Things Thinlits #664209. Used ranger glossy accents over the spiders, pumpkin and jolly St. nick eye glass piece and belt buckle. Took Tim Holtz small talk stickers occasions and distress oxide black soot to give it a little shade. The web came from an old set of Tim hotlz stamp and die I had. Sorry don’t know the name or number. But you can used his new out there.
Everything I used is here…..If you have any questions please let me know. Have a wonderful day.
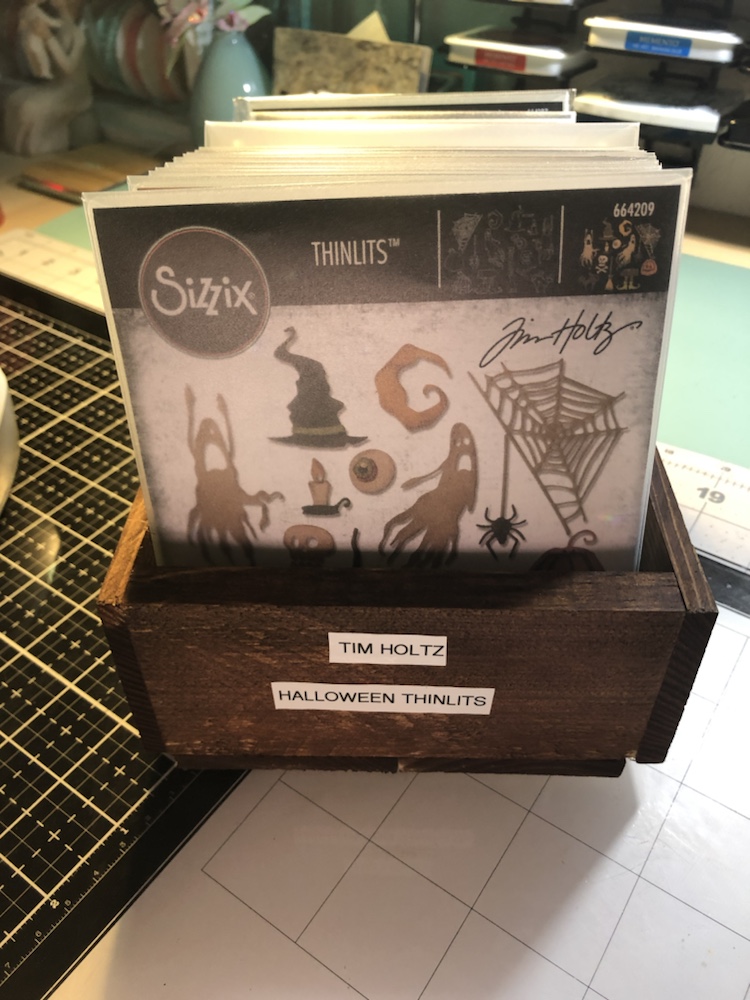
Hello my crafty friends! Hope everyone is waking up to a beautiful morning. I woke up this morning thinking how can I organize my Tim Holtz Halloween thinlits. I remember I had this old wooden box that my father made me when he was working for a lumber company. So I went into my craft room and got busy.
I used Tim Holtz Distress Stains: walnut stain and vintage photo. Very simple and very easy. I cover the box 4 times with the stains. Until I got the look I wanted. I let dry in between applications. I used my P-touch to make my labels and then I was all done. Simple and sweet. I’m working on another one for my Tim Holtz Christmas Thinlits.
Thank you for checking out my blog. Have a wonderful day.
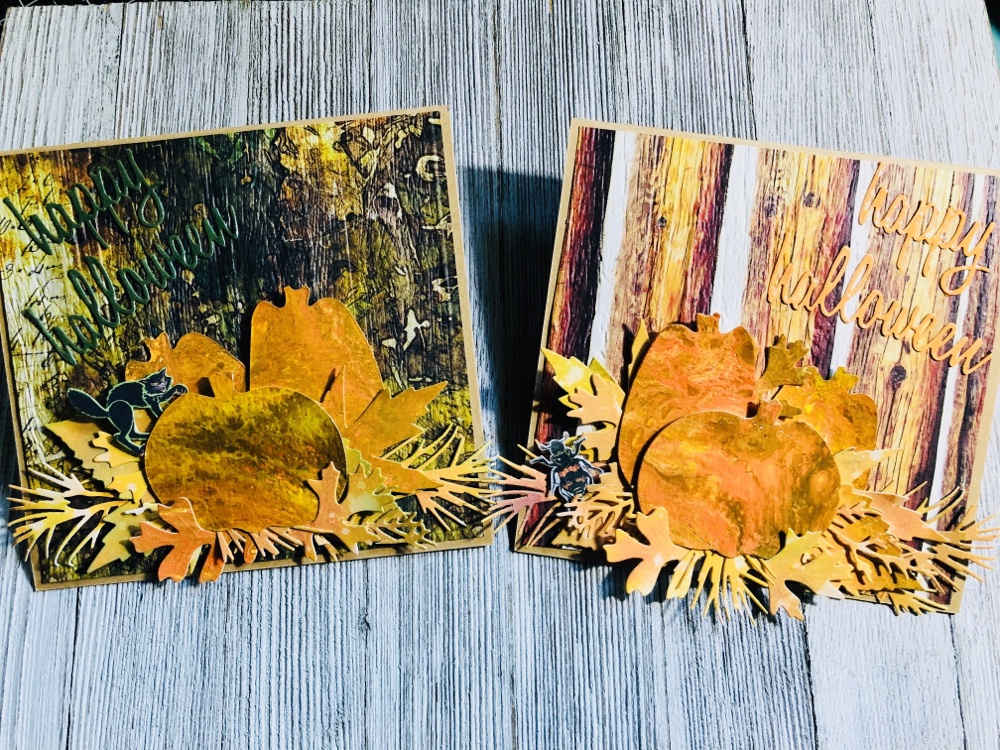
Hello my crafty friends! Today I decided to make my first two Fall/ Halloween Cards. And I must say there’s a lot going on in theses two cards. I used a lot of my favorite Tim Holtz products. Which I list down bellow. And share some of my thought and ideas. Hope you like them and if you please let me know.
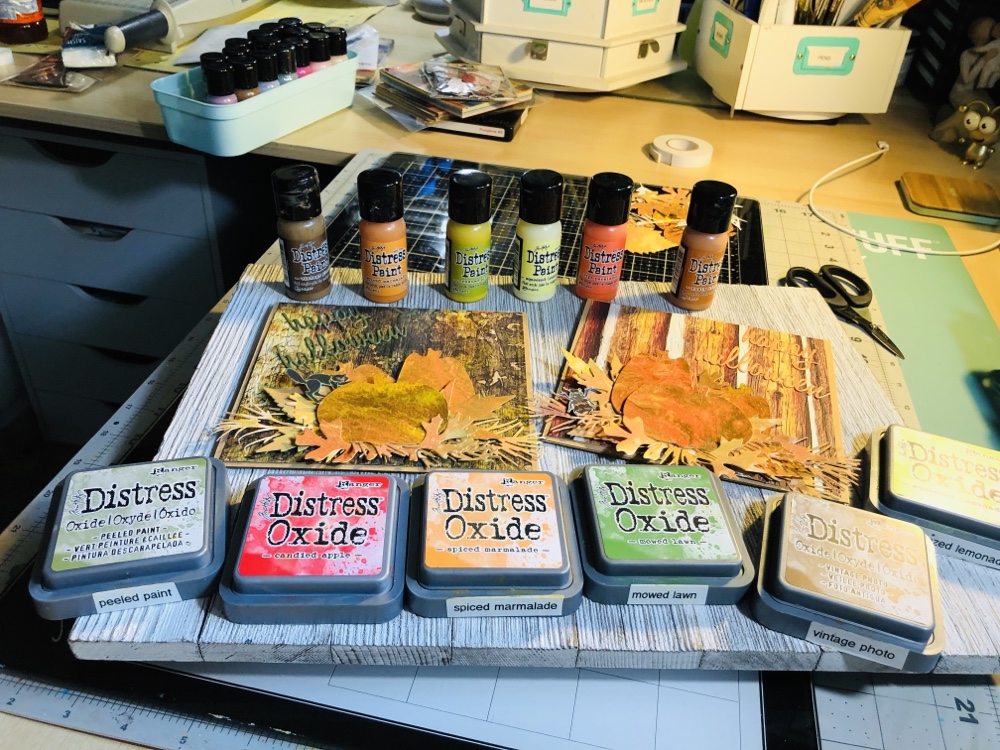
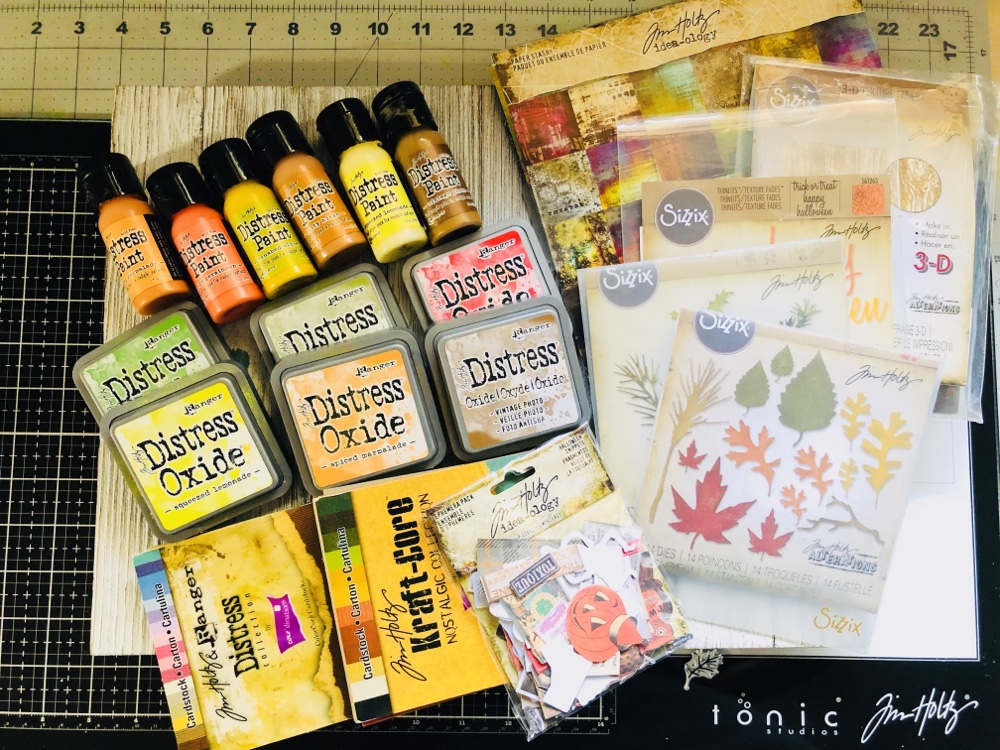
Picture of all the Tim Holtz products I used to make my cards.
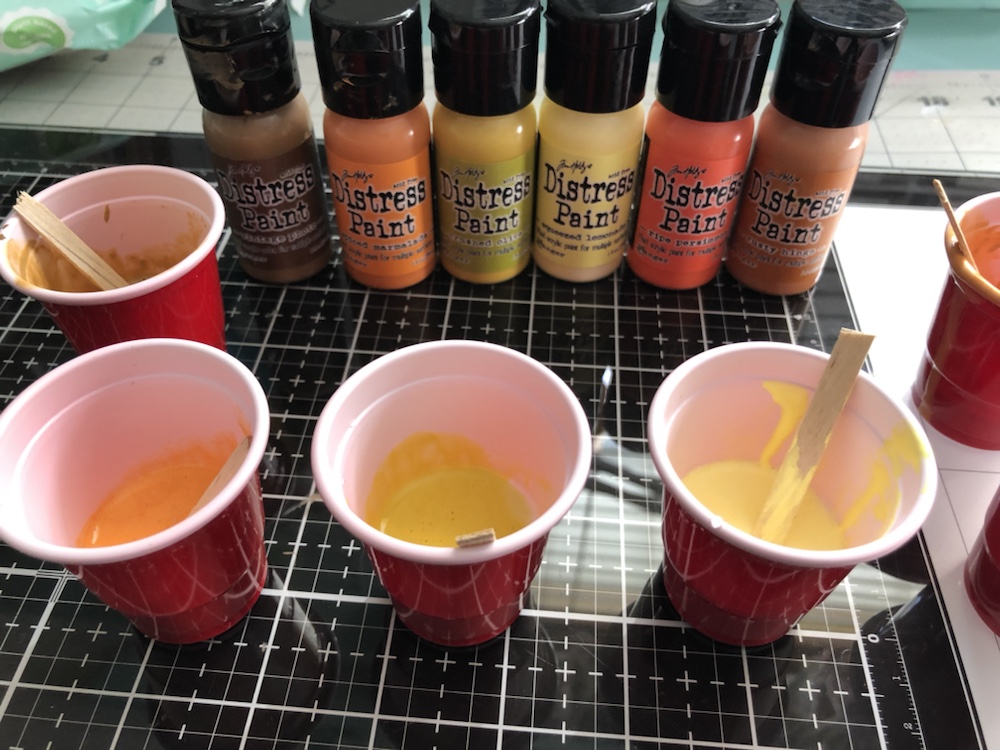
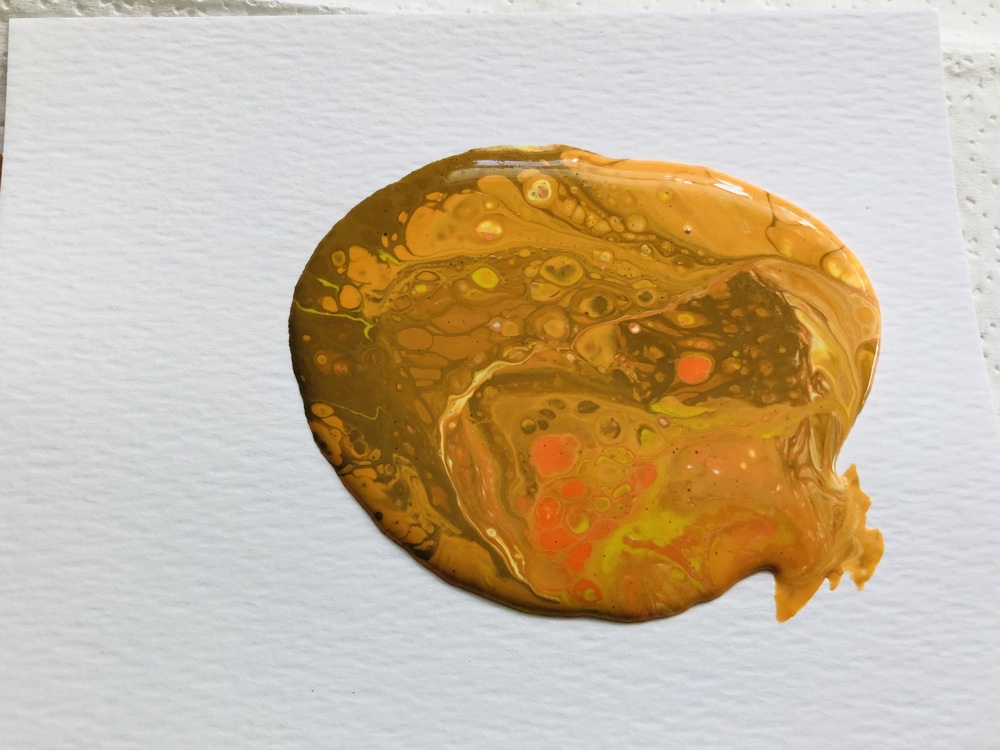
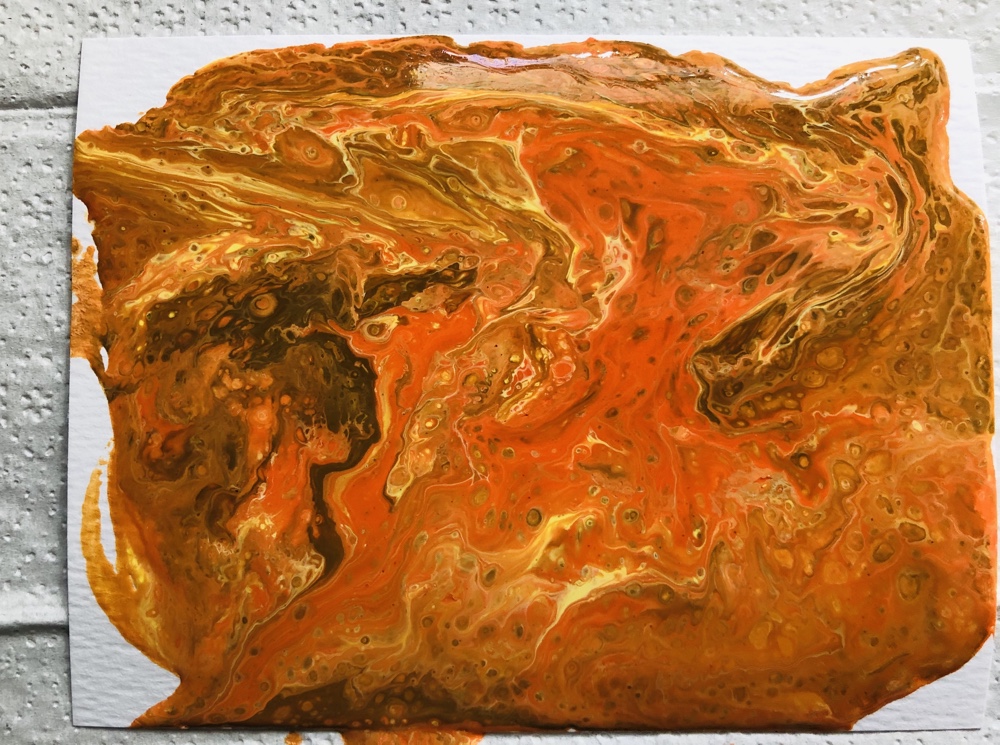
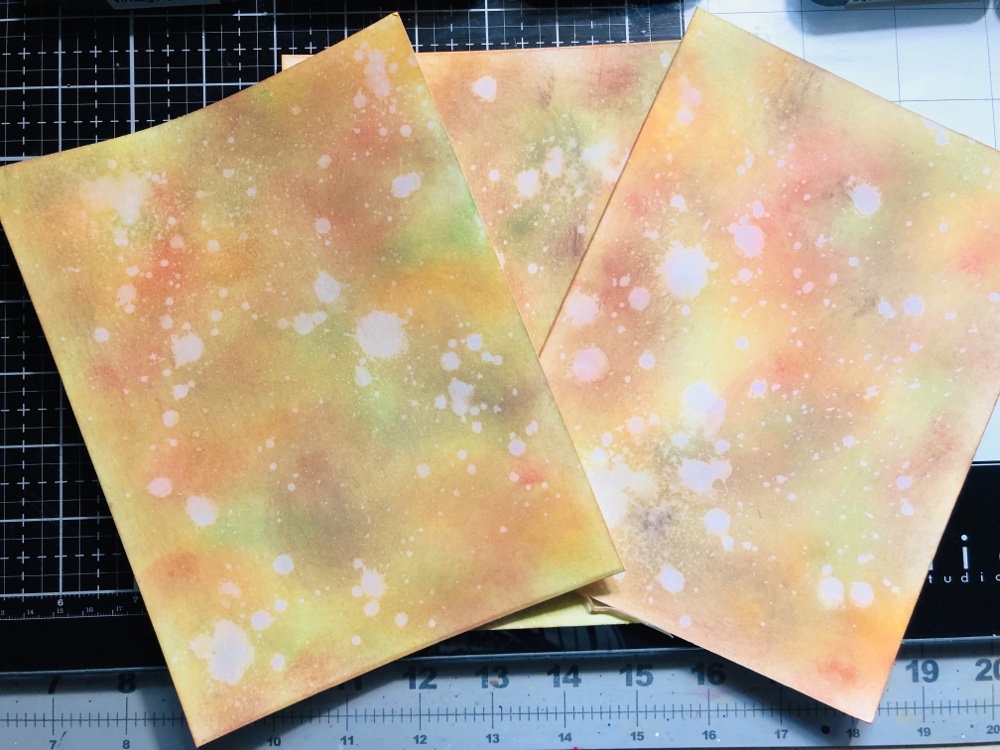
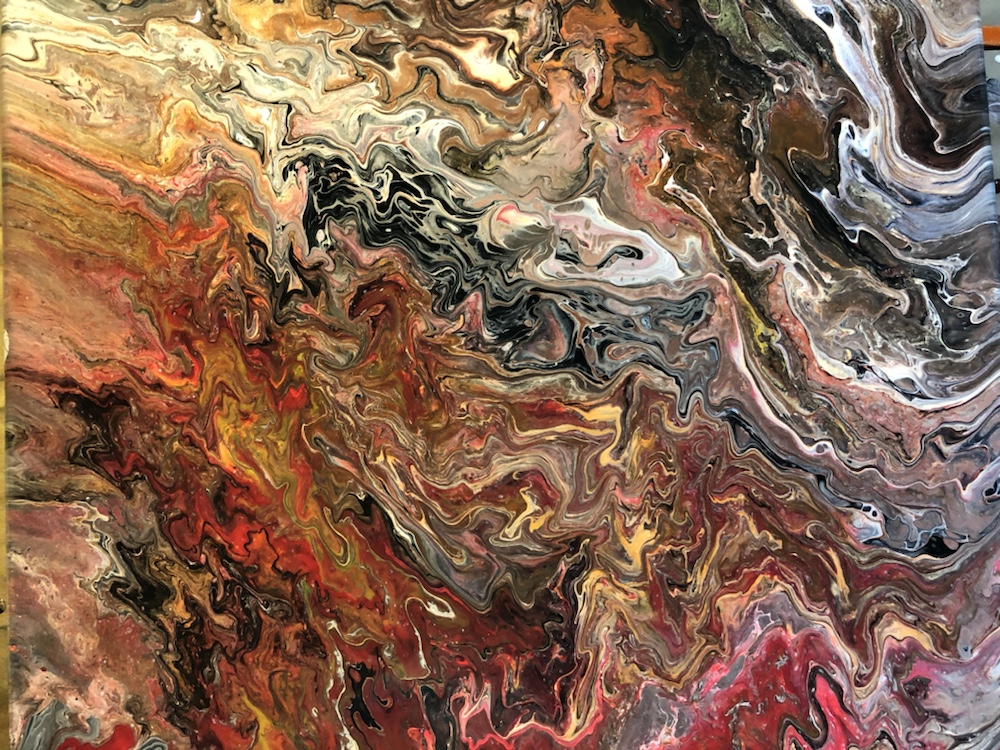
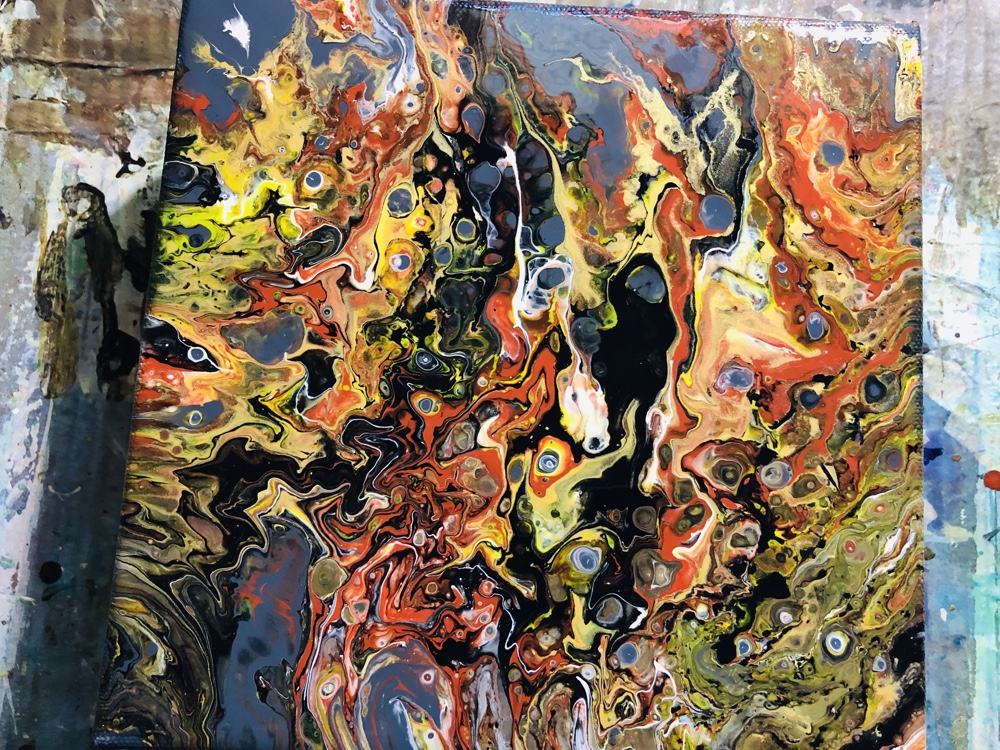
I took Tim Holtz Distress Paints fluid acrylics and mix them in a cup, add a medium and mix well. Then pour into a cup and flip over on to his water color paper. Colors are Tim Holtz distress paints spiced marmalade, ripe persimmon, rusty hinge, squeezed lemonade, vintage photo and crushed olive fluid acrylics. Moved the paint around side to side and up and down. Let dry for a few hours. I did this process three times on to Tim Holtz water color card stock.
H
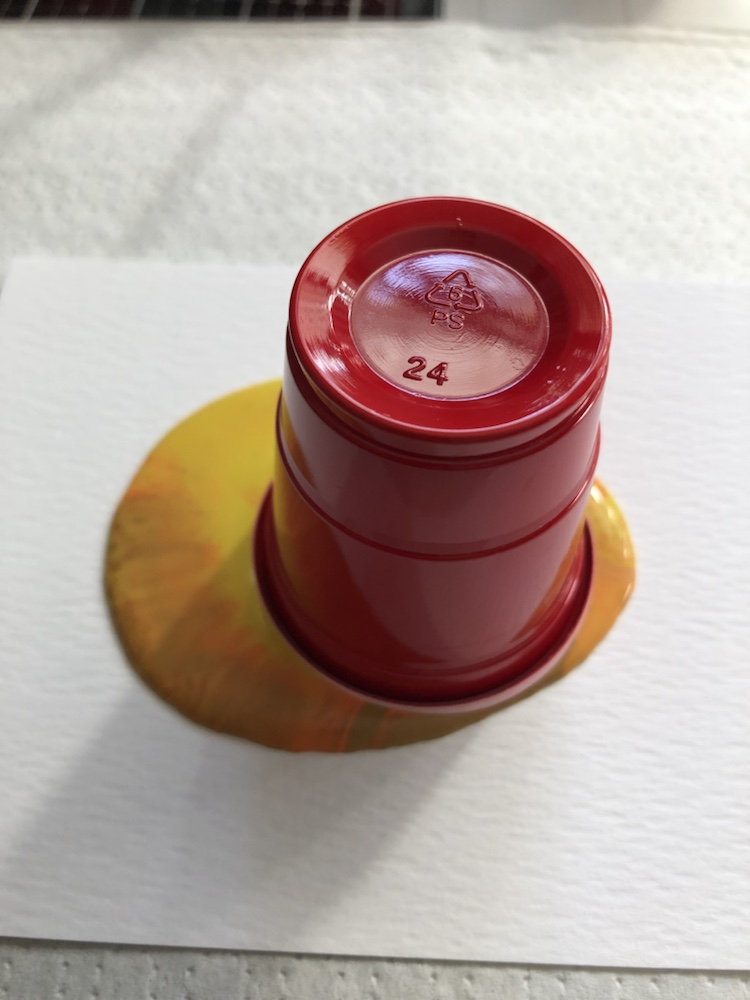
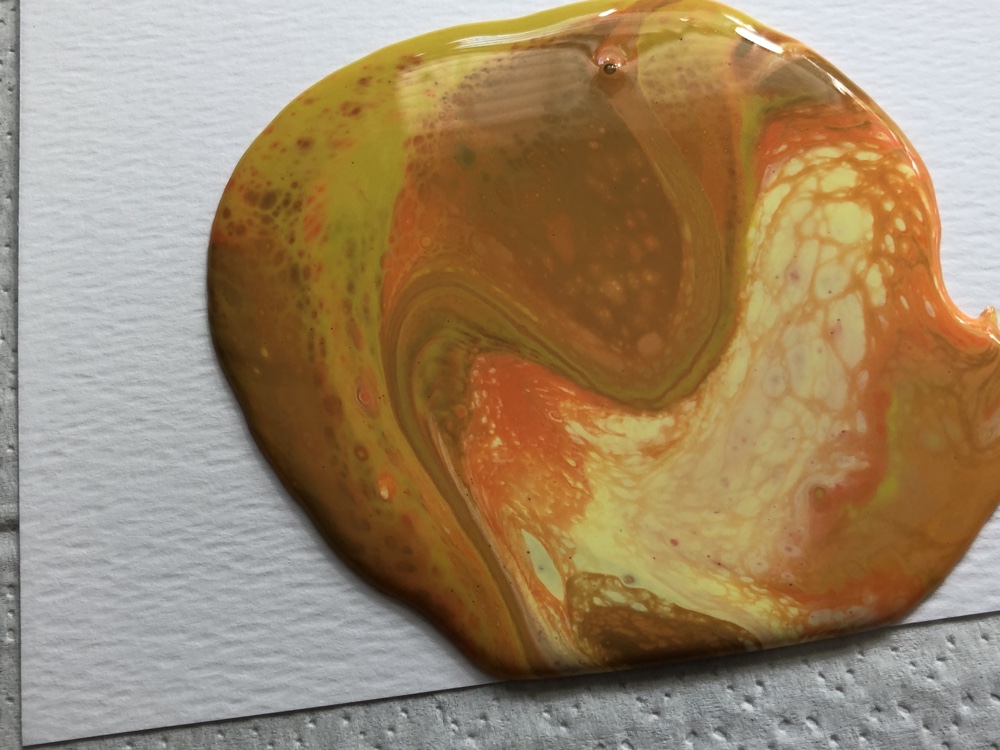
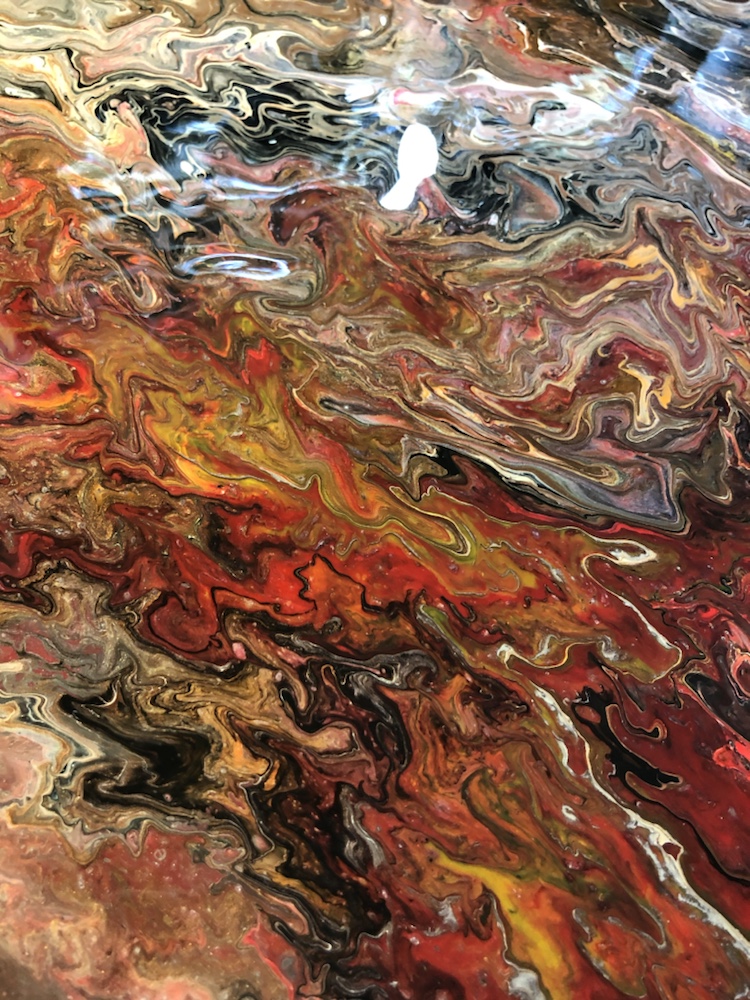
On this I used the same Tim Holtz distress paints, but did the pour in a open cup as you can see. Again just move the paint around and let dry.
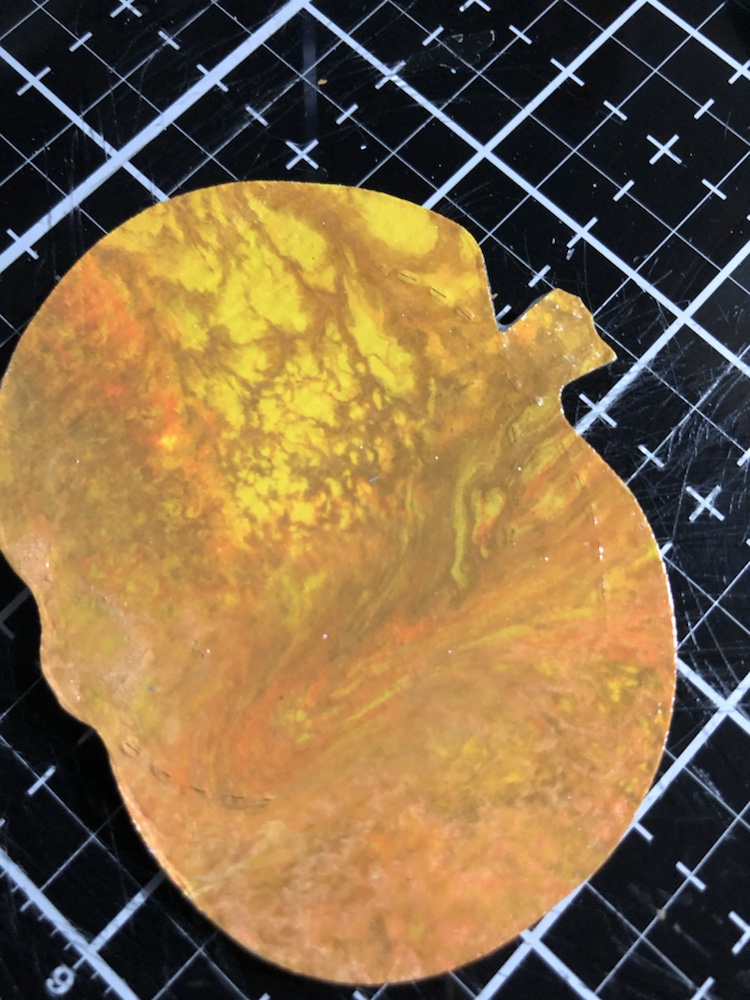
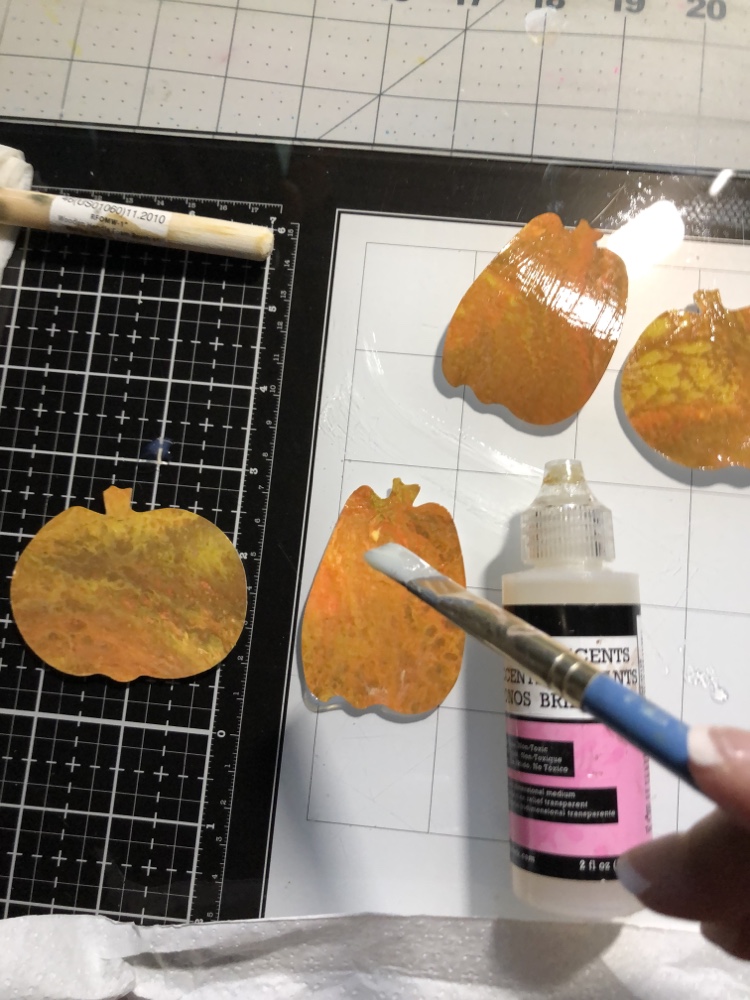
After my acrylics pours were dry, I used my Tim holtz Vangabond 2 and Sizzix die Pumpkins 2 and cut them out. Then brushed ranger glossy accents over the pumpkins. Let air dry.
Took Tim Holtz distress oxides squeezed lemonade, candie apple, spiced marmalade, peeled paint, mowed lawn and vintage photo. Blended them on water color paper and drip a little water and tapped it with a paper towel.
Took Tim Holtz Fall Foliage thinlits #660955 and Holiday greens # 658759 cut my leaves out for my card.
Remaining TH products I use are Paper stash Abandoned, TH Kraft-Core Nostalgic and distress collection core-donations. Also us TH happy Halloween/ trick or treat thinlits # 561263. Plus TH 3-D texture fades Lumber. And TH ephemera pack Halloween snippets.
Hope you like them, please let me know what you think. Have a wonderful day.
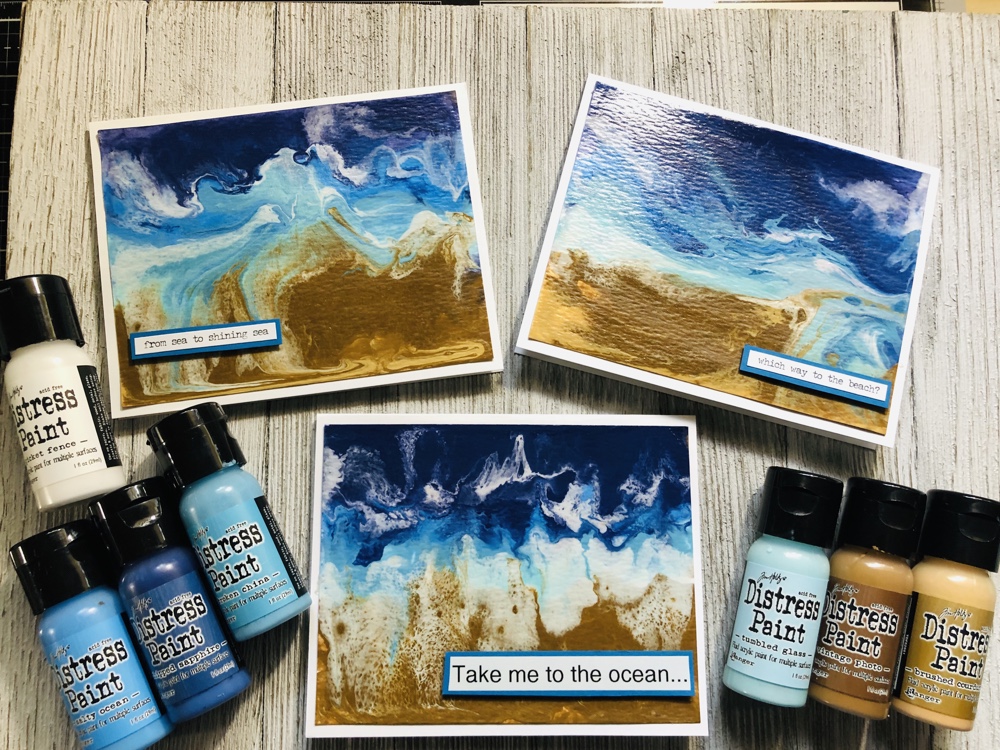
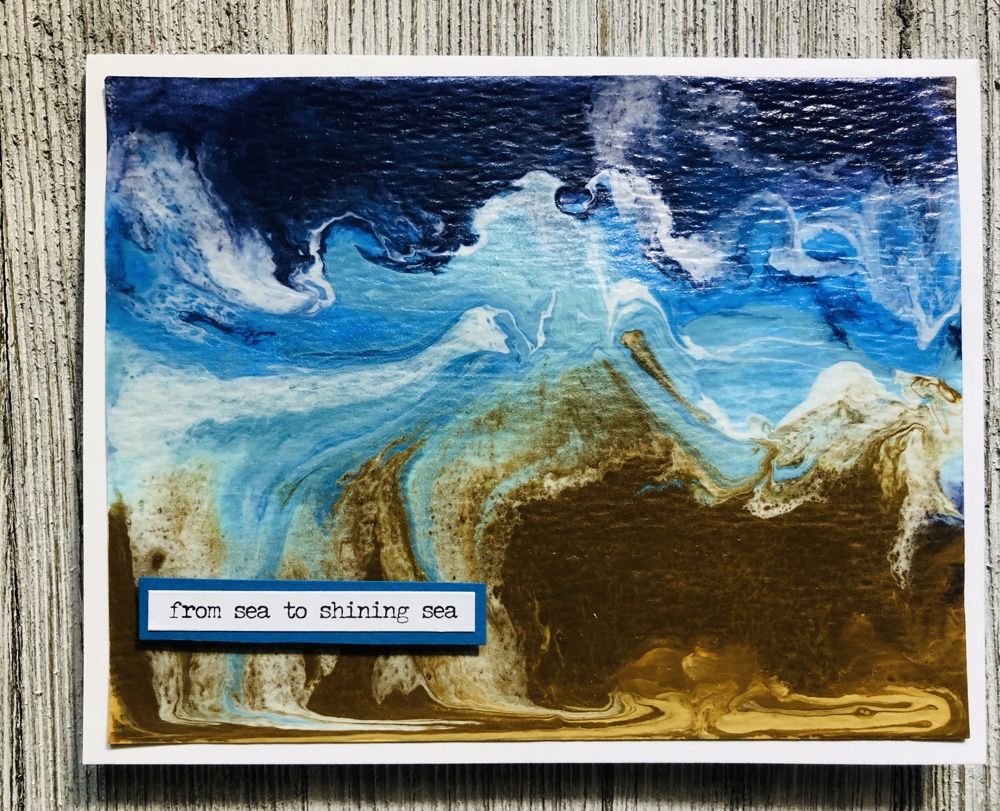
Hello my crafty friends! Lately I have been working on acrylic pours on canvas. So I thought I would try it with Tim Holtz distress paints and his watercolor paper and make cards. I’m loving they way they have came out. I’ll list products down below.
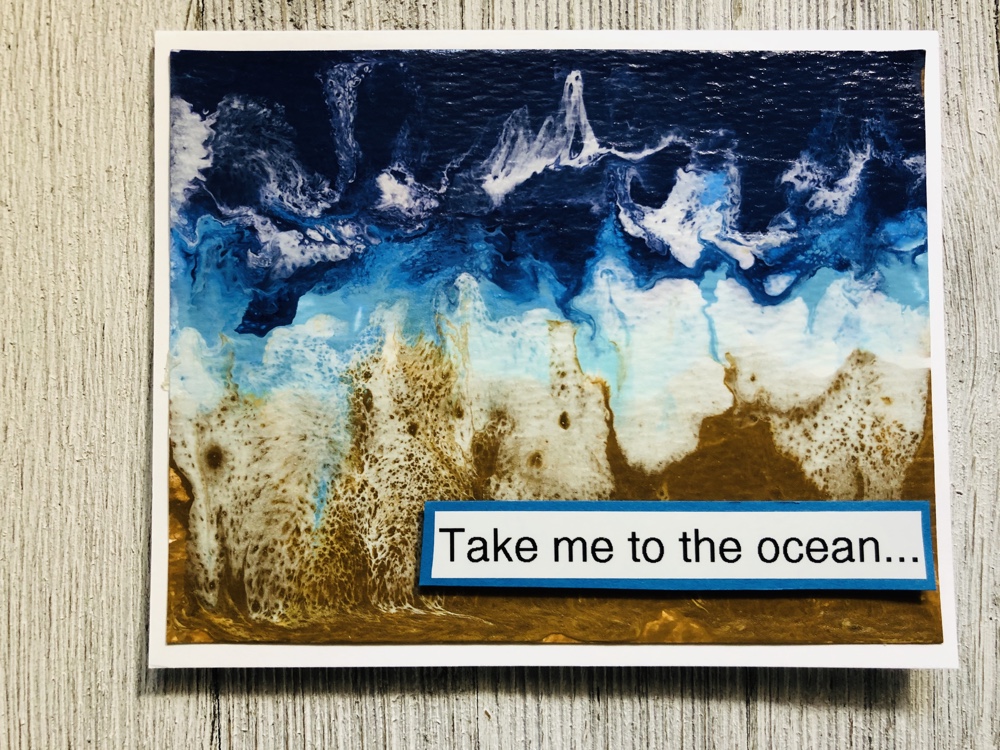
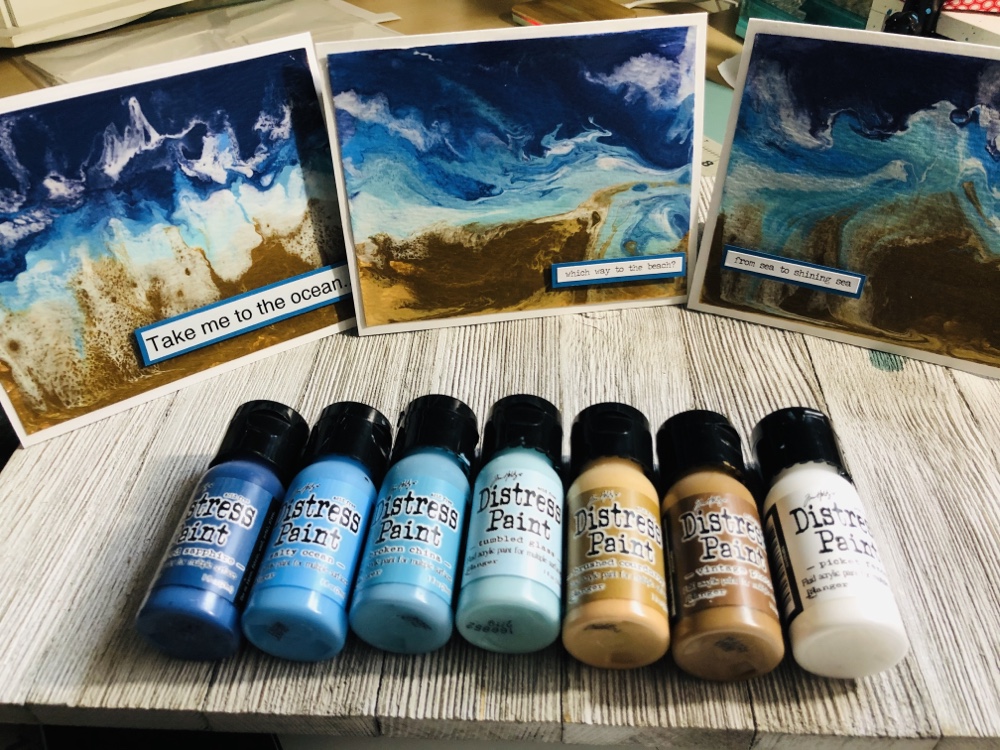
I made three: Take me to the ocean, which way to the beach? And from sea to shining sea…..
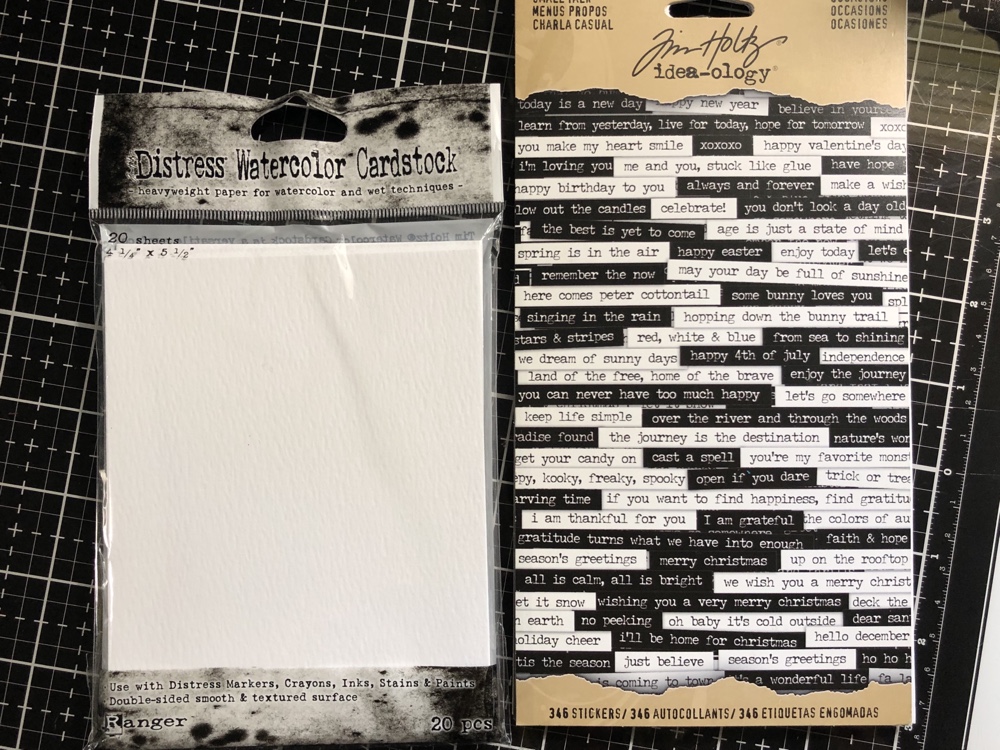
Products used: Tim Holtz distress paints ( fluid acrylics) picket fence, chipped sapphire, salty ocean, broken china, tumbled glass, brushed corduroy and vintage photo. Also Tim Holtz watercolor card stock heavy weight double- sided smooth & textured surface, 4 1/2 x 5 1/2. And used a metal straw to create the waves with picket fence. Let dry over night. Next day used Liquitex acrylic medium high gloss vanish to seal them. 110 white and blue card stock, TH small talk stickers and made one of my owe with my P-touch embellish.
Thank you for checking out my blog. If you like please let me know. Love to hear what you think….Have a beautiful day.
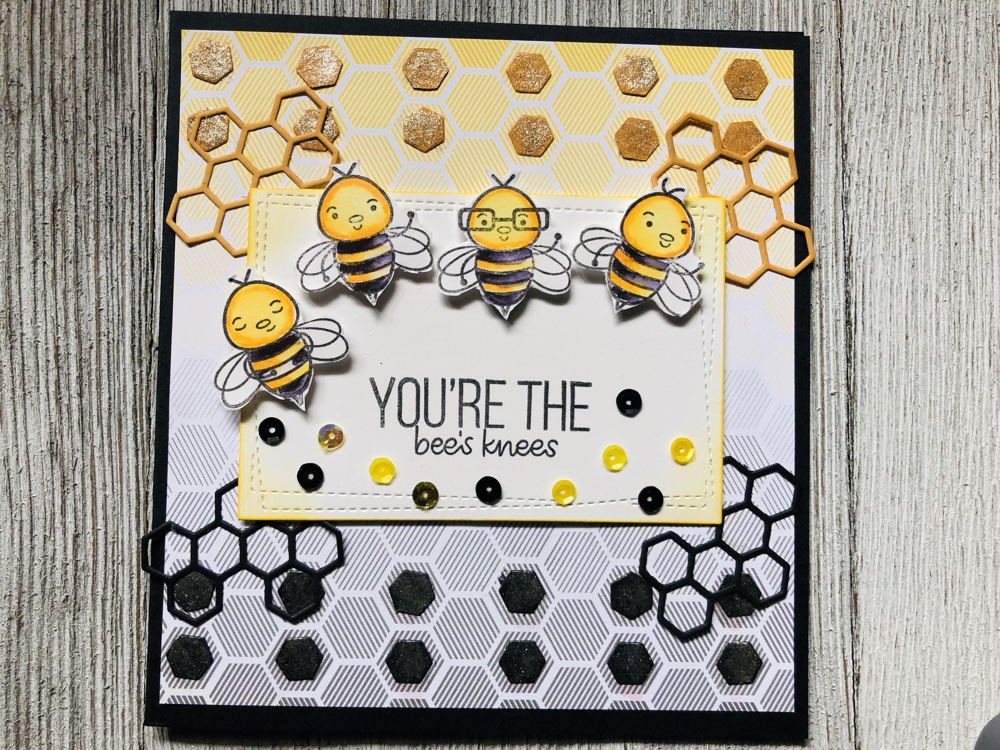
Hello my crafty friends! Hope all is well with everyone. Last Saturday I was with some of my crafty girlfriends. We meet once a month to get creative together and share ideas. I purchase this Simon Says Stamp! Kit awhile ago call Bee Yourself… So I decided to take this kit to our creative time and put a few of the cards together. So I’m sharing with you guy’s today. Hope you like them and I’ll list products down bellow.
This is the first card I made using the Simon Says Stamp! Kit The paper also came with the kit, it called The Bee’s Knees by Honey Bee Stamps, its double sided premium card stock 12 sheets 6×6. Simon Says Stamp! Called Bee Yourself #SSS201902. I used Tim Holtz Distress Oxide mustard seed and Archival Ink black soot. I stamp the Bee’s in Strathmore Mixed Media paper vellum surface, color with Kuretake Zig water colors pens #052 bright yellow, #051 lemon yellow. #010 black and then took a water brush to blend the colors. The kit also came with a little honeycomb die and gold, yellow and black sequins. I used the Memory Box inc wrapped stitch rectangles dies.
Second cards (BEE YOURSELF)
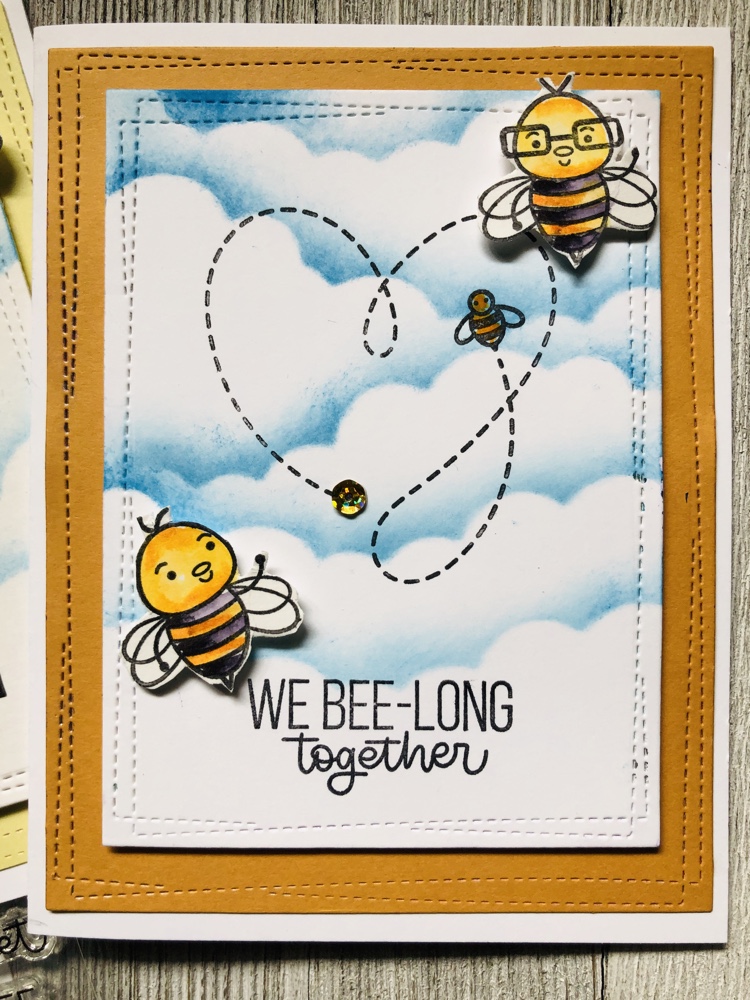
Here I used Tim Holtz distress oxide salty ocean and taylored expression (Cloud Border Die). The light yellow card stock came with the kit.
(WE BEE-Long Together) This dark yellow card stock came with the kits.
Thank you for checking out my blog. If you like my cards please let me know. Have a wonderful day.
Helllo my crafty friends! Today I decided to do another Acrylic pour but with a funnel. Loving the colors I pick out. This canvas one is going over my wine rack. I’ll list everything I used down below. I did do a tutorial on how I made this one. Just click on link below.
Artists Loft ready mix pour Orange, Deep Yellow, Old Gold and Crimson. Apple Barrel Acrylic Black, White, Chocolate Bar, which I mix with flood. Other acrylic are Folk Art Metallic Antique Copper,Champagne and light gold. Last one also used is Abeier acrylic gold.
Here’s a few more pictures to see…..
Thank you for checking out my blog and tutorial on FB. Have a wonderful day everyone.
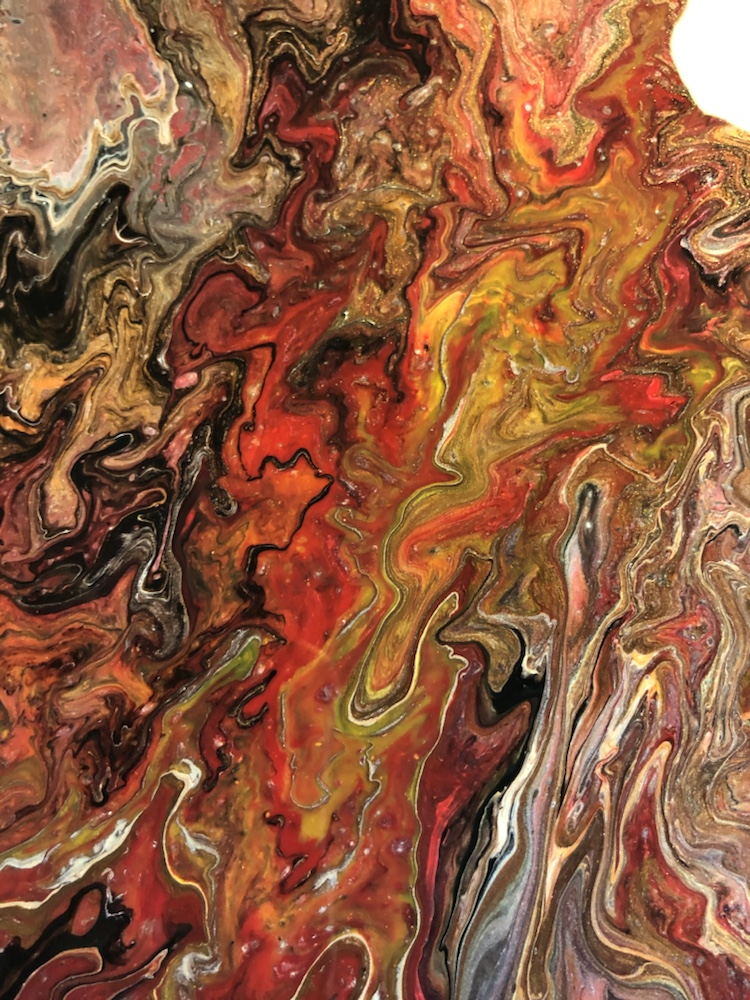
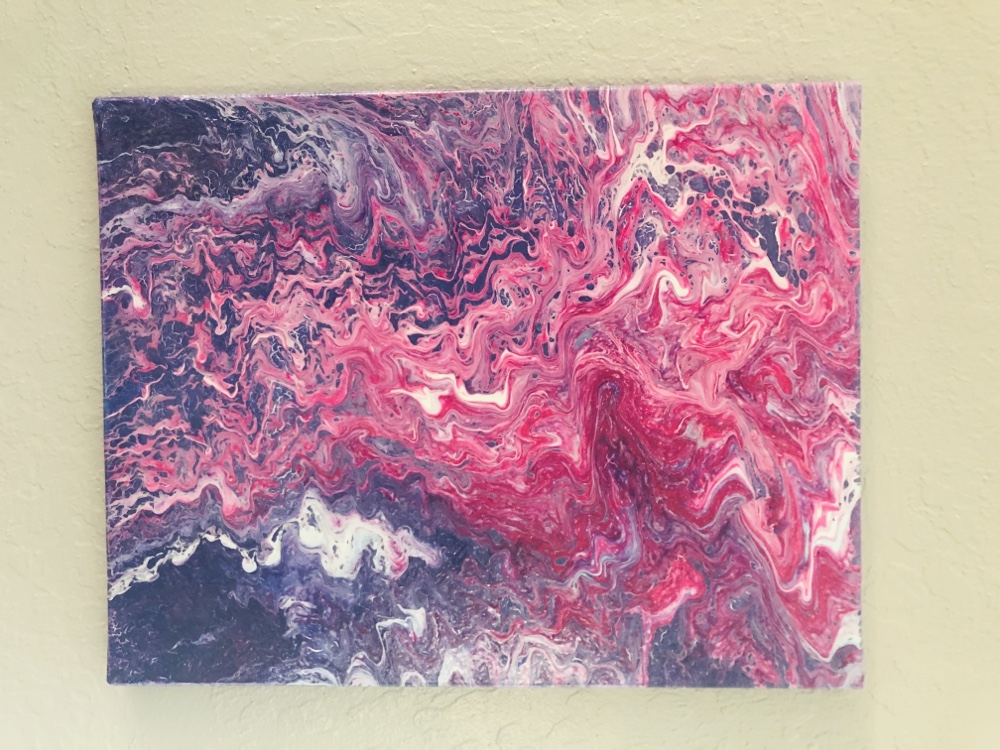
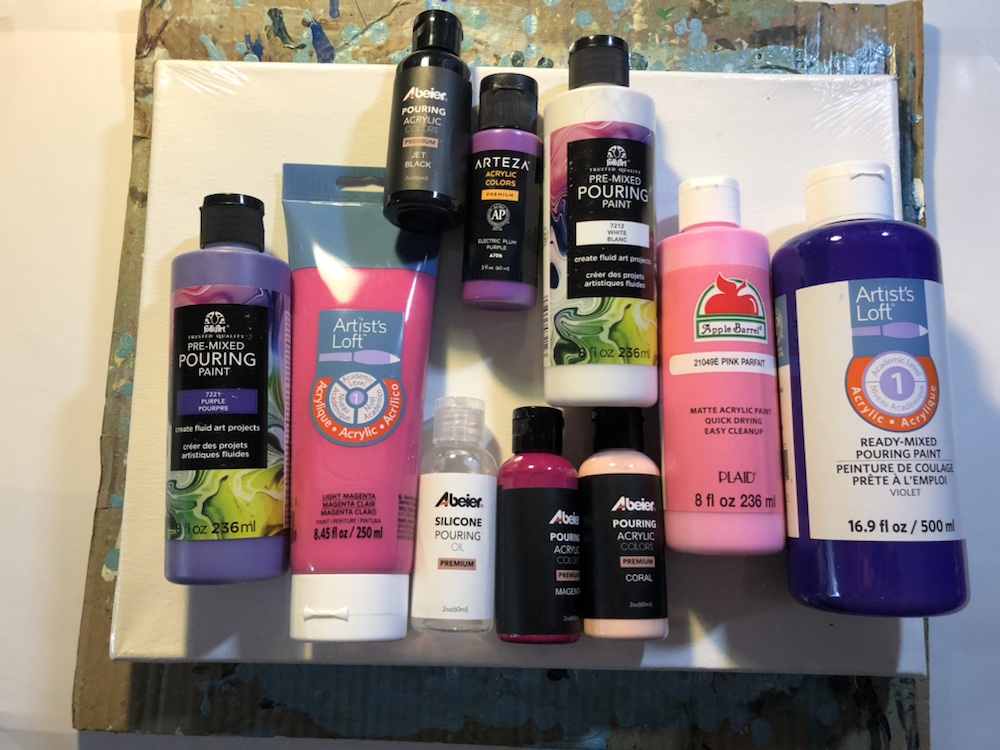
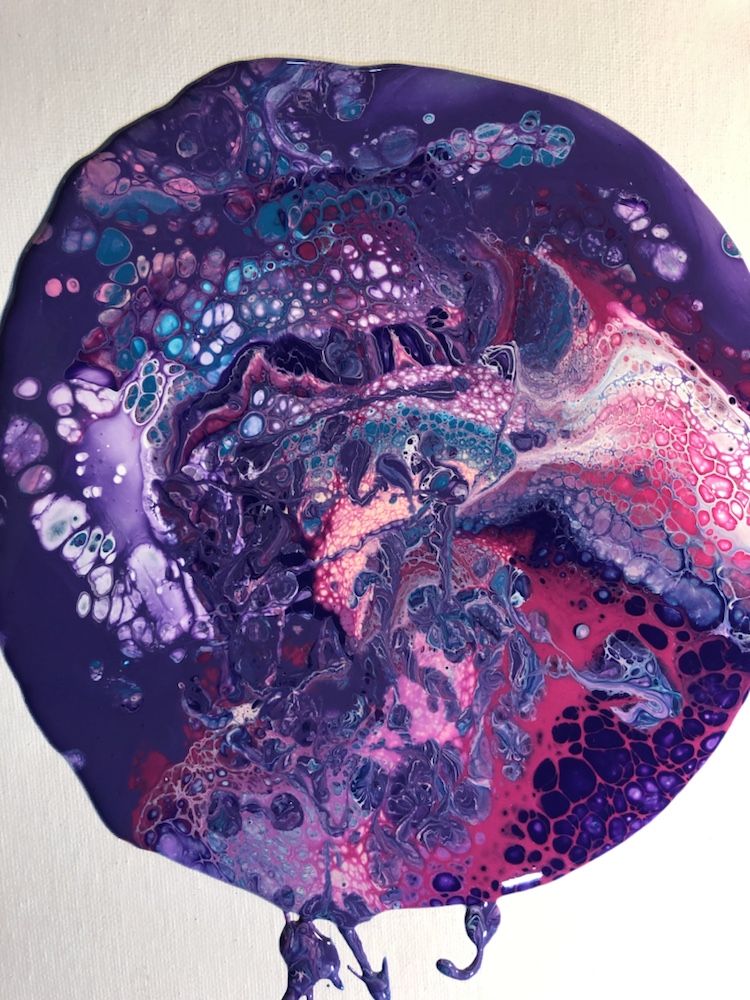
Hello my crafty friends! I been working on a couple of acrylic pouring paints on canvas for my great granddaughters room. I must say I love the colors that were pick out. I will post all the products I used down below.
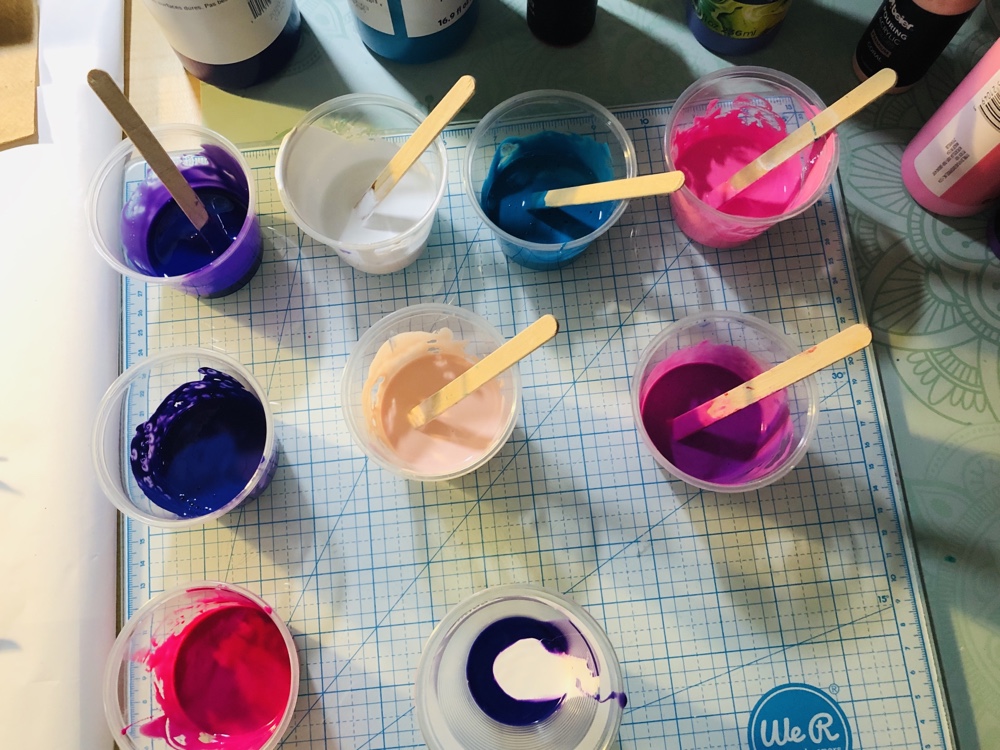
Acrylic paints: Artists Loft Light Magenta, Apple Barrel Pink Parfait, Arteza Electric Plum, Purple, Abeir Coral, Magenta, Folk-Art- pre-mixed Purple, Artists Loft pre-mixed acrylic Violet and Turquoise and white. Two drops of Abeir silicone in each cup.
Once your done pouring all your colors then take cup and flip on canvas. Wait for a couple of minutes then tap the the bottom of the cup and slowly lift up. Wait for a few seconds and take heat torch all around you pour. This creates more cells. Then just move canvas around and back and forward until you get the look you want.
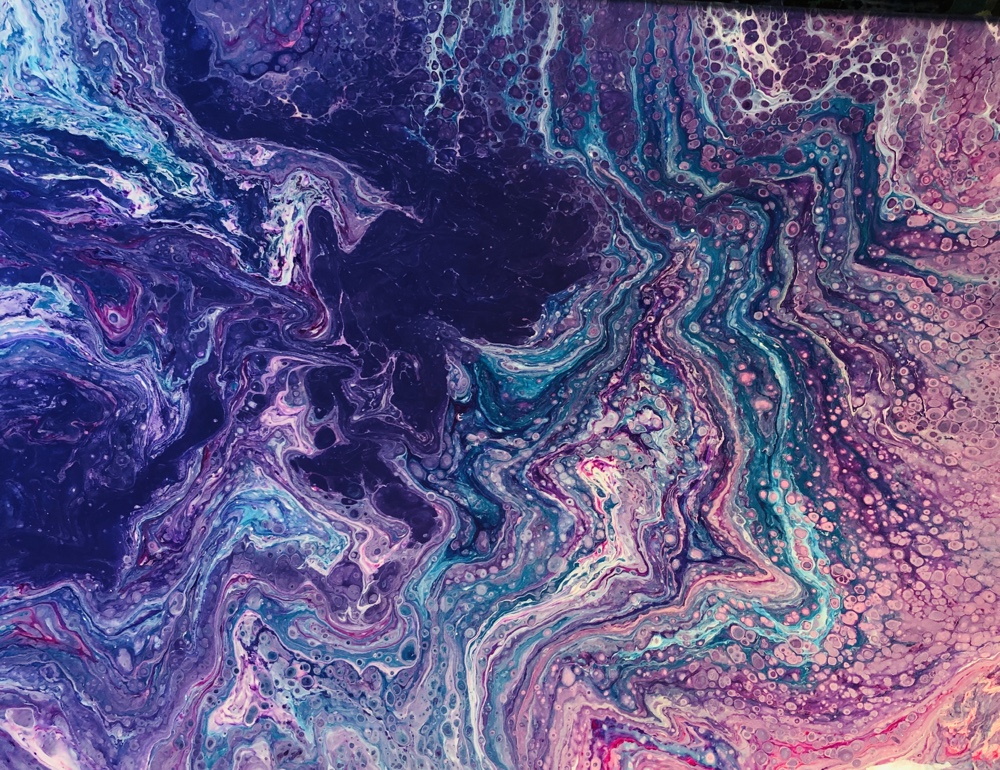
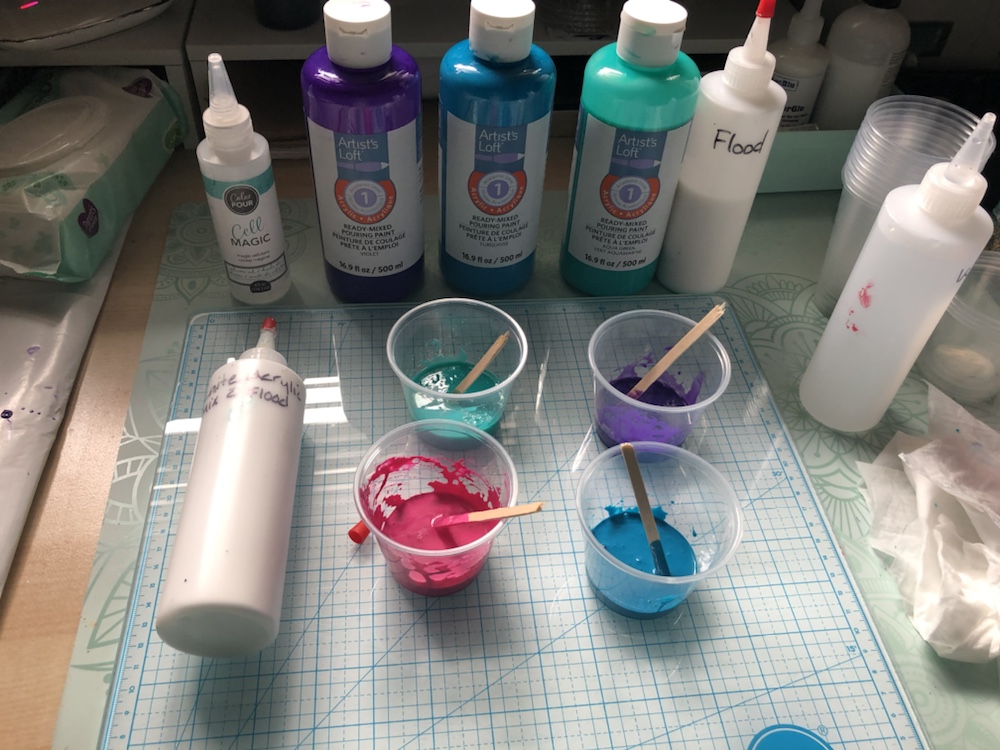
On this second canvas I used Artist Loft Pre-Mixed Acrylic Paint Violet, Turquoise and Aqua Green, Magenta and White Acrylic mixed with Flood. And two drops of Magic Cell silicone.
Thank you for checking out my blog. If you have any question please let me know. Have a great day. Simplycraftydesigns.com by Annalicia Spannaus
Hello my crafty friends! Today I’m sharing a acrylic pour I did a few weeks ago. I’m so loving the way this one came out.
As you know when you do a acrylic pouring each piece is different. Sometimes you can see a lot cells and sometimes only a few. I also notices sometime I don’t always see one or two colors I pour. But now I’m pretty sure I got the hang of it. Just pour a little bit of each color repeatedly in your cup.
I think the most important thing is to just have fun with your crafty projects. For me I always make a big mess and I always have fun doing it. Hope you guys like my crafty project.
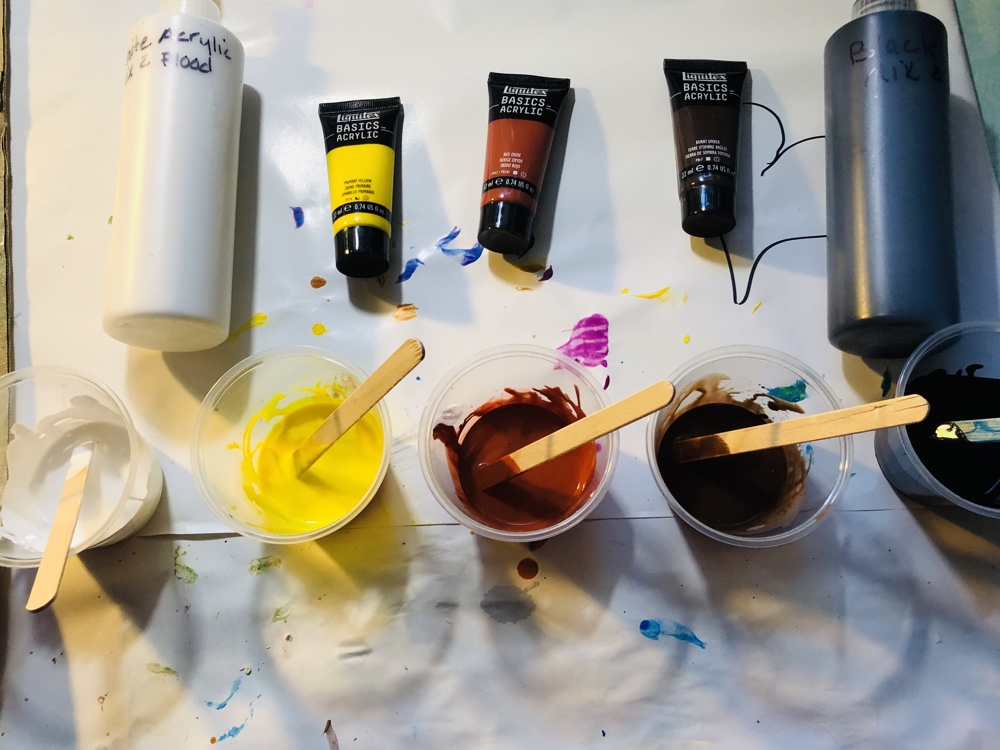
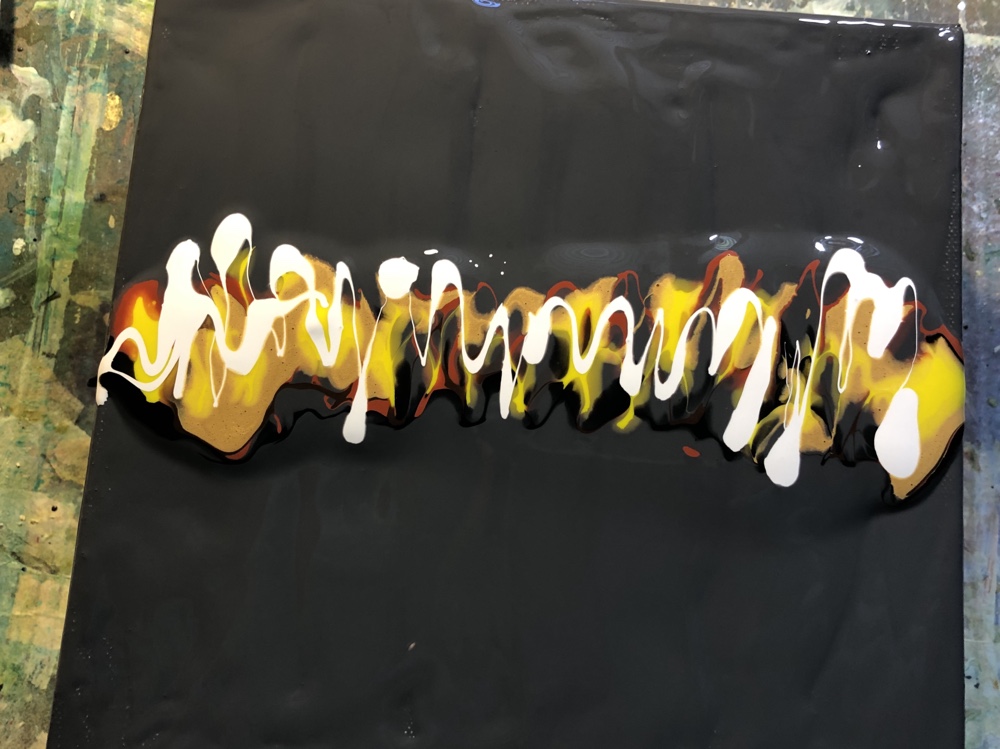
Acrylics I used are Liquitex Basics primary yellow, red oxide, burnt amber and white acrylic mix with Flood.
My canvas is 8×8, used Deco Art Chalky finish gray mixed with flood. Then I cover my canvas with my gray completely. Took all my colors and started pouring in the middle of my canvas. I also add more gray paint and stated moving my canvas around slowly.
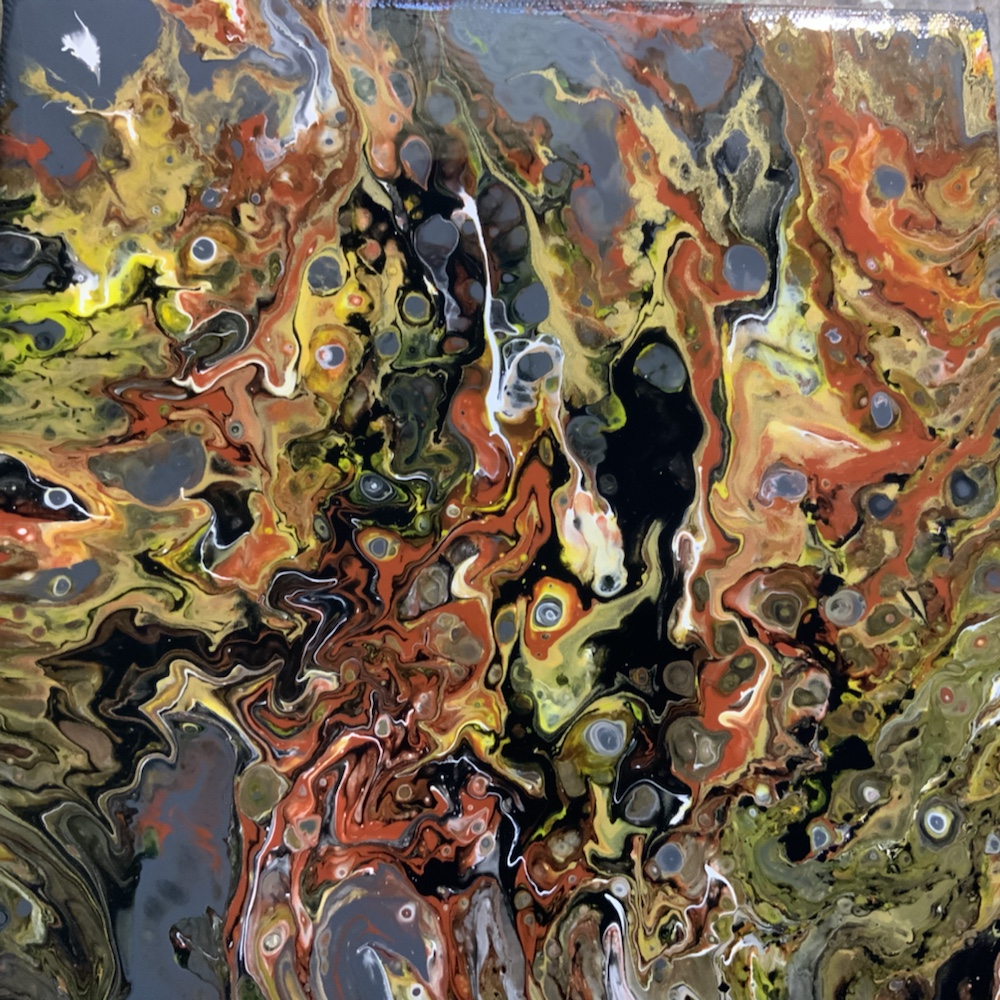
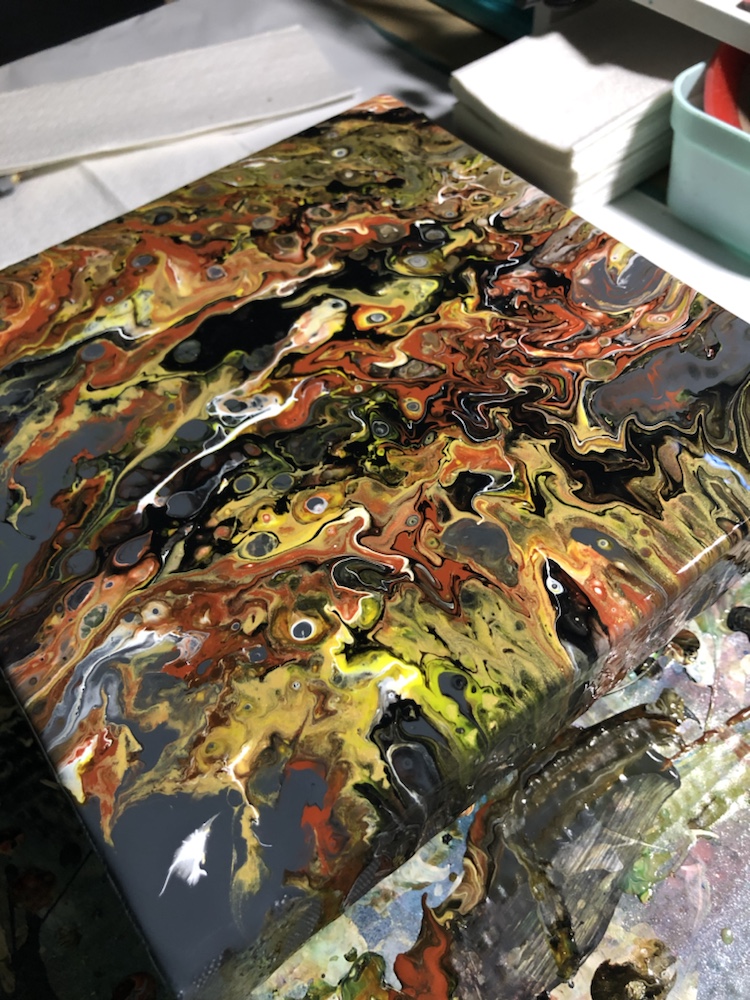
And this is my results.
Hope you guys like it. Please let me know what you think about it and thank you for checking out my blog. Have a great day everyone.
Hello my crafty friends! Today I’m posting the second set of cards I did with acrylic paints. The colors I chosen here are beautiful. I tend to like the blues a lot. Any way hope you like them, like always please let me know what you think. I’ll list products used down below.
Abeier premixed read to pour acrylic paints Titanium white, navy blue and turquoise.
On 184 lb. Strathmore Mixed Media Paper vellum Surface and one drop of Magic cell mix with paint. Simon Says Stamp! Steel Dies are Painted Thanks SSSD111456, Painted Friend SSSD111575, Delightful SSSD111626 and Thankful SSSD111625
Also used Tim Holtz idea-ology Kraft- Stock Metallic Jewels, 110 white card stock and Memory Box warped stitch rectangles die style 30094. Also shimmer blue, white stretch cord. And Color Pour Glossy varnish.
Thank you for checking out my blog. Have a great day.
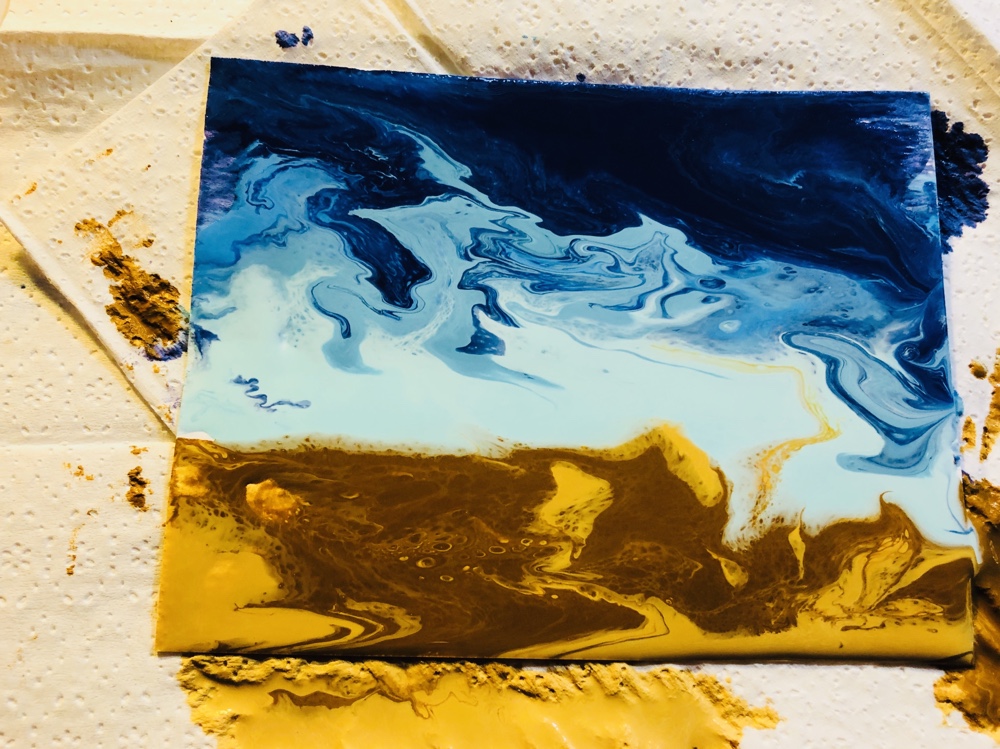
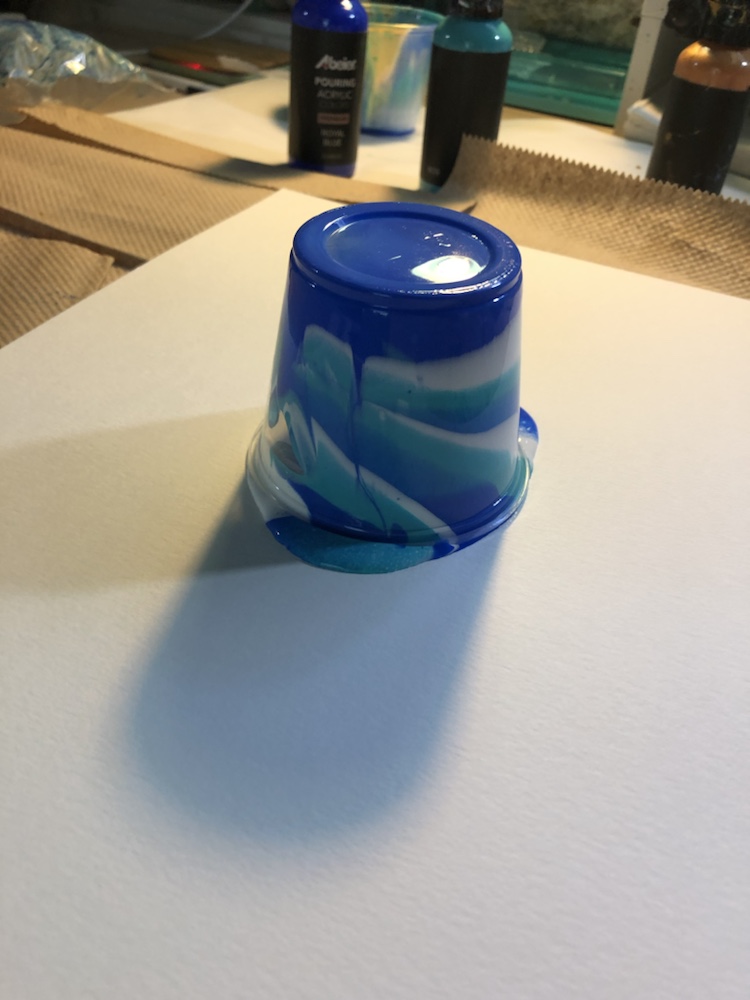
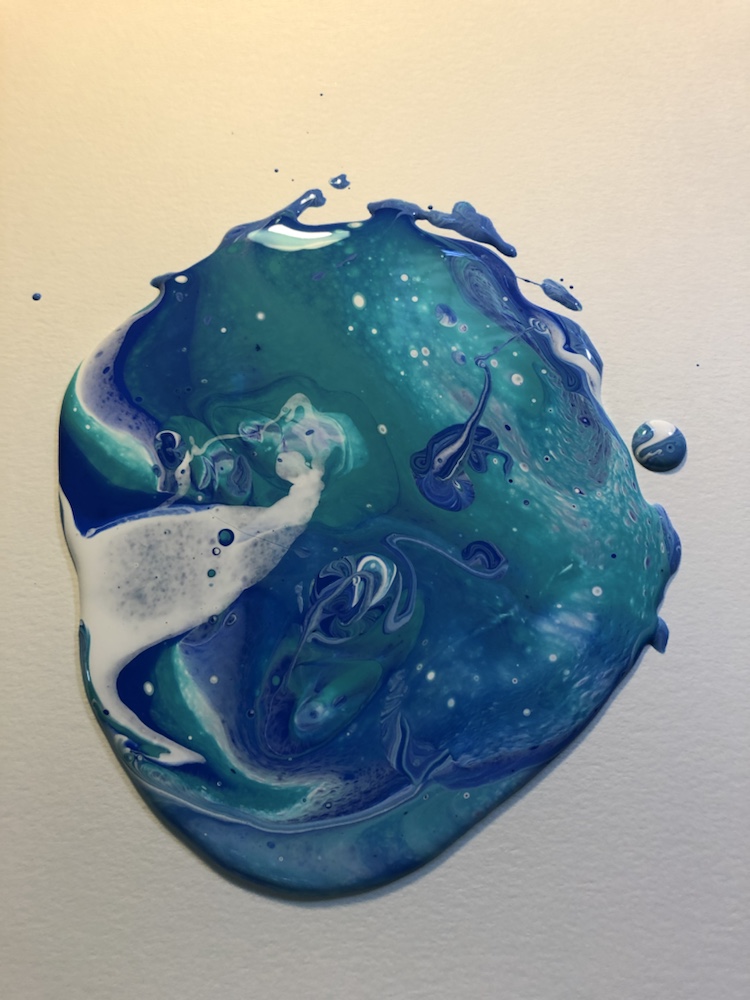
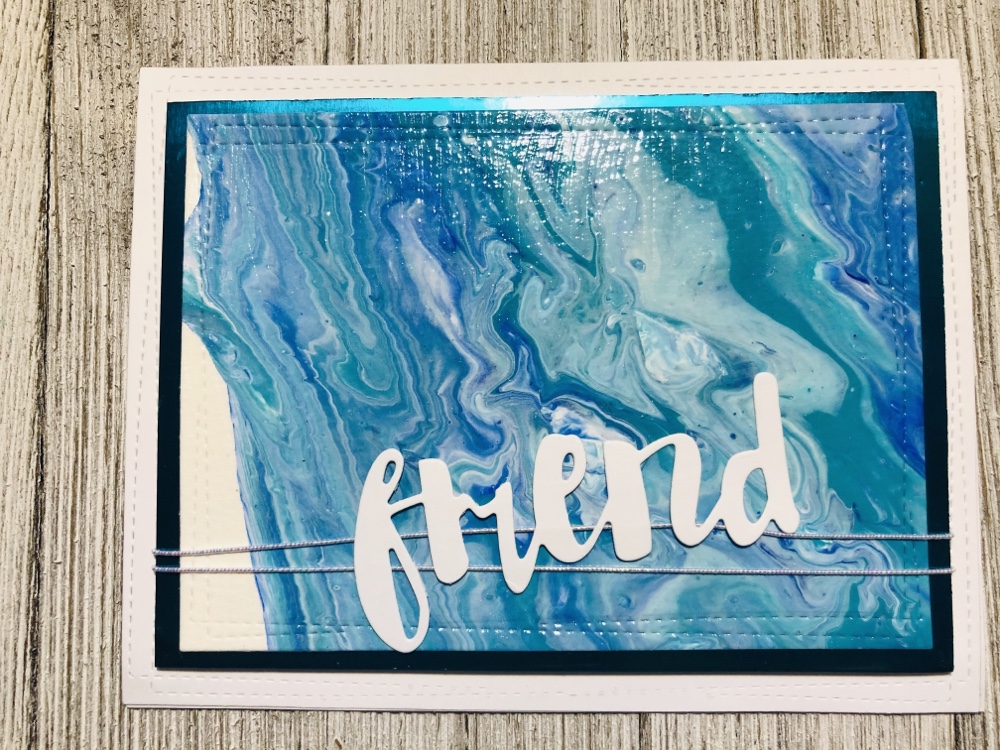
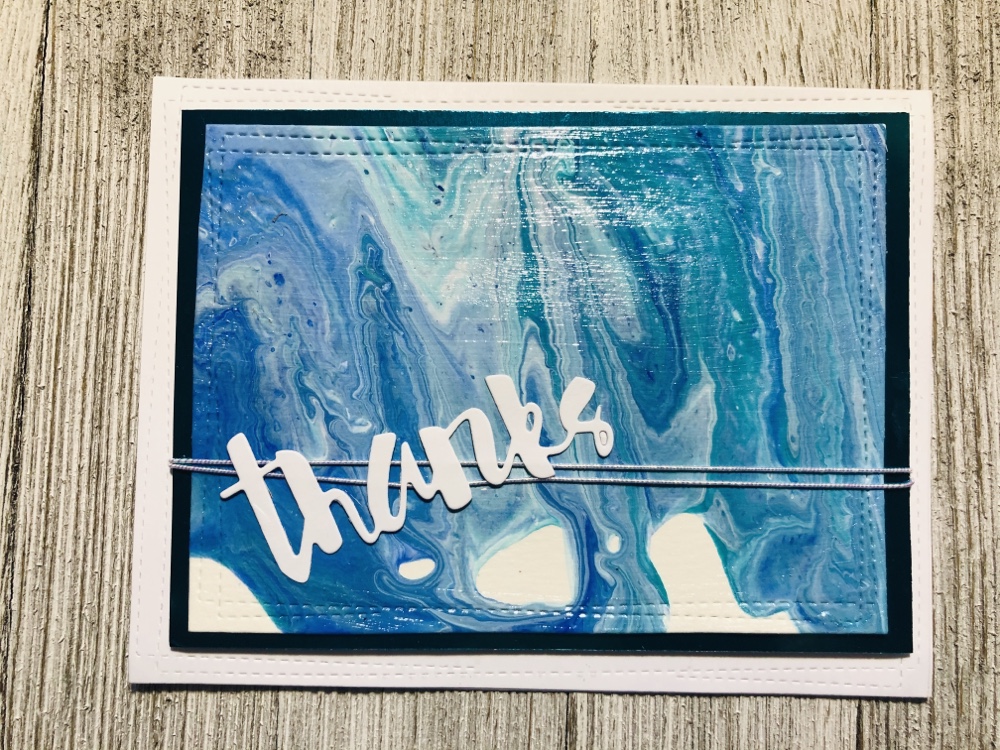
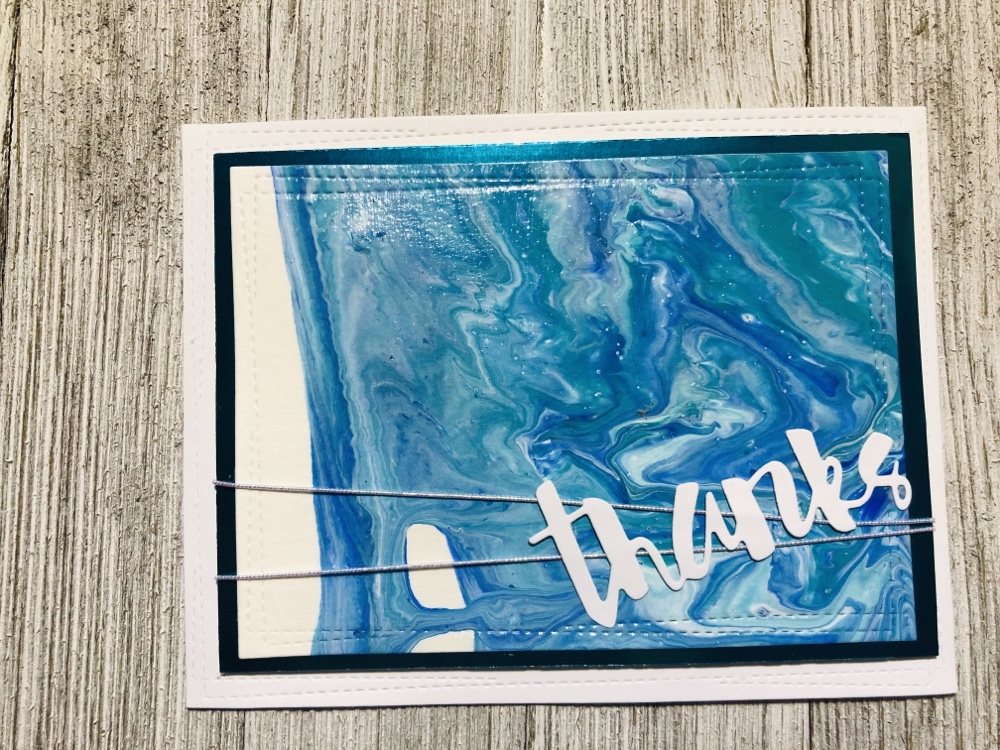
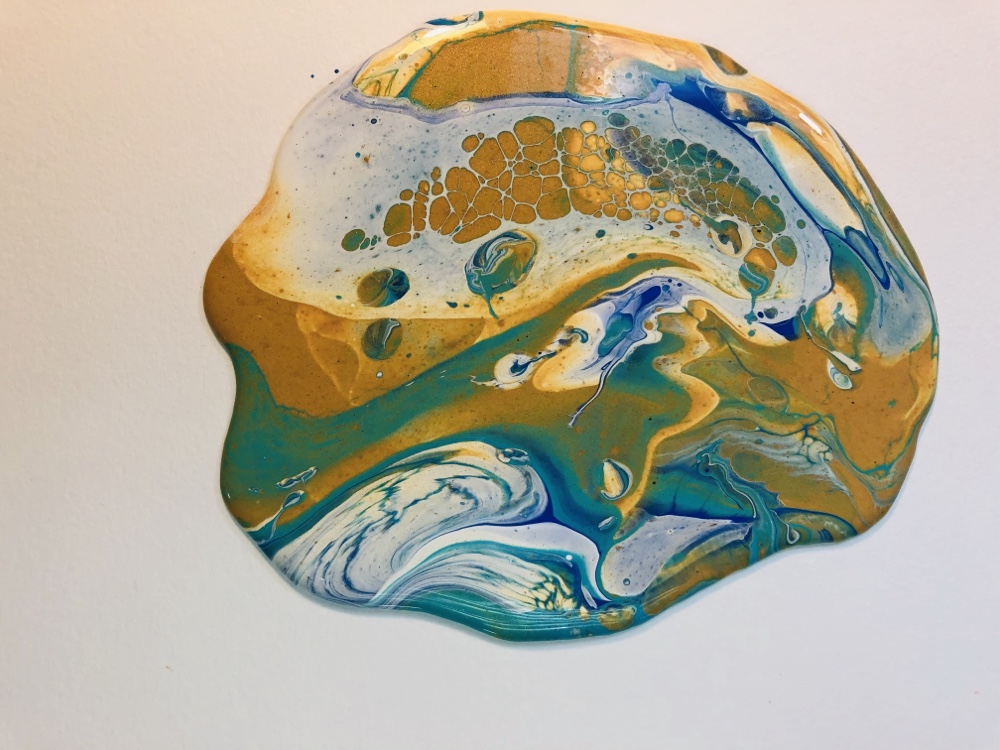
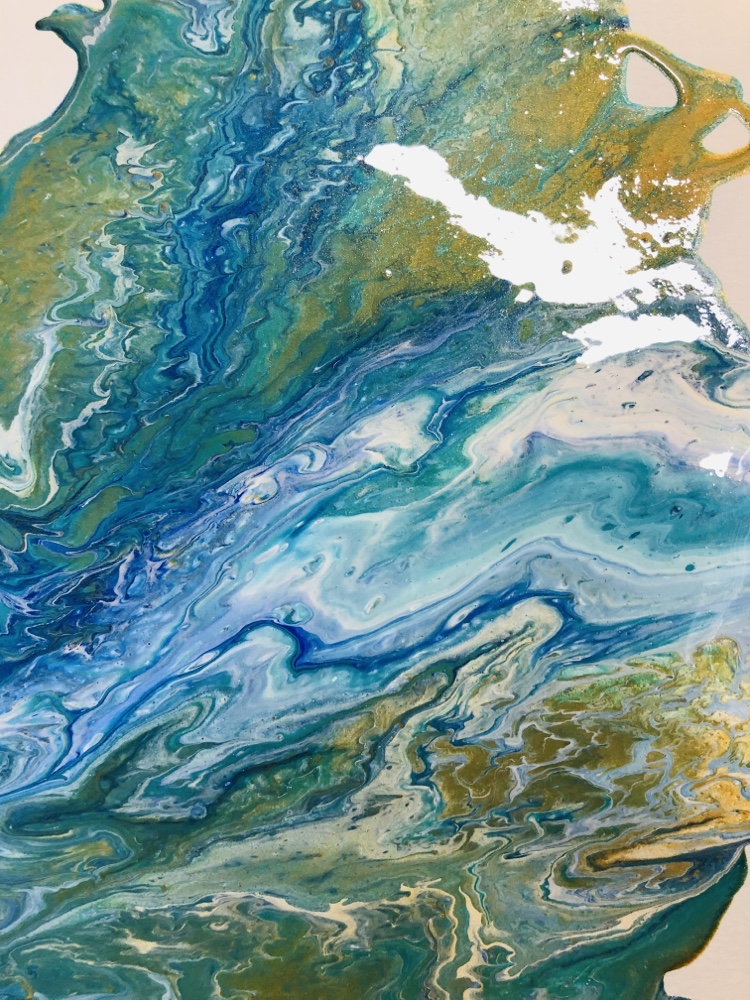
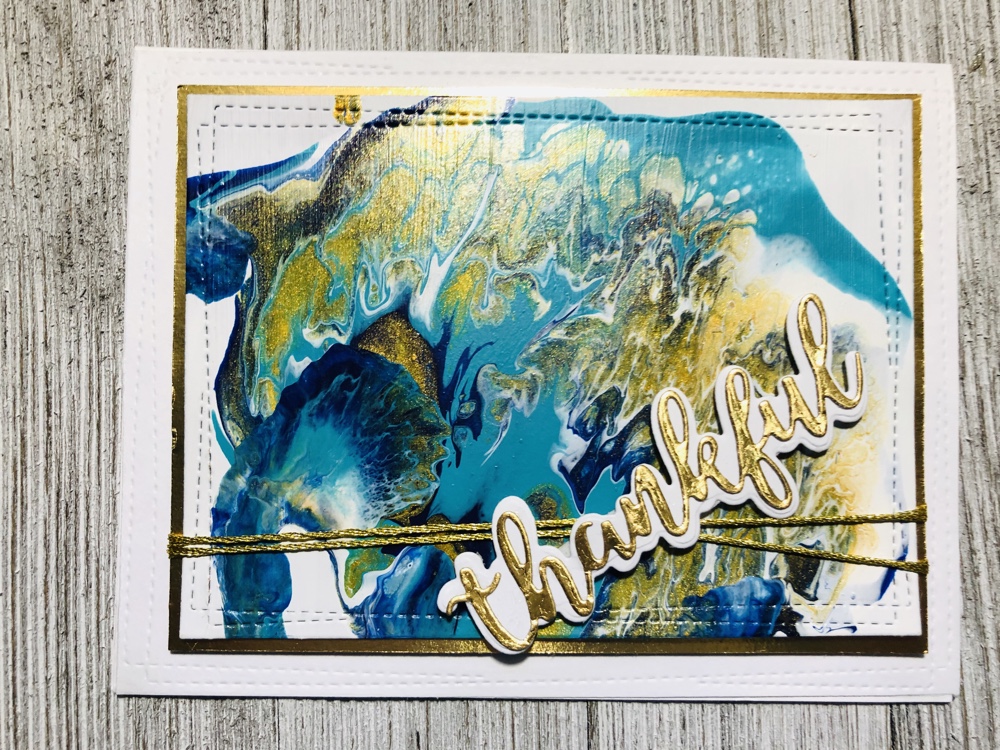
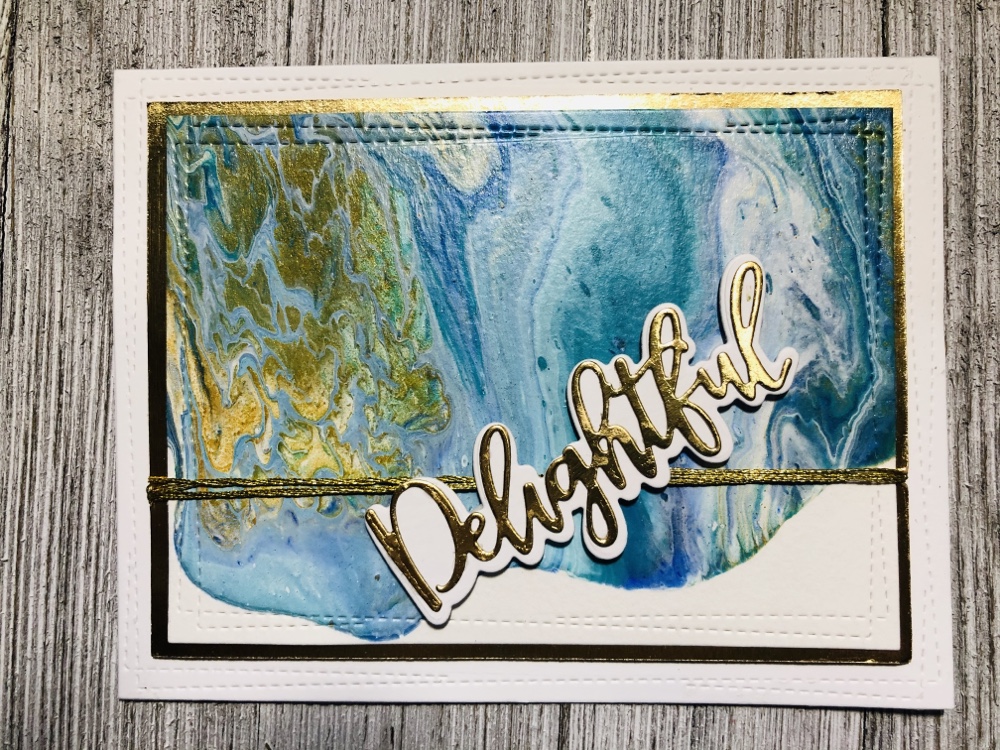
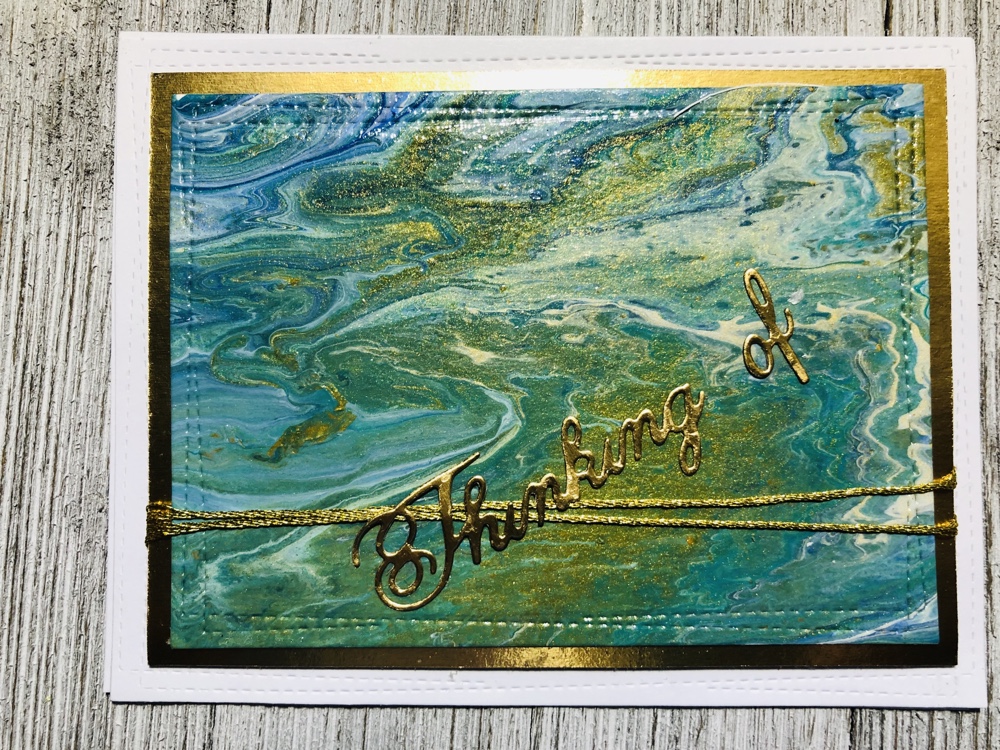
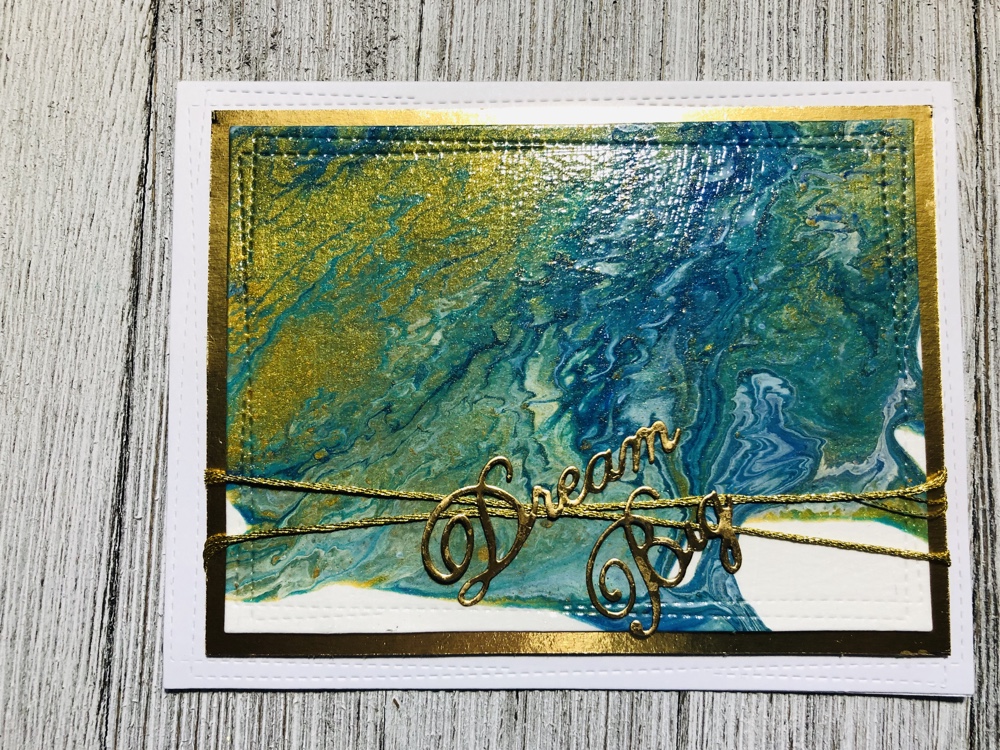
Hello my crafty friends! A couple days ago I was thinking if I can do this Dutch, Swipe Acrylic pouring on canvas. I can try to do it on water color paper and see how it comes out. It was amazing, So I decided to make cards out of them. I was impressed and I fell in love the way they look. Each cards look different, yet beautiful. I can’t wait to do more now. And I want to used different Brands of Acrylic paints now. Hope you love them like I do. And please let me what you thing or if you like them. I’ll list all the products I used down bellow.
Here’s the first set…..
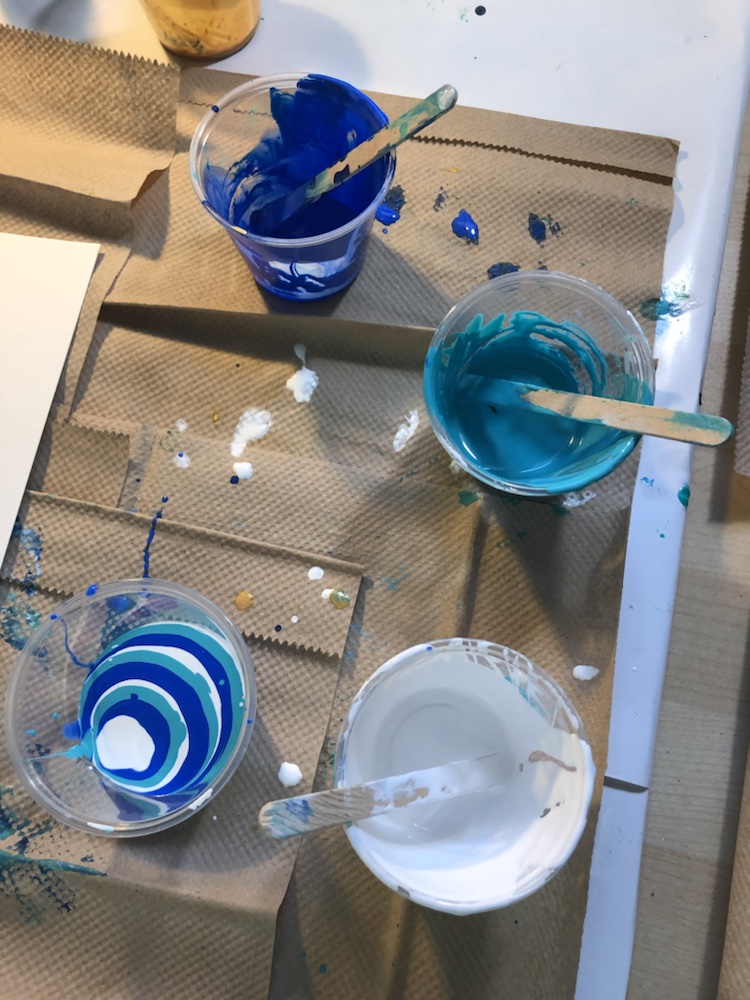
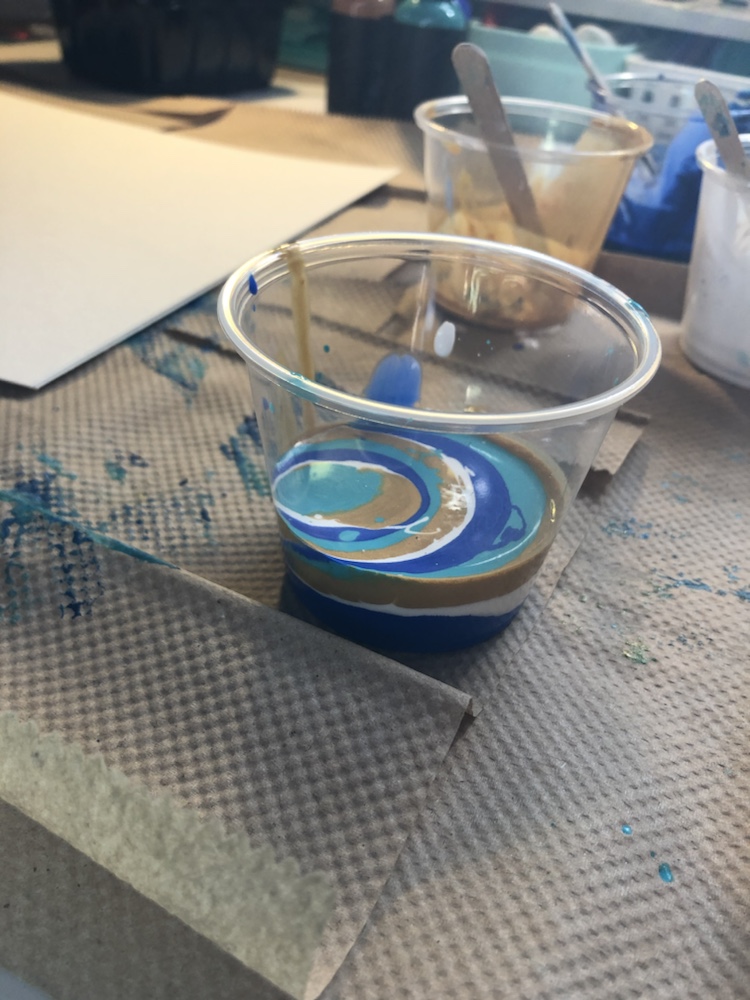
Abeir Pouring Acrylic colors Sky Blue, titanium white, royal blue and gold. With two drops of magic cell. I let dry over night.
I vanished each piece and let dry over night again.
Other products I used are Simon Says Stamp! Steel Dies: Delightful #SSSD111626 and Thankful #SSSD111625. Cheery Lynn Dies: Dream Big and Thinking of. Also Memory Box Inc. : Wrapped Stiich Rectangles die Style 30094. Carson Watercolor XL Cold Press 140lb. White cards stock 110 and Cousin Stretch Cord.
I’ll post the second set I did tomorrow so stay tune and if you like them please let me know. Have a great day everyone.


Recent Comments