Hello my crafty friends! Today I decided to get out my deco foils, Gina K. Designs fancy foils and Heidi Swapp Minc machine to make some pretty foil cards.
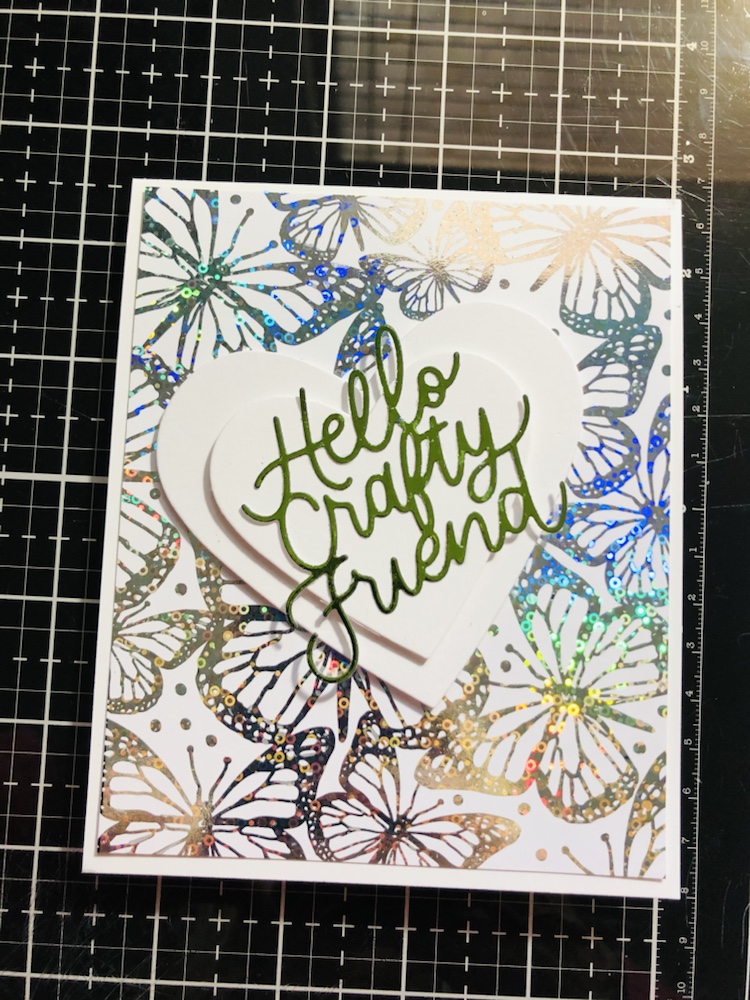
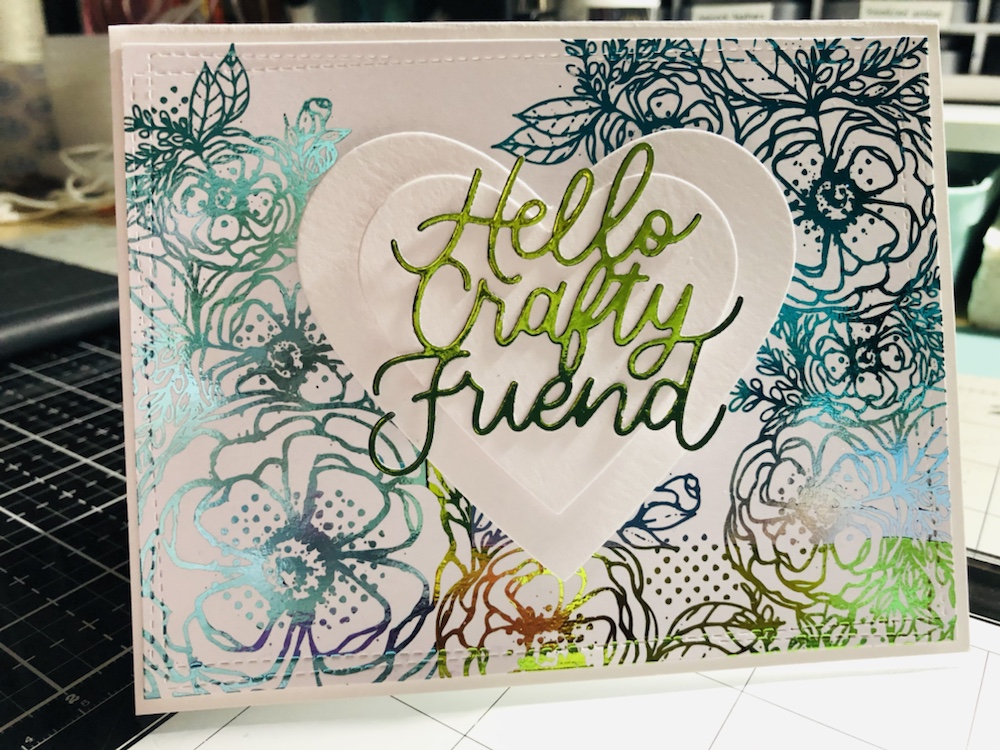
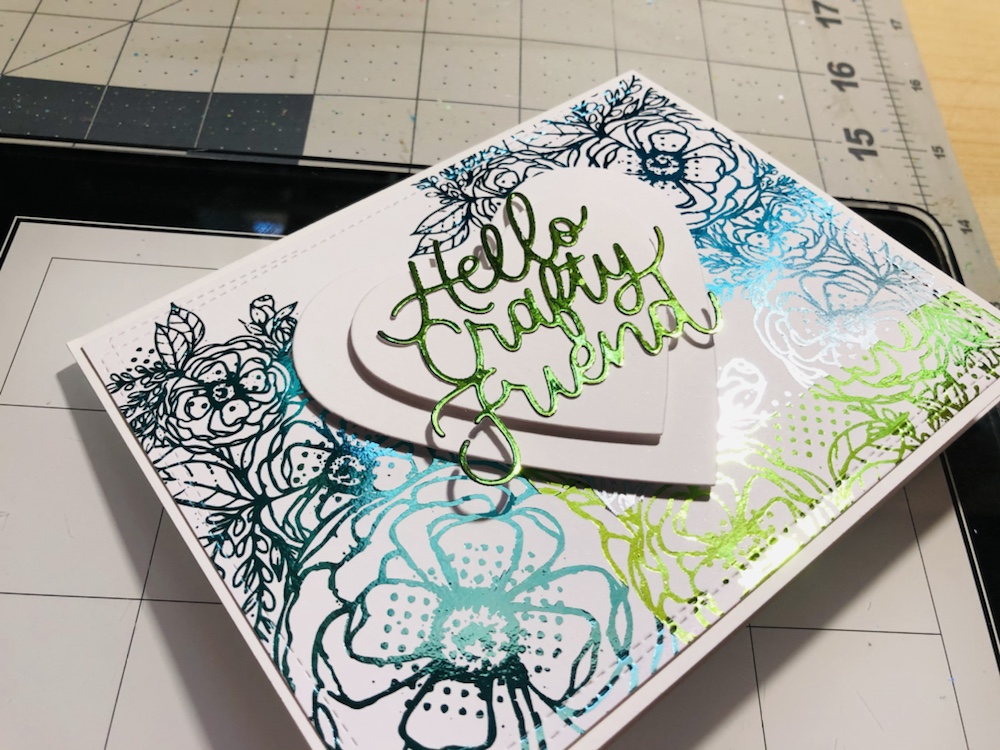
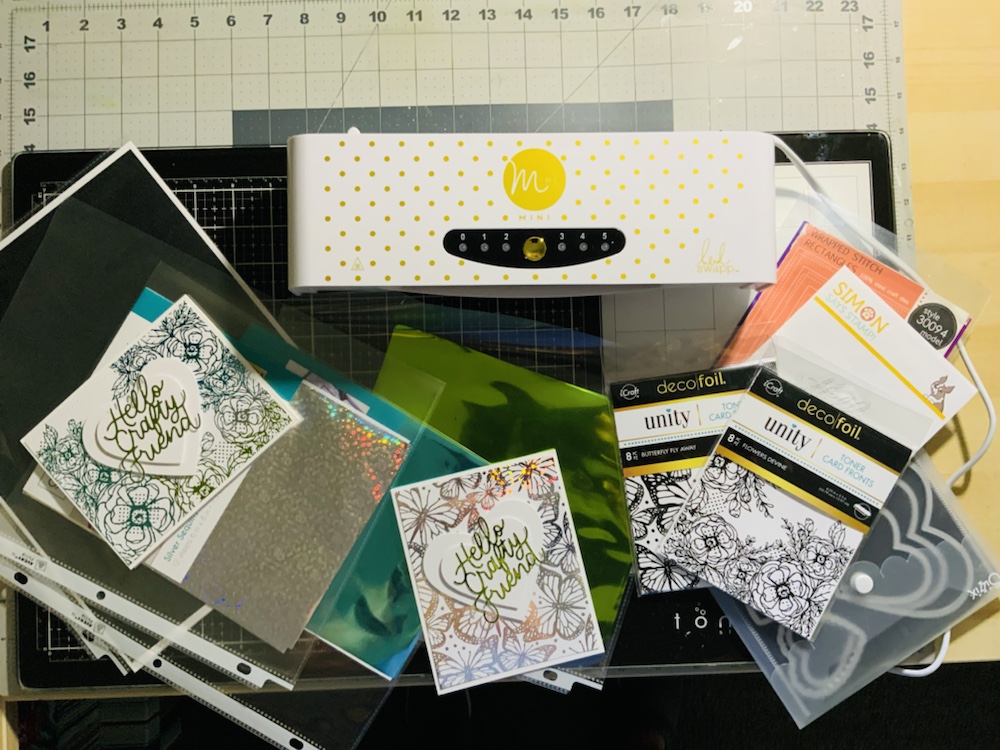
This first card I used unity deco foil toner card called (butterfly fly away). Gina K. Designs fancy foils silver sequins on butterfly’s and green for the Hello Crafty Friend steel Die by Simon Says Stamp! Also Sizzix Hearts dies cut out with 110 white card stock. I love the way you can move the card and get this beautiful different looks by using the Silver Sequins fancy foils.On this card I used unity tone card called Flower Devine with Gina K. Fancy foils Turquoise Sea and green. The colors of Gina K. Fancy Foils are beautiful.Other products I used are memory box wrapped stitch rectangle steel die and my Minc machine by Heidi Swapp. Also on the top left side of this picture you’ll see some toner paper 8 1/2 by 11 on 110 card stock. I had this made at Staples so I could cut out my own designs and save me on money.
Hope you like theses cards and please feel free to leave me a comment. Thank you for checking out my blog. Hope everyone has a wonderful day.
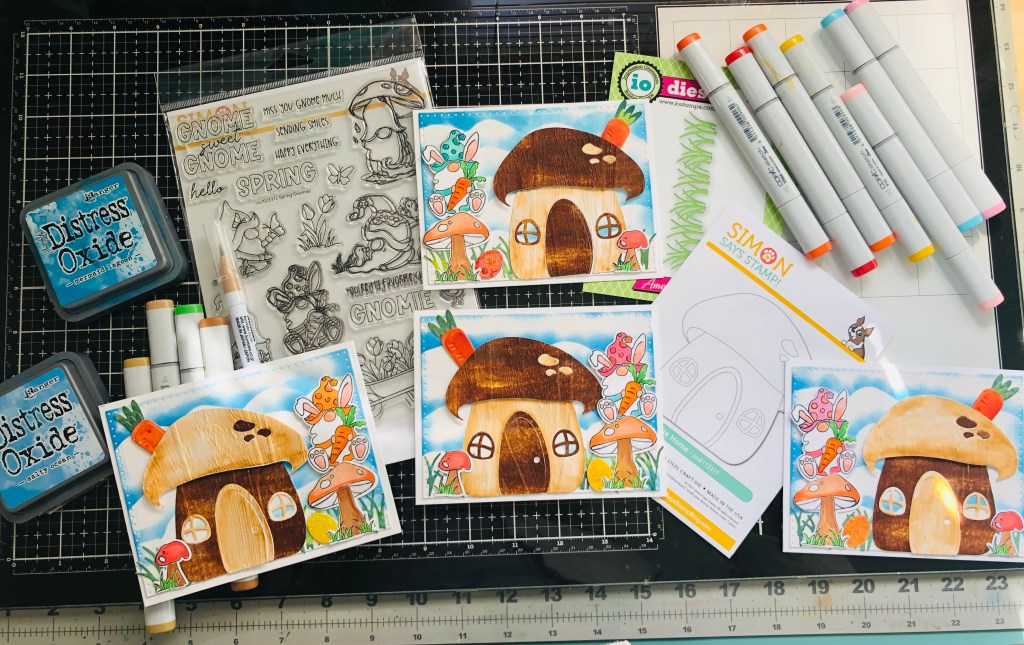
Hello my crafty friends! The last couple days I have been working on my last set of Easter cards for this year. I decided to go with Simon Says Stamps Spring Gnomes and matching dies.
All list all products I used down below.
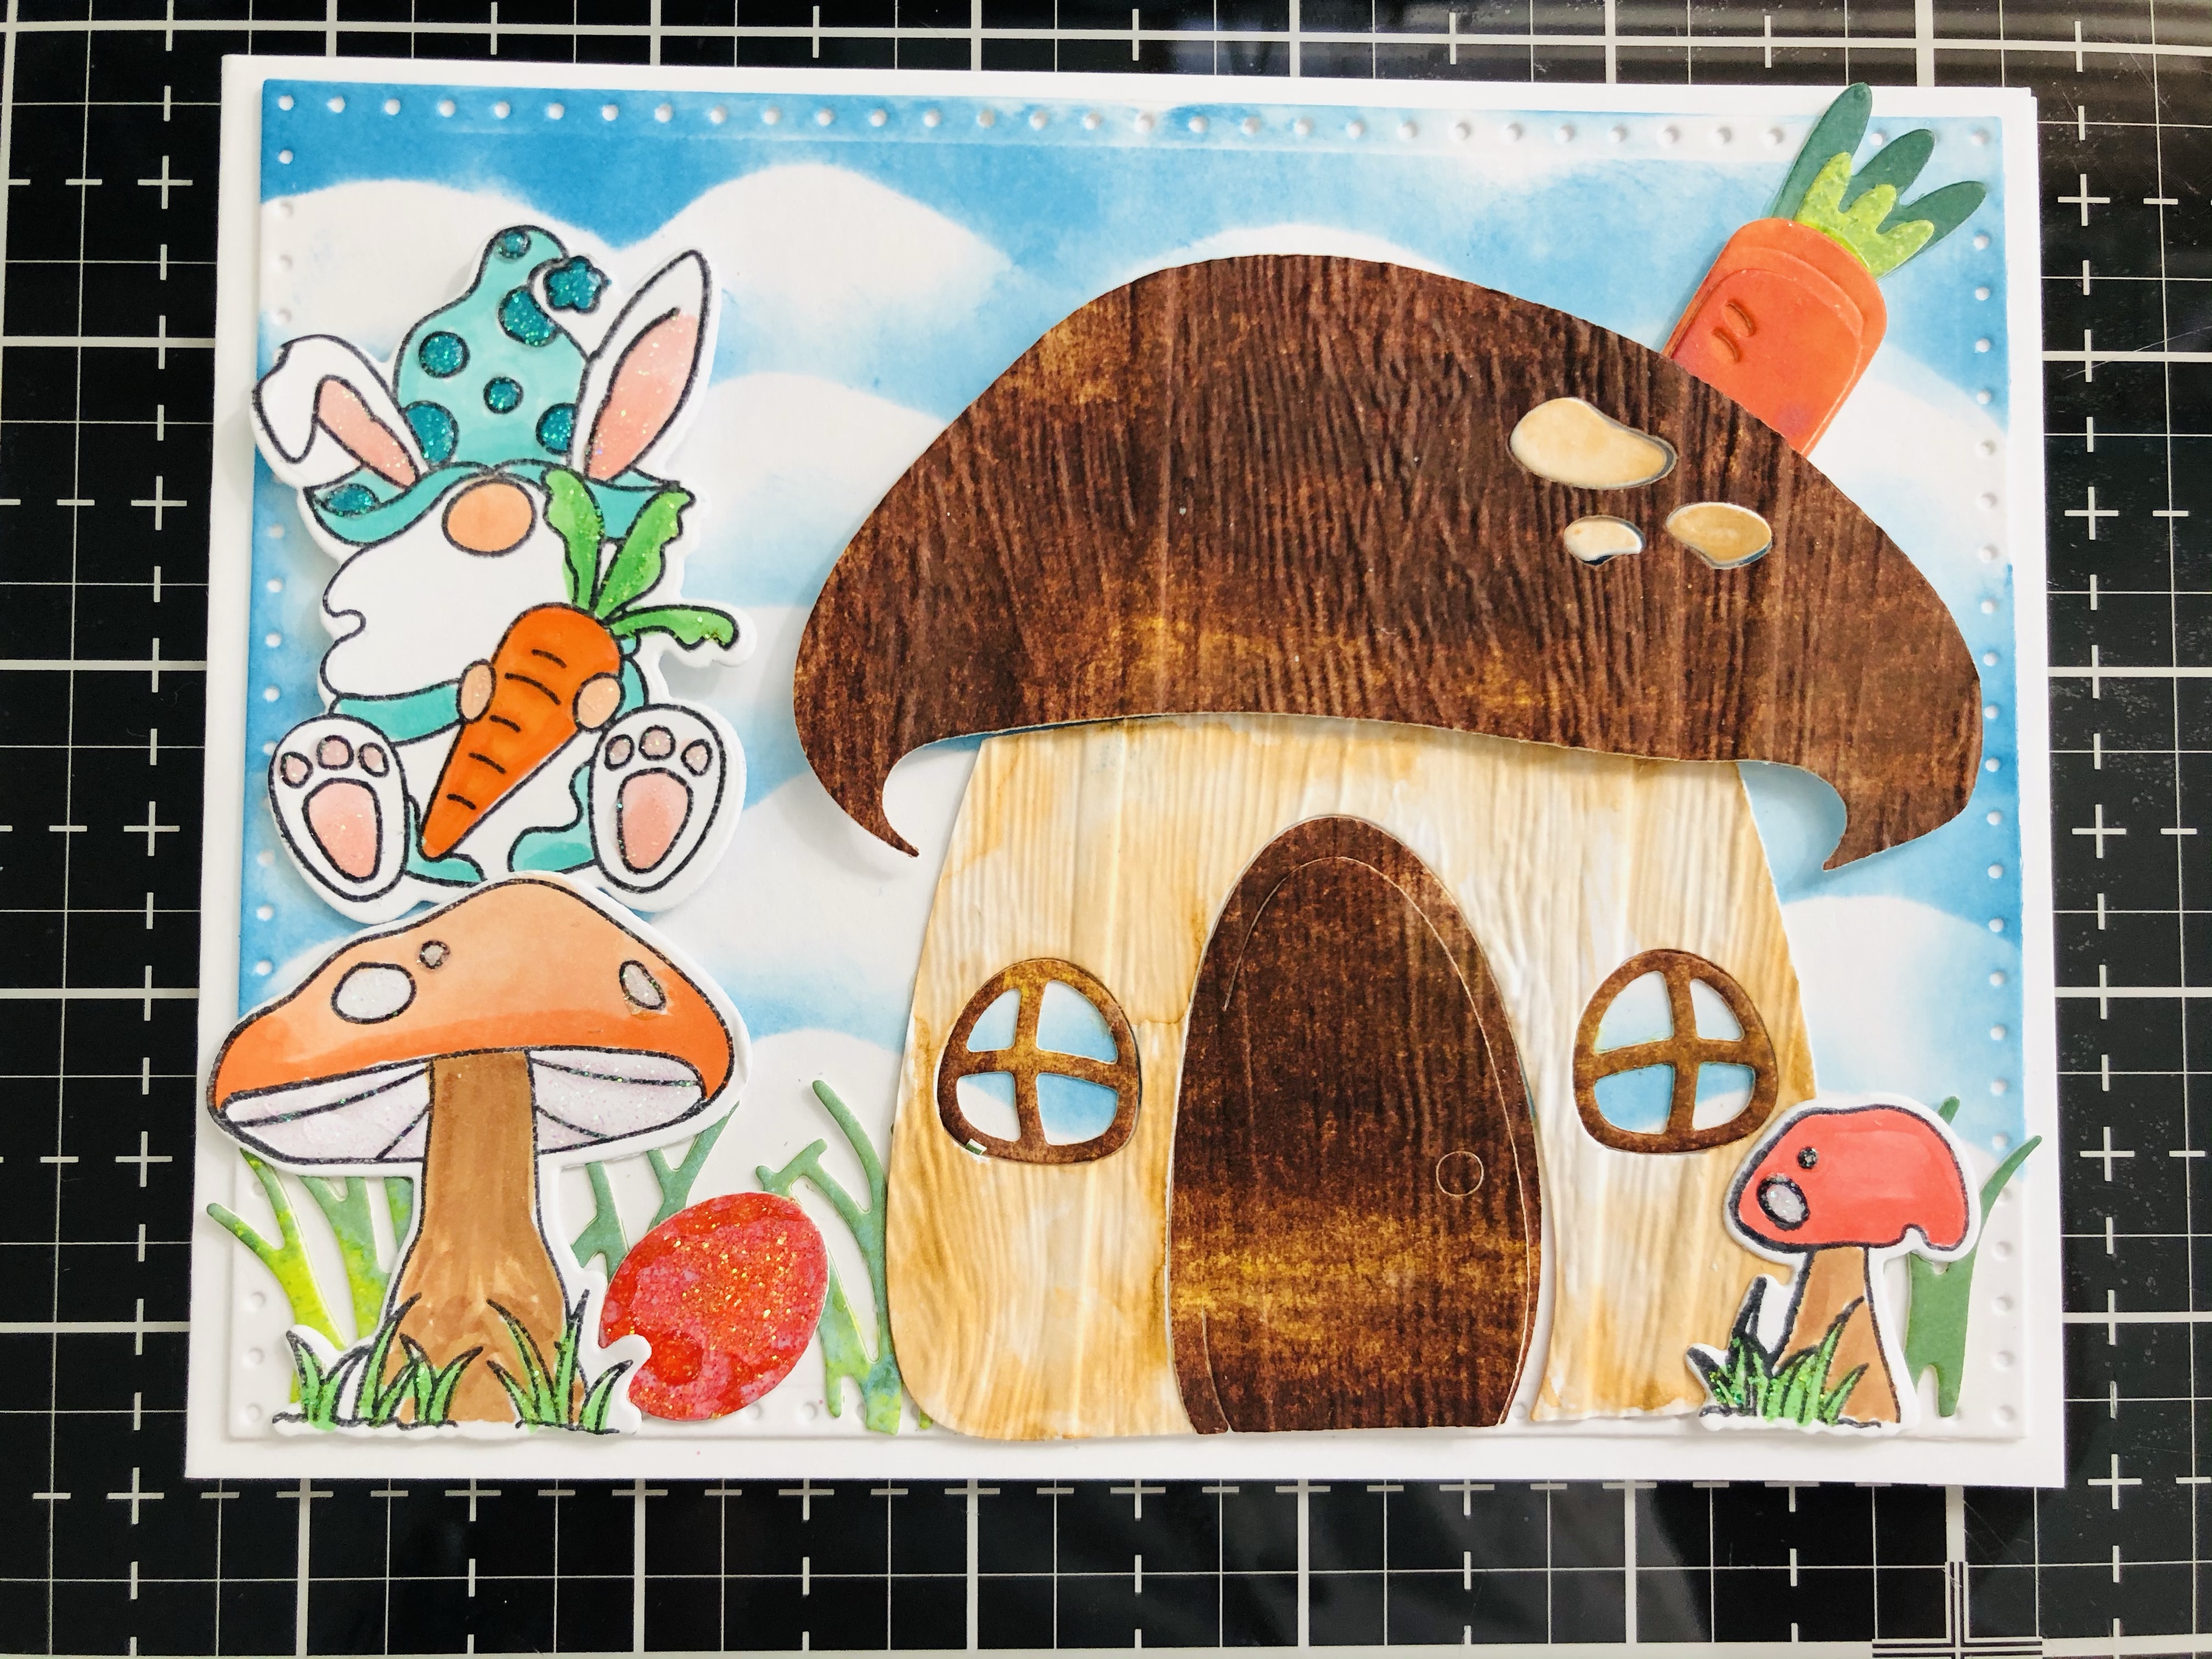
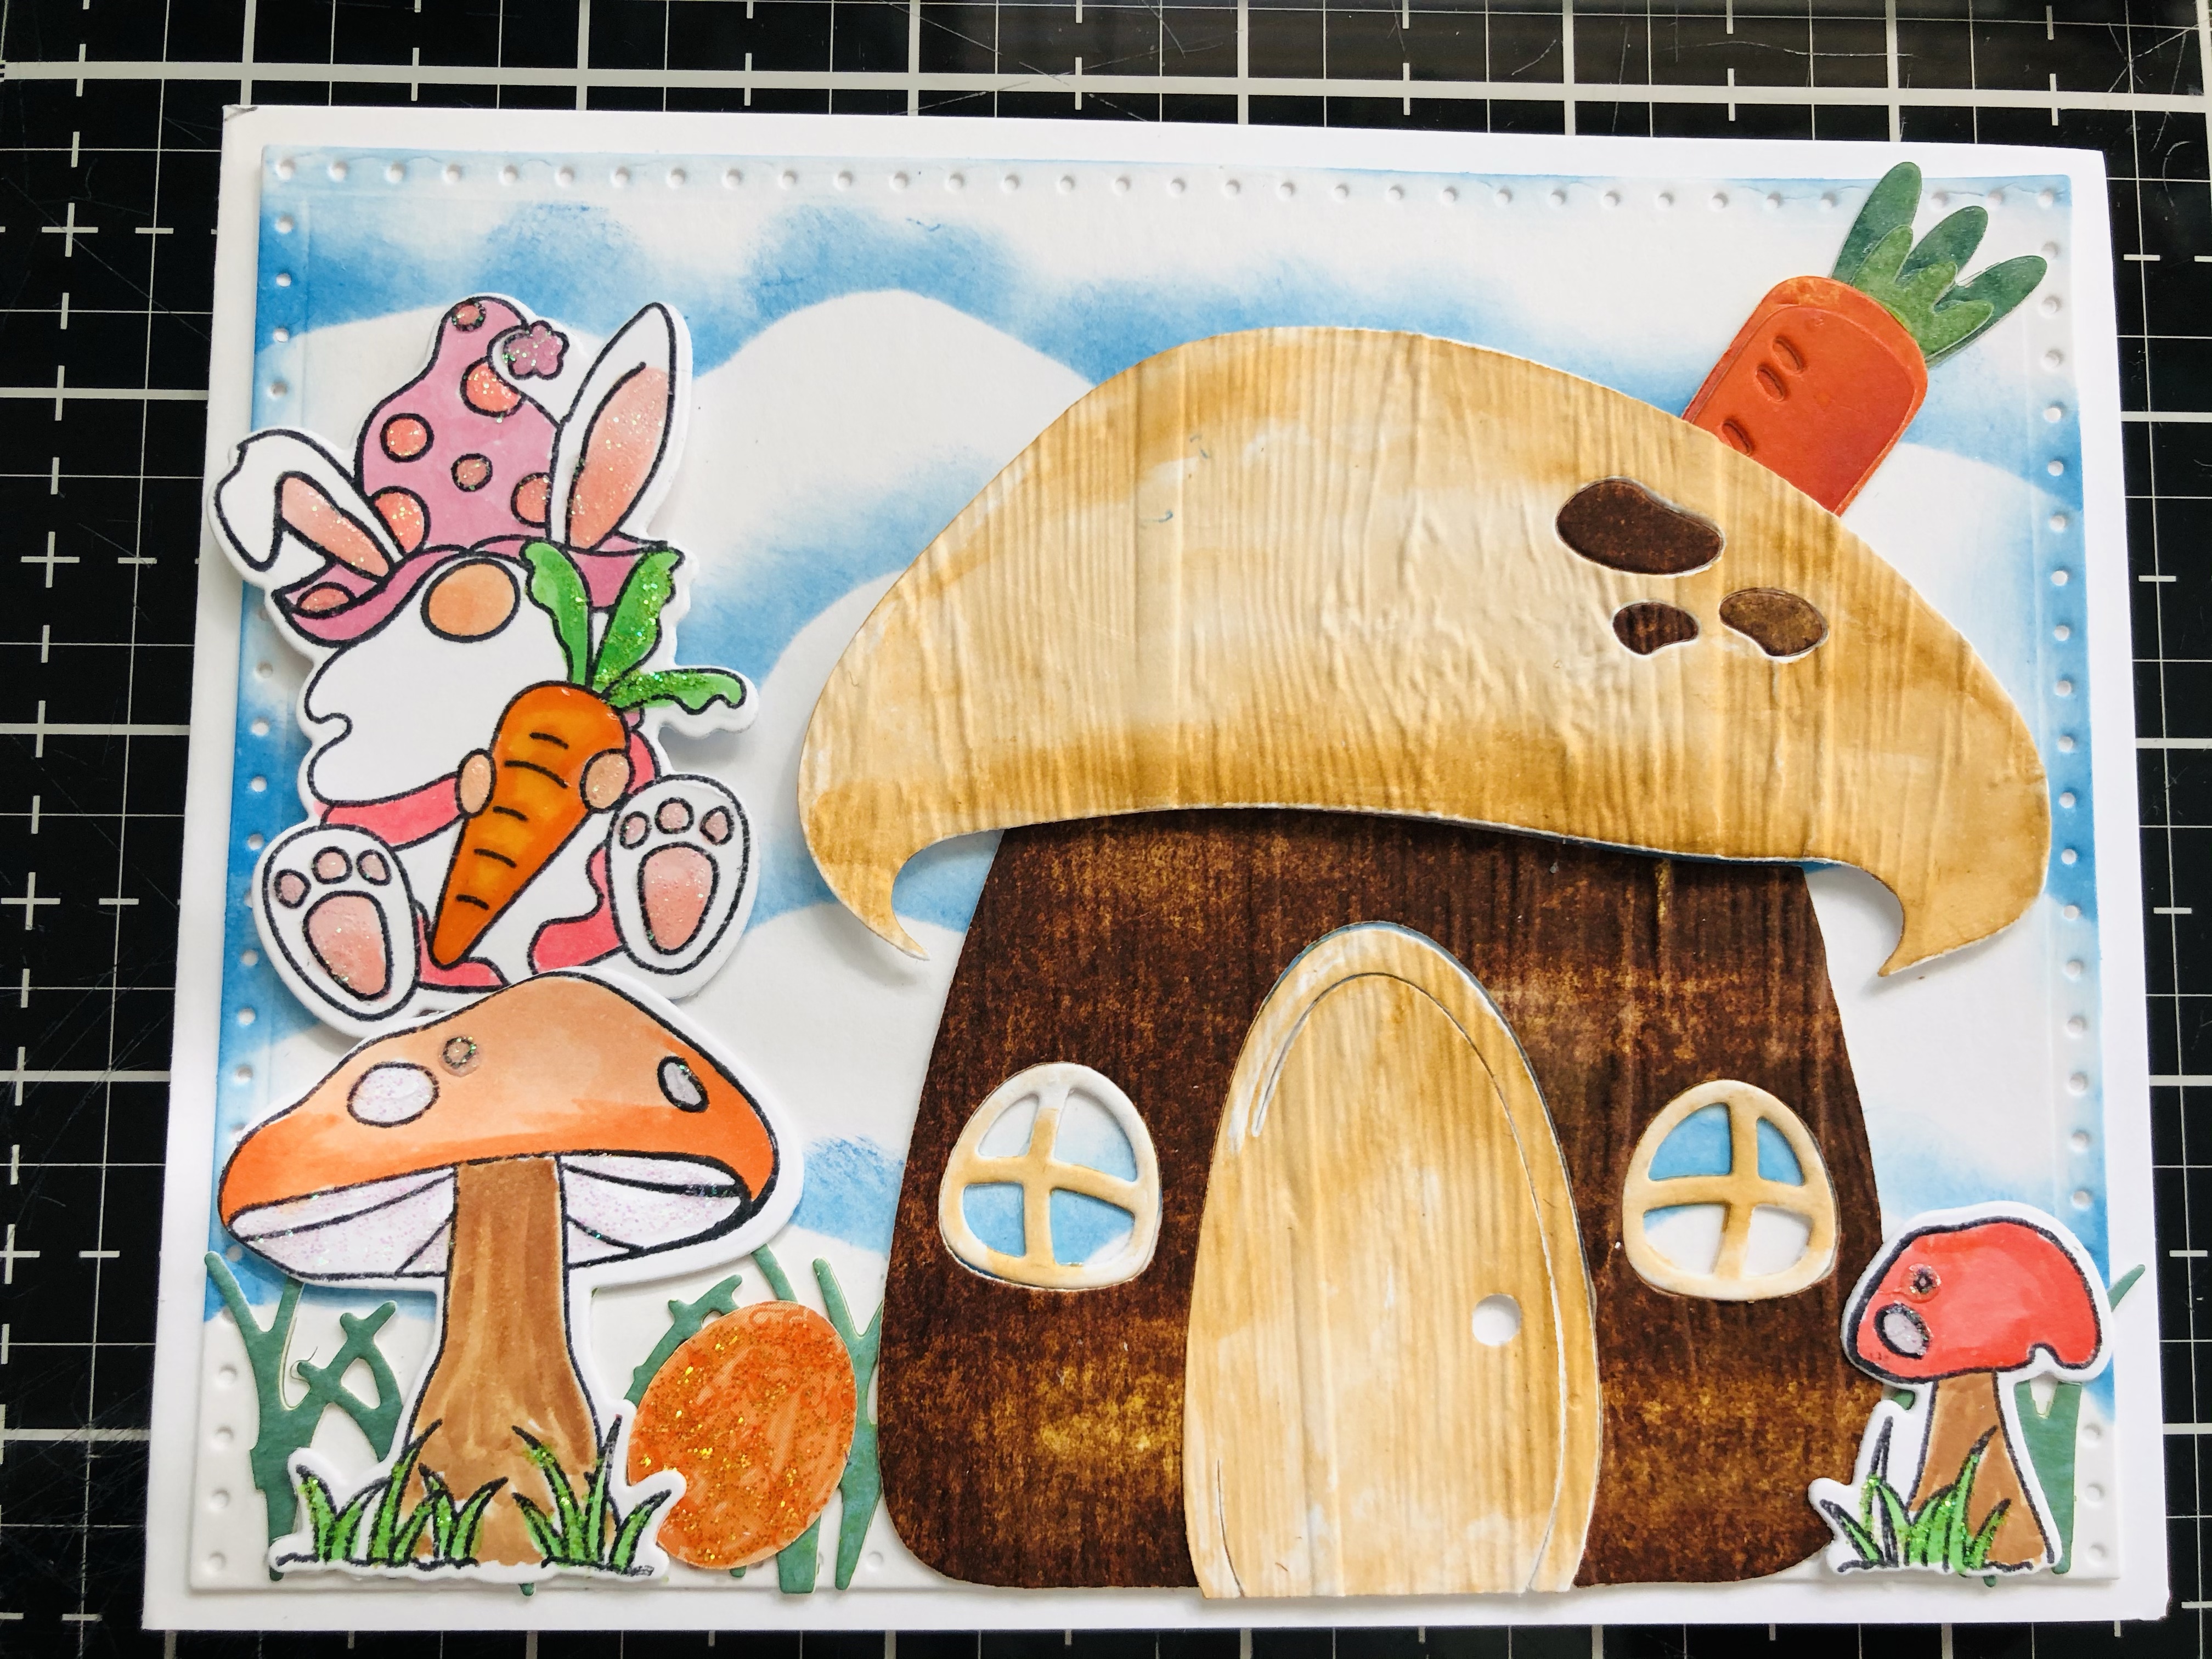
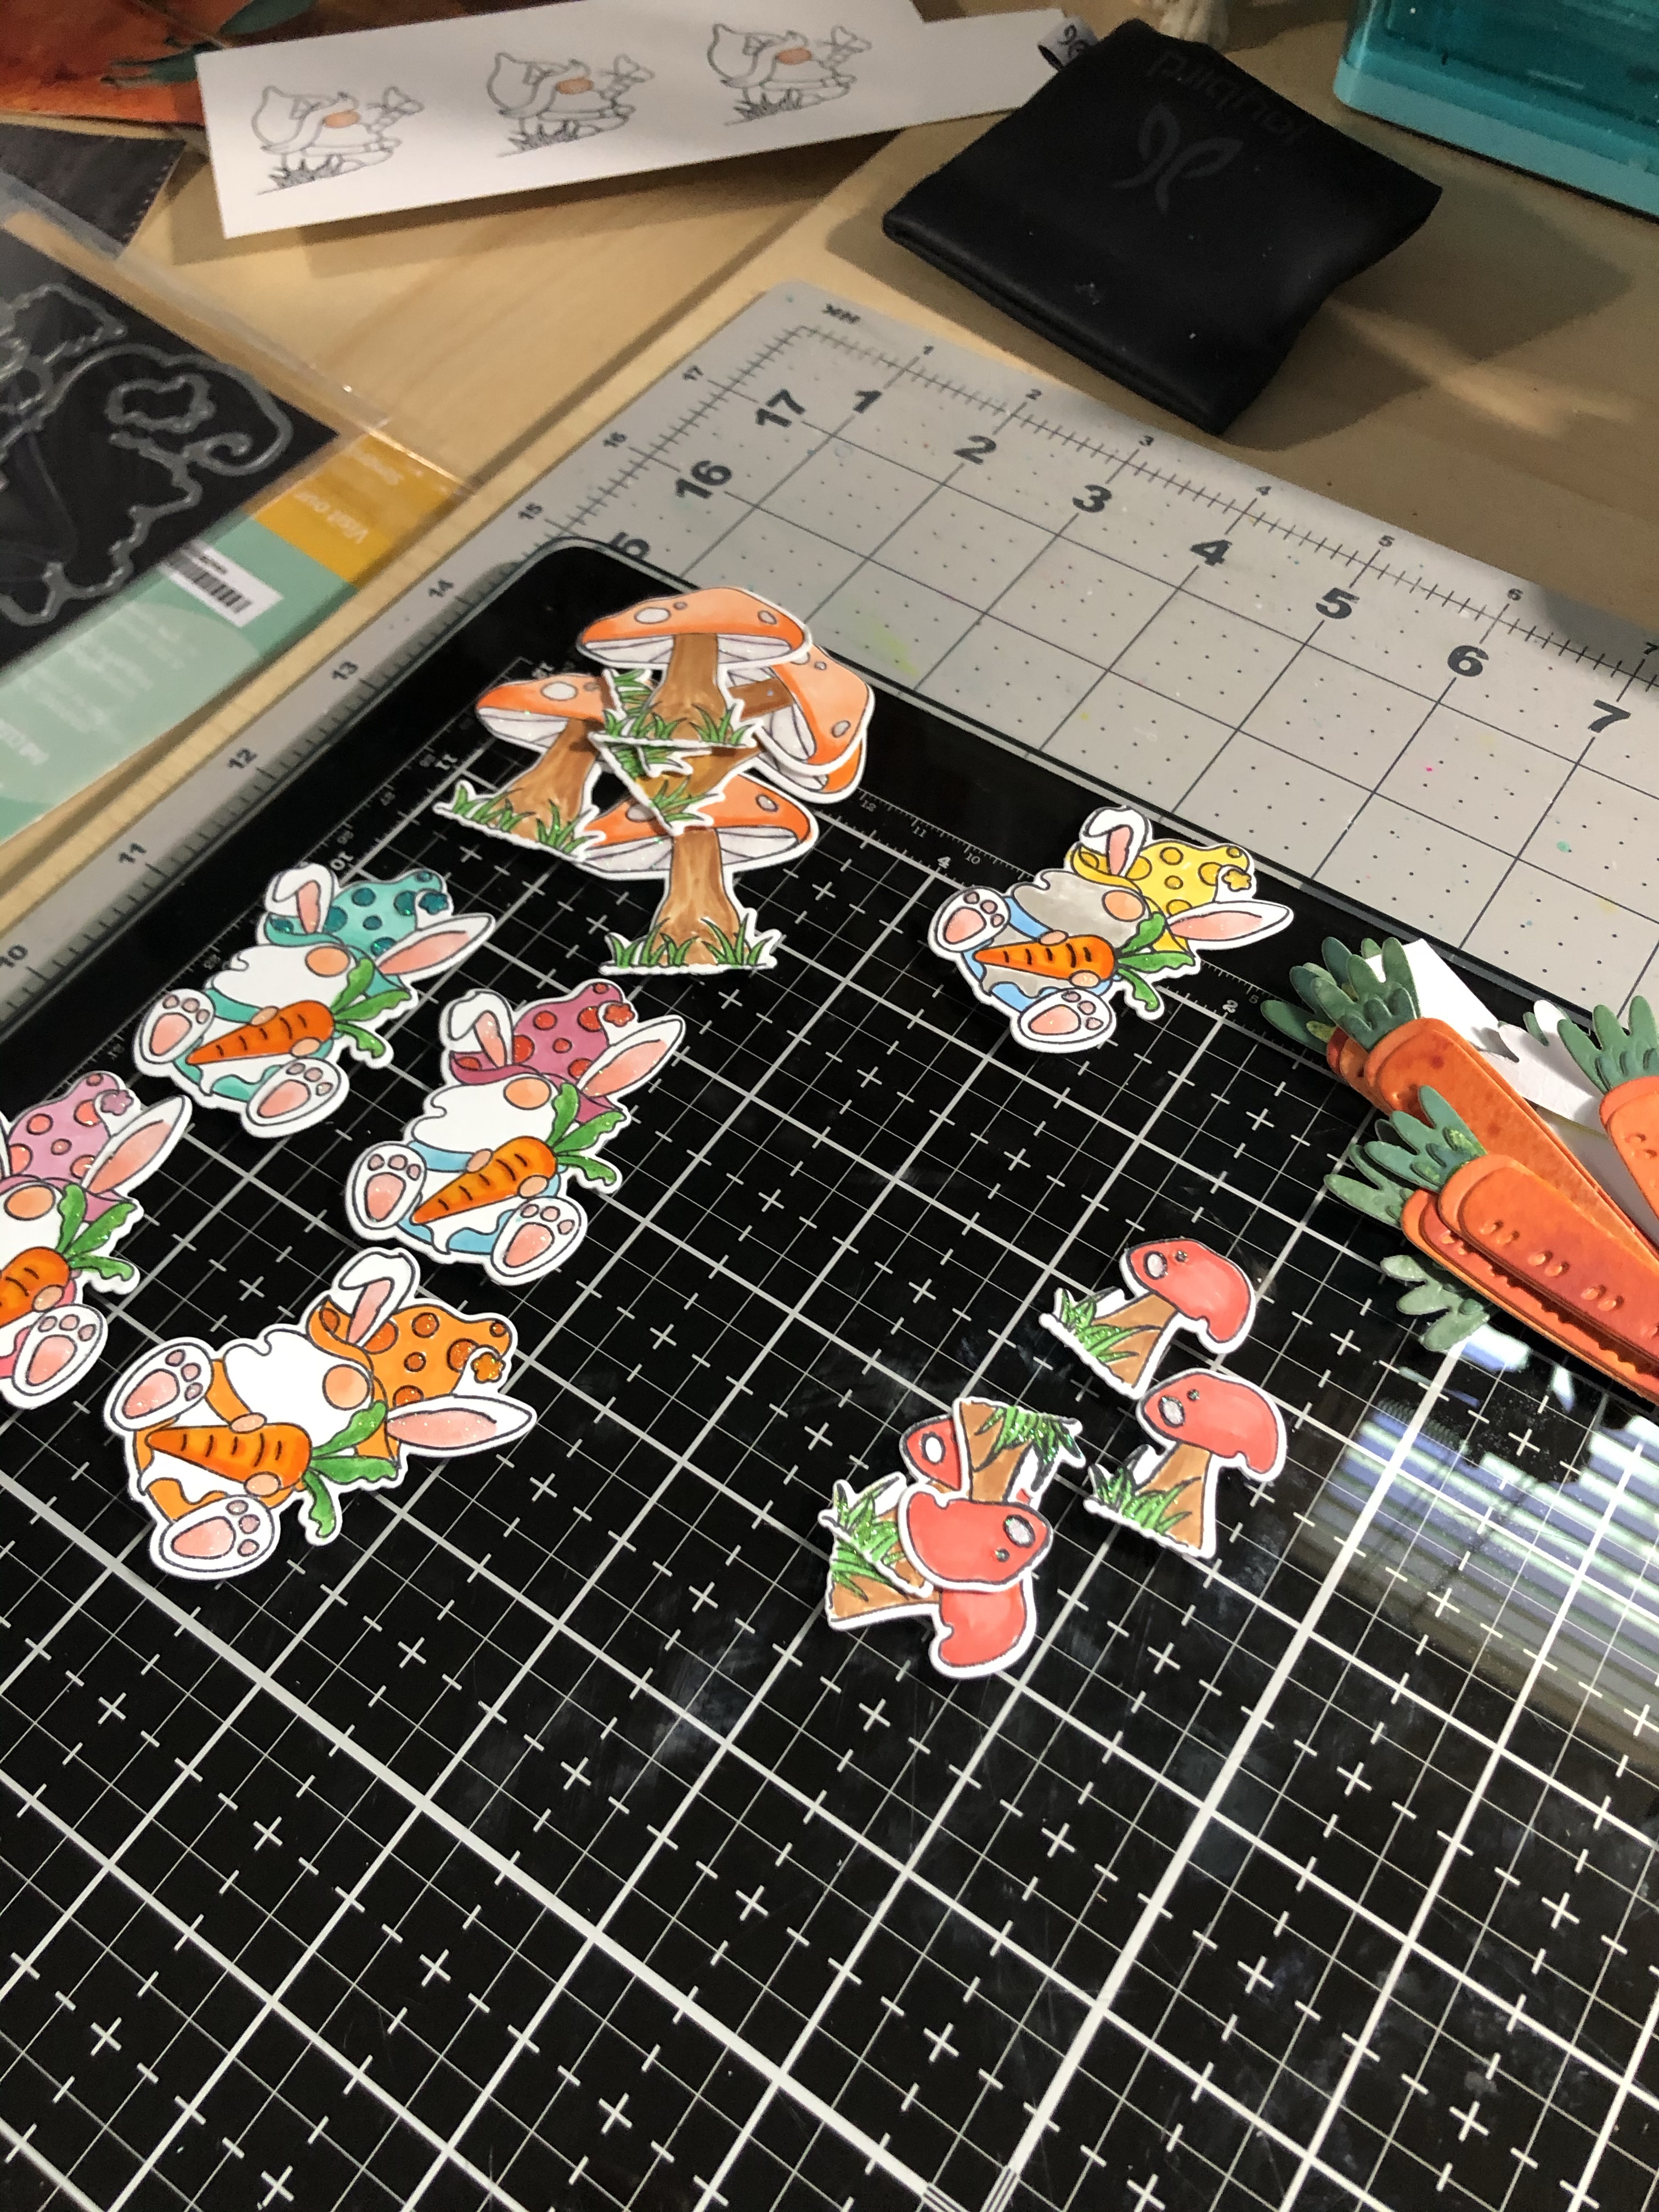
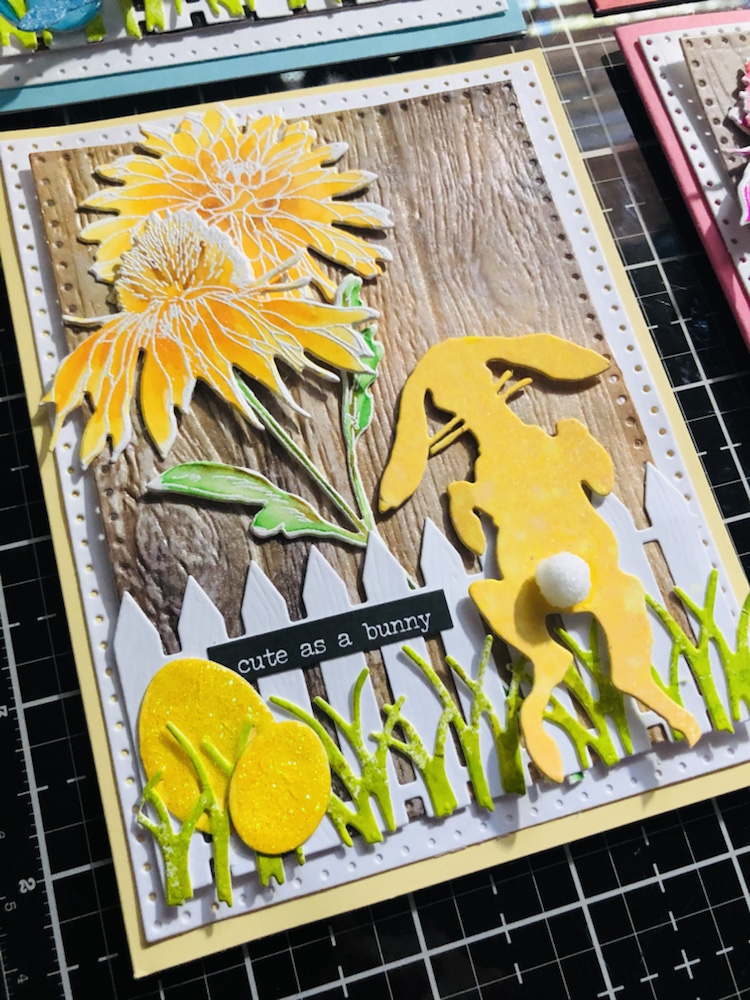
Happy Easter Gnomes Cards Background I used Tim Holtz distress oxides pads salty ocean and mermaid lagoon for the sky. And TH carrot bunny for the chimney on top of the roof. Impression obsession grass die.
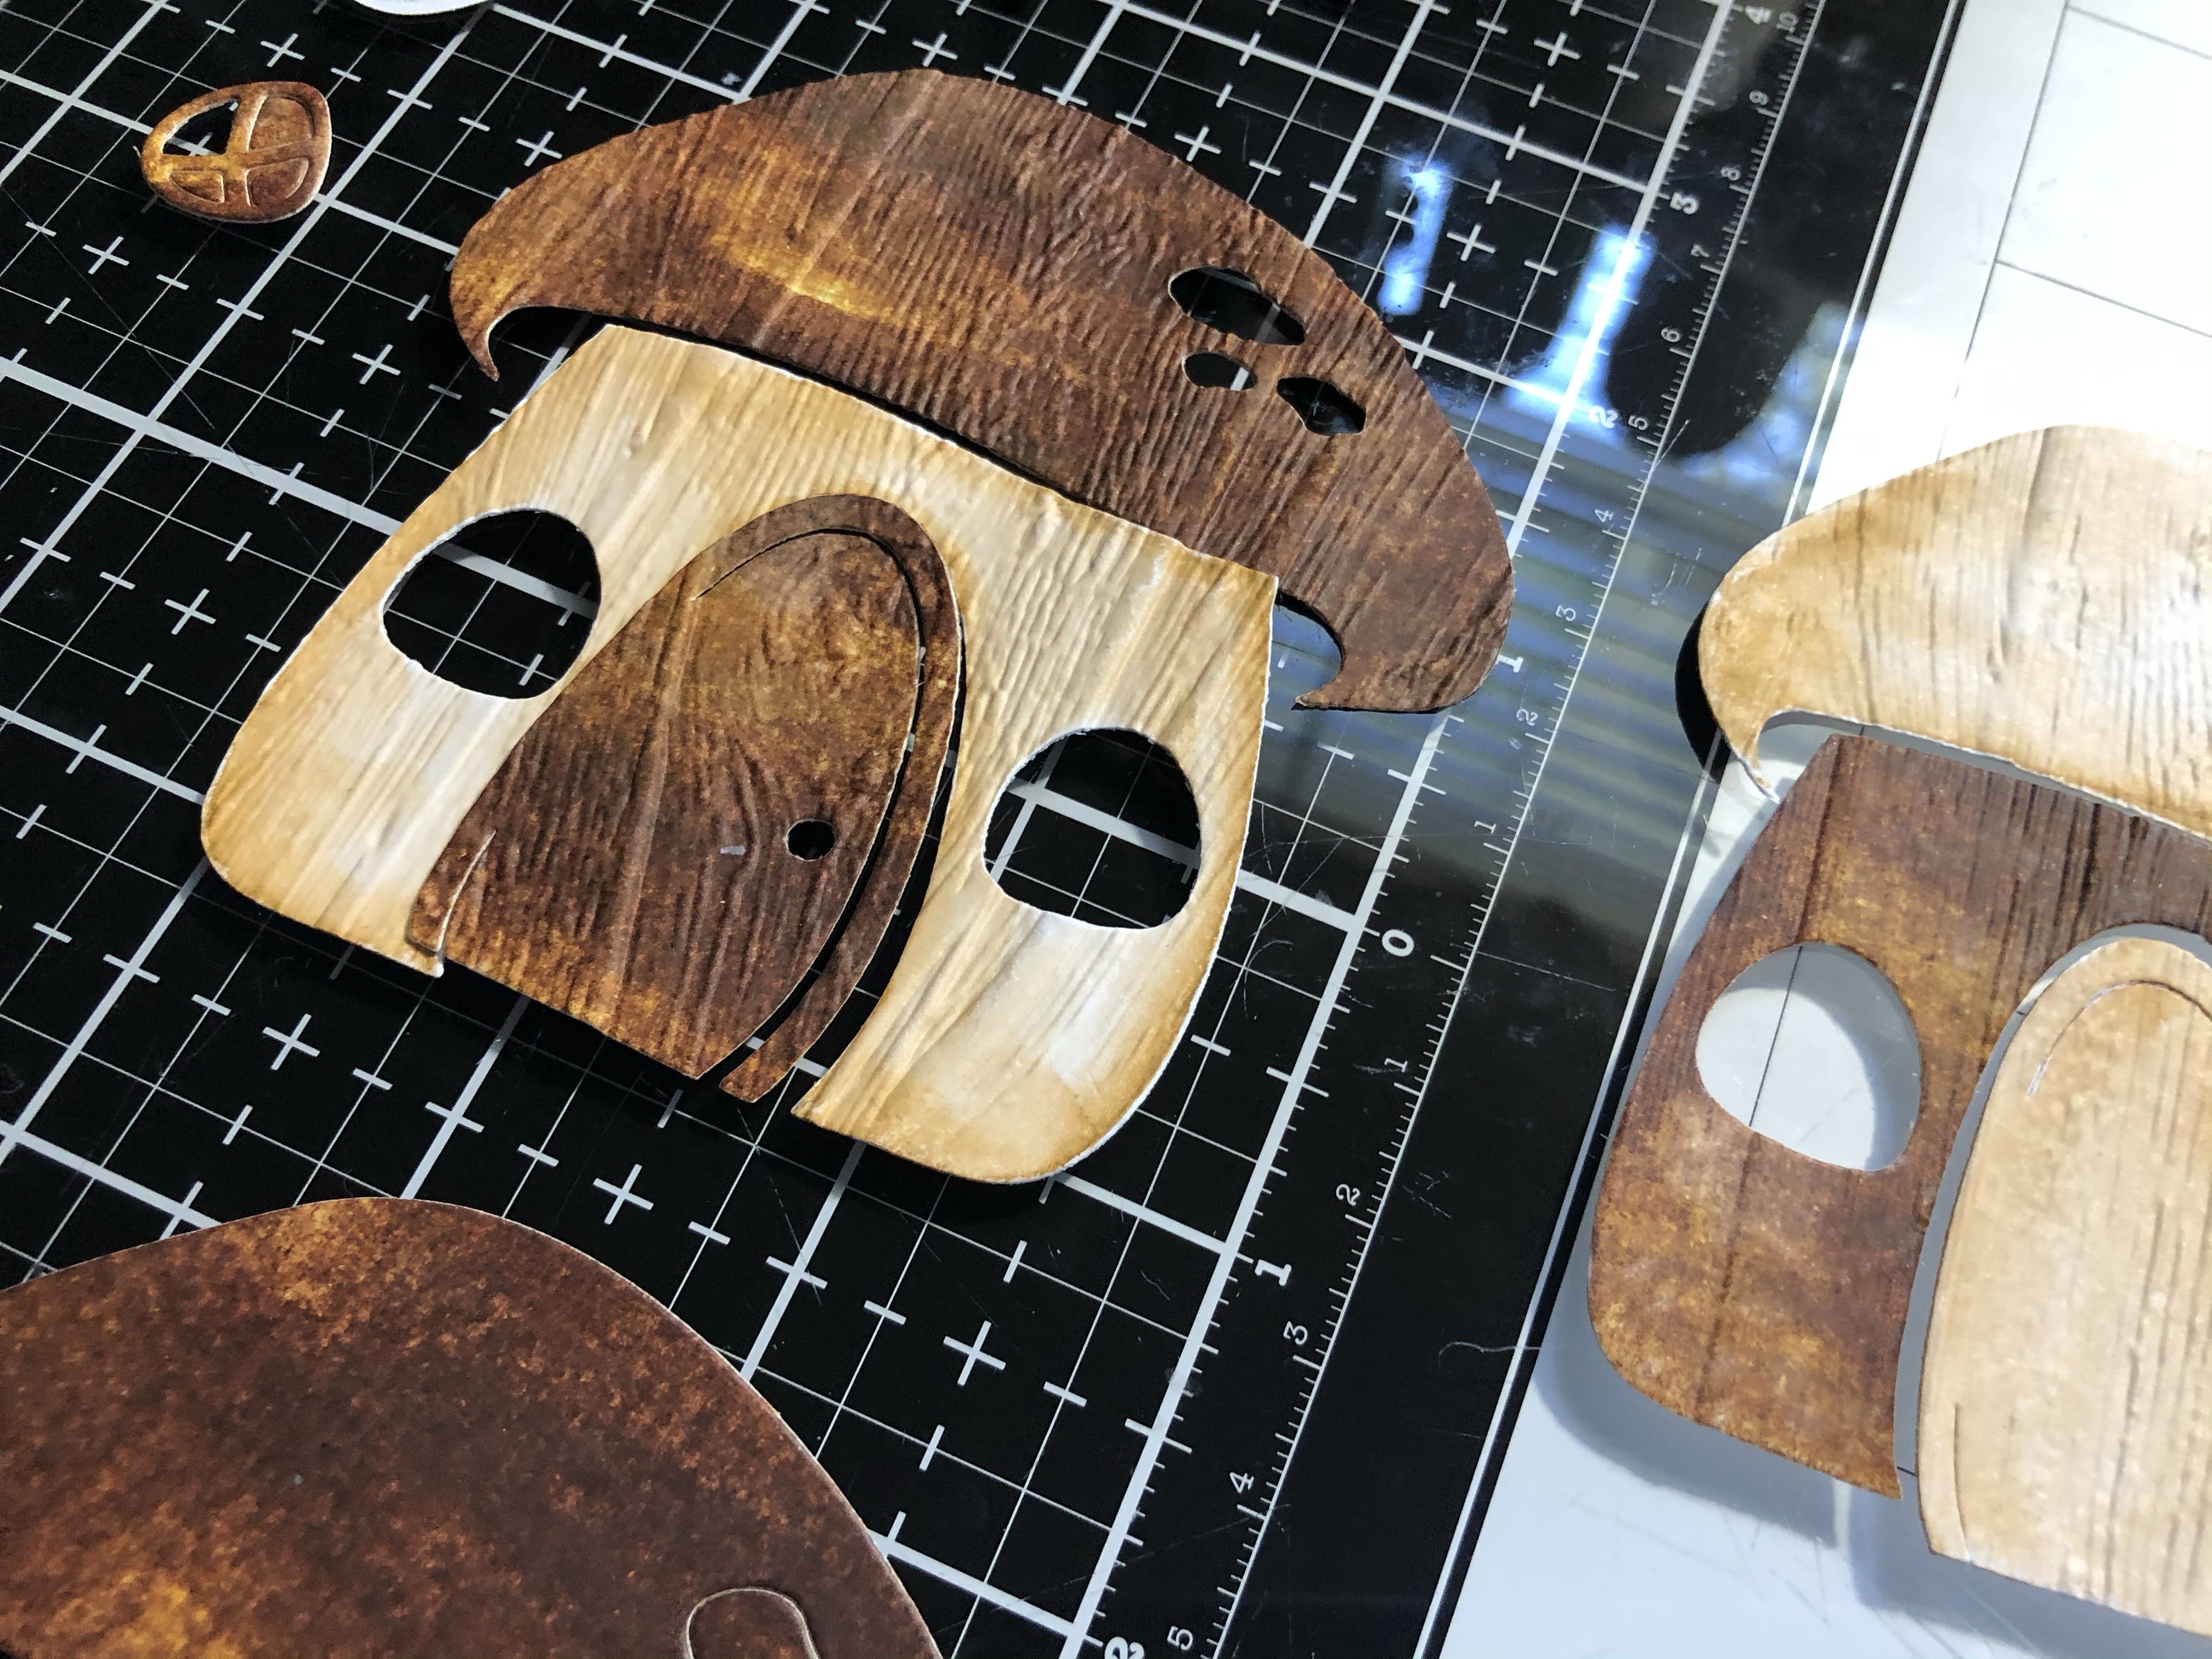
I used Simon says stamps Gnome Home die. Tim holtz distress stain walnut, vintage photo and 3-d texture fade Lumber.
Copic markers used are R20 blush, R83 rose mist, R85 rose red, YR68 orange, YR04 chrome orange, Y19 yellow, BG23 coral sea, BG49 duck blue, G14 apple green, E35 chamois and E95 flesh pink. I also used Nuvo glitter drops shite blizzard and Ranger sticklers firefly and orange peel.
Happy Easter everyone. Thank you for checking out my blog.
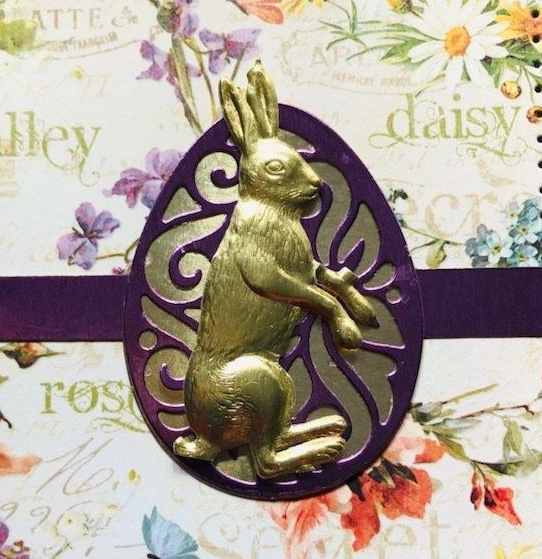
Hello my crafty friends! Last weekend I got to meet with a group of wonderful creative friends. We meet once a month for the several years and always share ideas and work on our own crafty products. One of my crafty friends gave me this cute, pretty gold bunny’s. So I decided to make a classic easter bunny cards. I’ll list products down below.
Classic Easter Bunny Cards
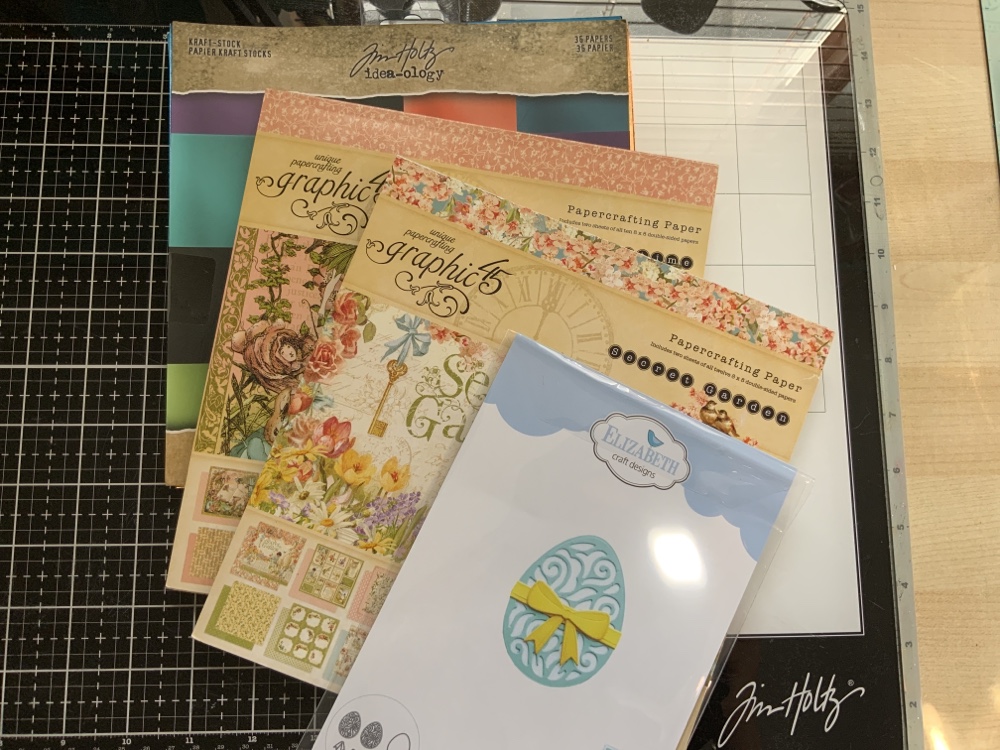
I used graphic 45 double-side paper called Secret Garden Collection, Tim Holtz idea-ology kraft- stock Metallicd Jewels. And Elizabeth craft designs 1627 Elegant Easter Eggs die.
Paper here on this card is also graphic 45 called Once Upon a Springstime Collection. Happy Easter stamp is Tim Holtz spring shadows CMs393 and Memento Rich Cocoa dye ink. Thank you for checking out my blog. Have a wonderful day.
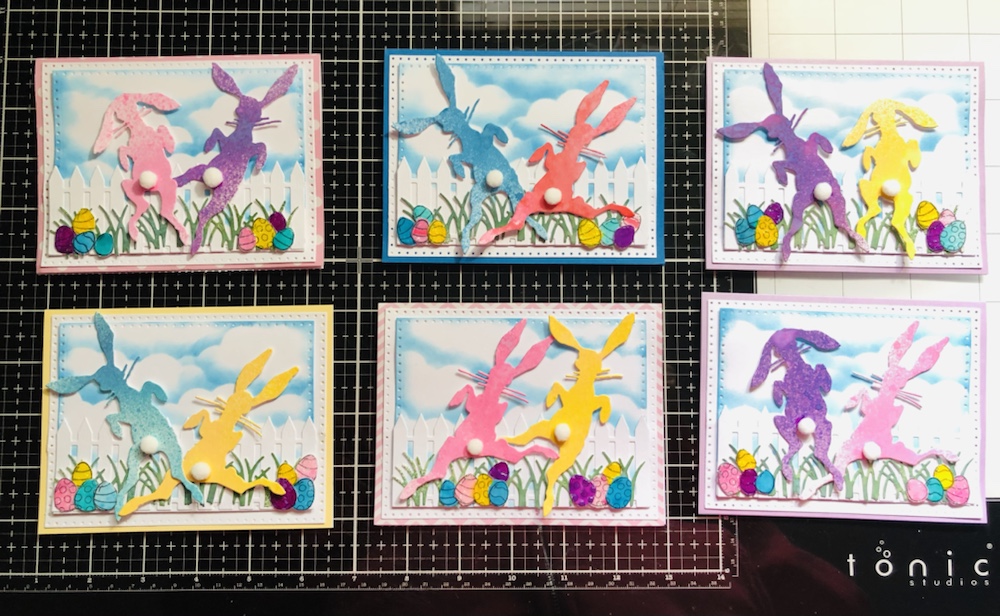
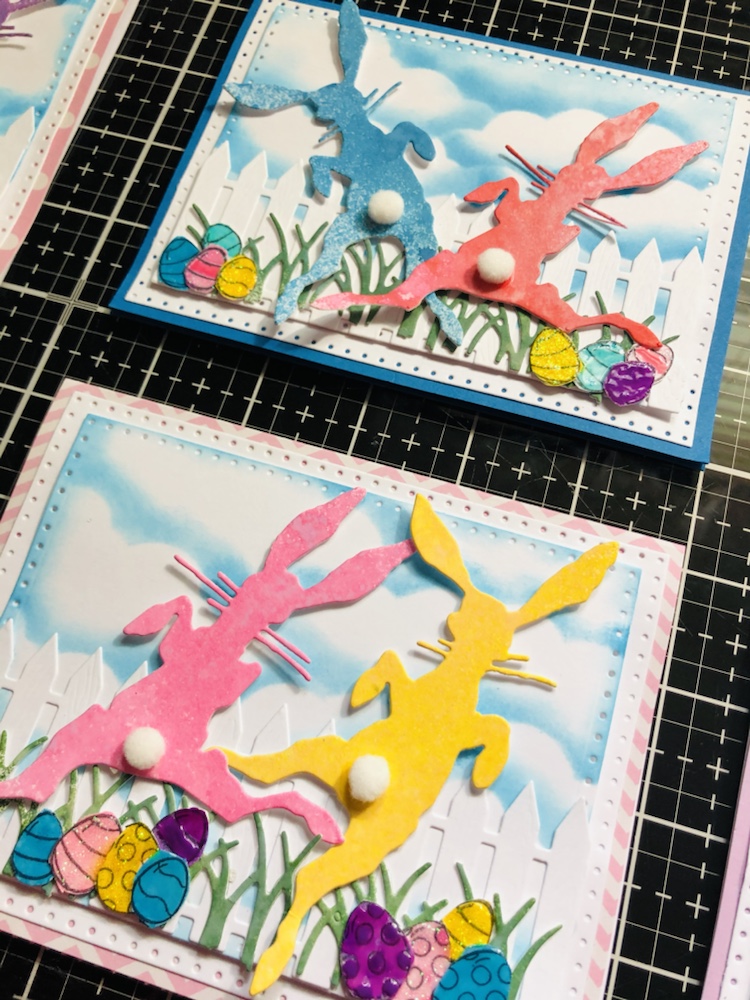
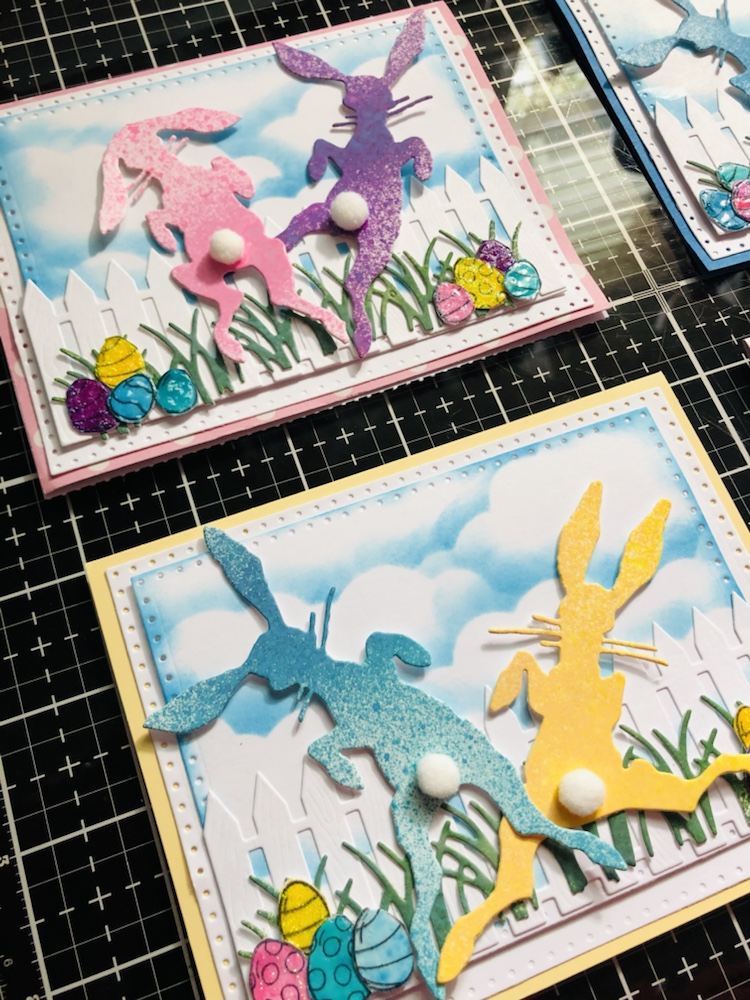
Hello my crafty friends! Today I’m sharing my Easter cards I made for my grandchildren’s, plus G- grandchildren’s. I had so much fun making all of theses cute cards for each one in different colors of bunny for them. I used Tim Holtz product to create theses cute cards.
My handmade Easter Cards for my wonderful grand & great grandchildren’s. Plus I made other little goodies to go out in the mail with theses cards. The colors I used for theses bunny’s are Tim Holtz distress oxides sprays kitsch flamingo, dusty concord, squeezed lemonade for the bunny’s. For the sky mermaid lagoon and for the grass rustic-wilderness. Bunny’s here are T.H. Distress oxides sprays crackling campfire, mermaid lagoon. The fence is Impression obsessing dies die206-V cut with 110 white cards stock.
Also other color I used on bunny’s here is TH distress oxide spray broken china. I took a stamp set from sizzix and stamp eggs out with the same colors I used for Bunny’s. And add some gloss accent to them.
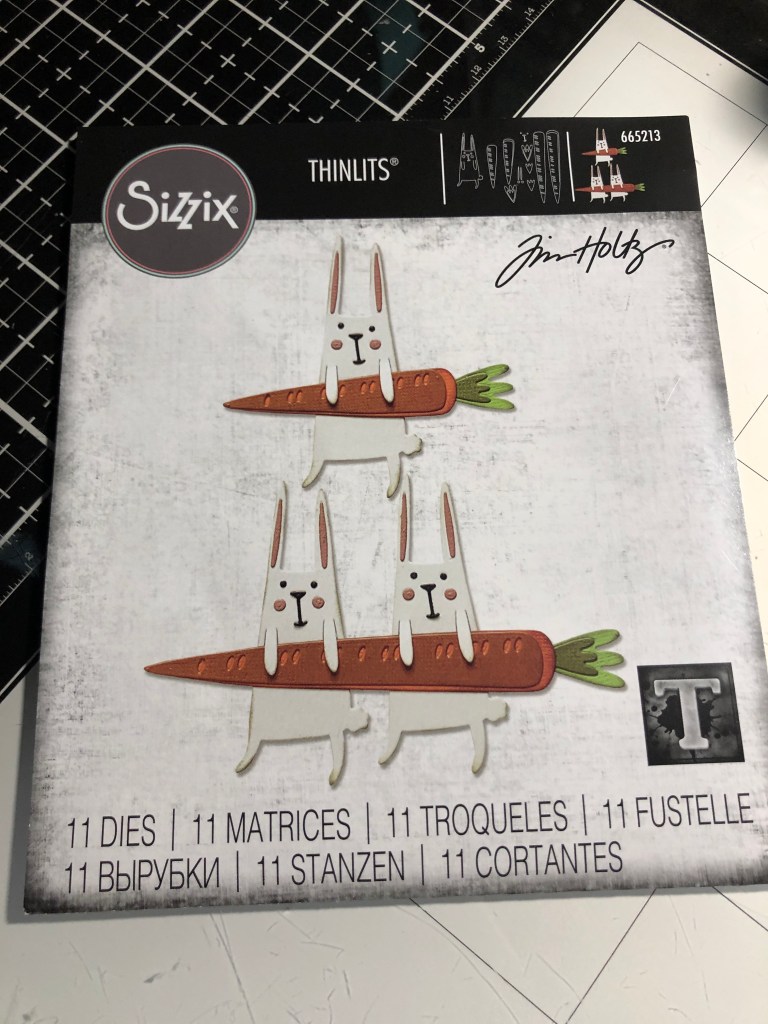
Here’s a picture of TH bunny hop thinlits set. One of my favorite sets. Can’t forget I added a little fur ball for their tails. Now off they go to the post office with other little goodies.
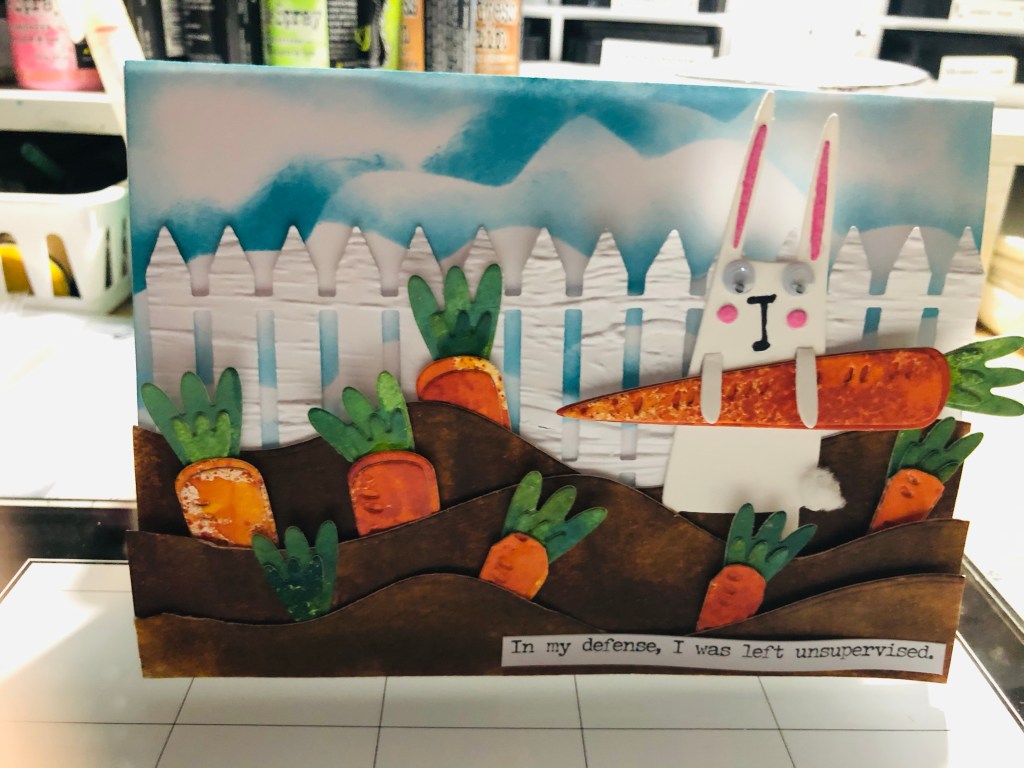
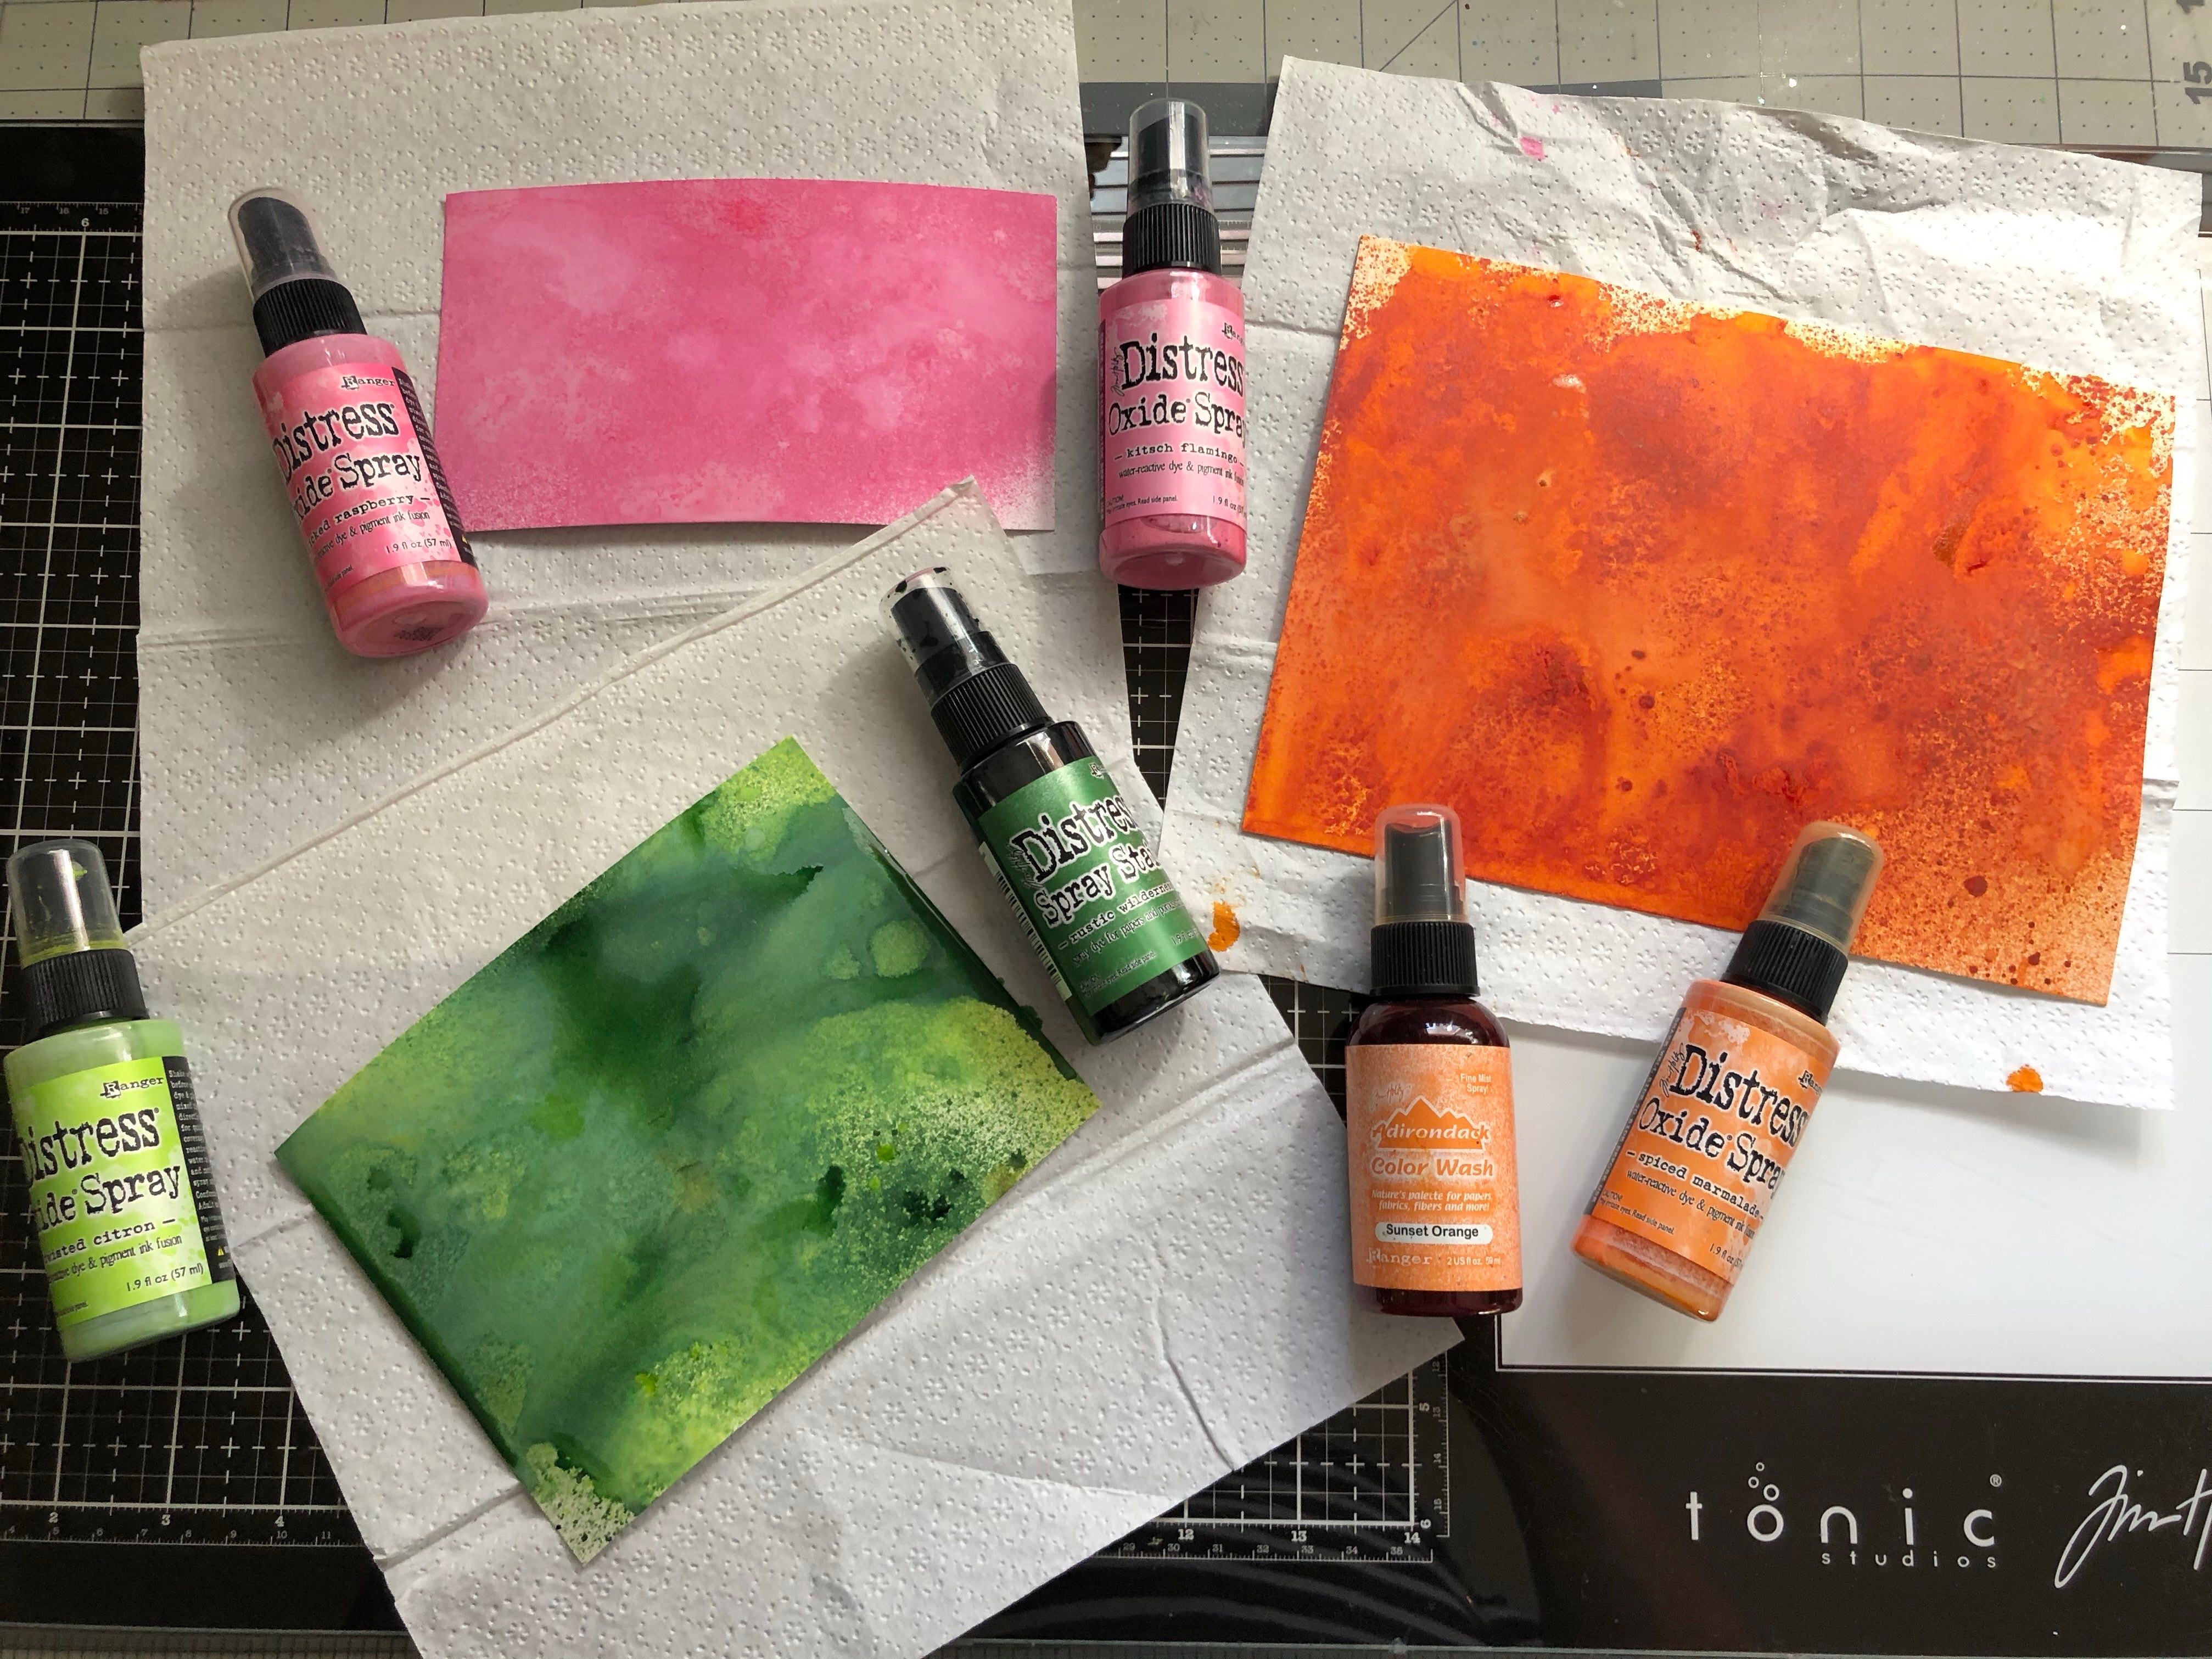
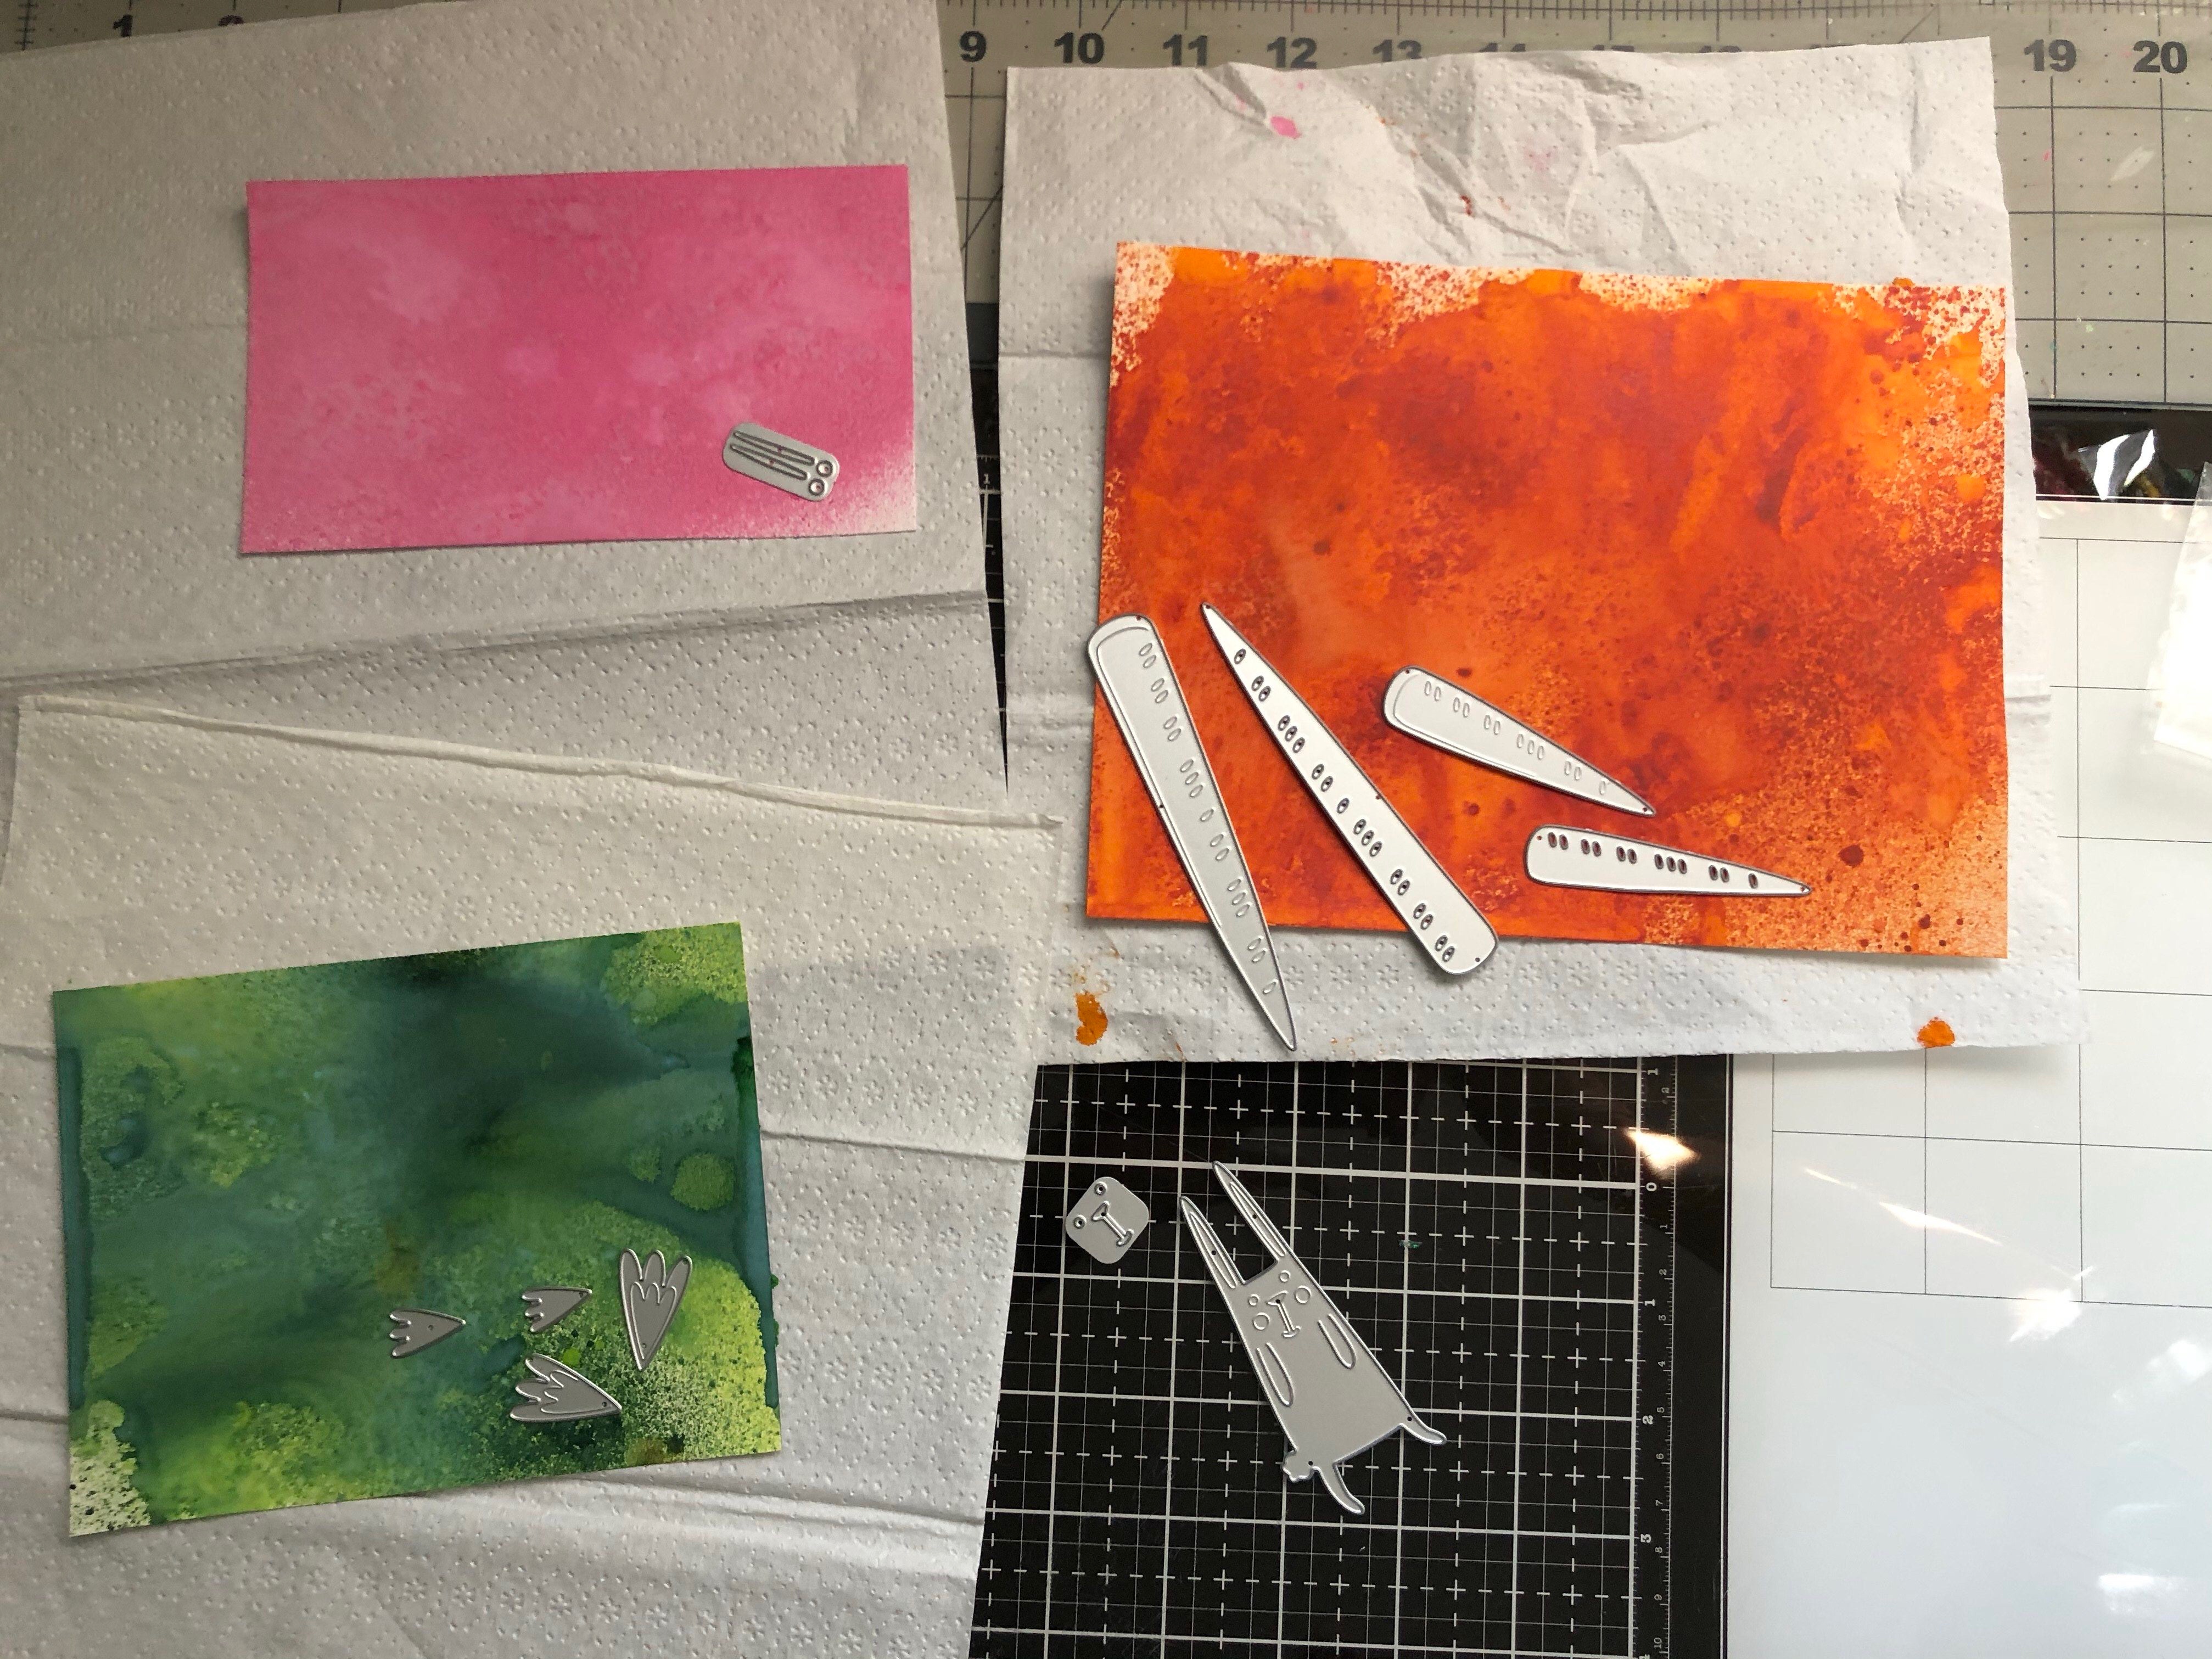
Hello my craft friends! Just a quick-easy fun little card to make with tim holtz carrot bunny thinlit die’s # 665213.
I used to Tim holtz distress spray stain rustic wildernesses, distress oxide spray twisted citron for the top of the carrots. On the bunny ears I use distress oxide sprays kitsch flamingo and picked raspberry. Carrots colors are T.H Adirondack color wash sunset orange and distress oxide spiced marmalade. Dirt I used distress stain antique linen, wild honey and vintage photo. The sky is distress Oxide broken china. Fence is cut out of 110 cardstock, impression obsession die and used Tim Holtz 3-D texture fades lumber # 662718. This is adorable set!
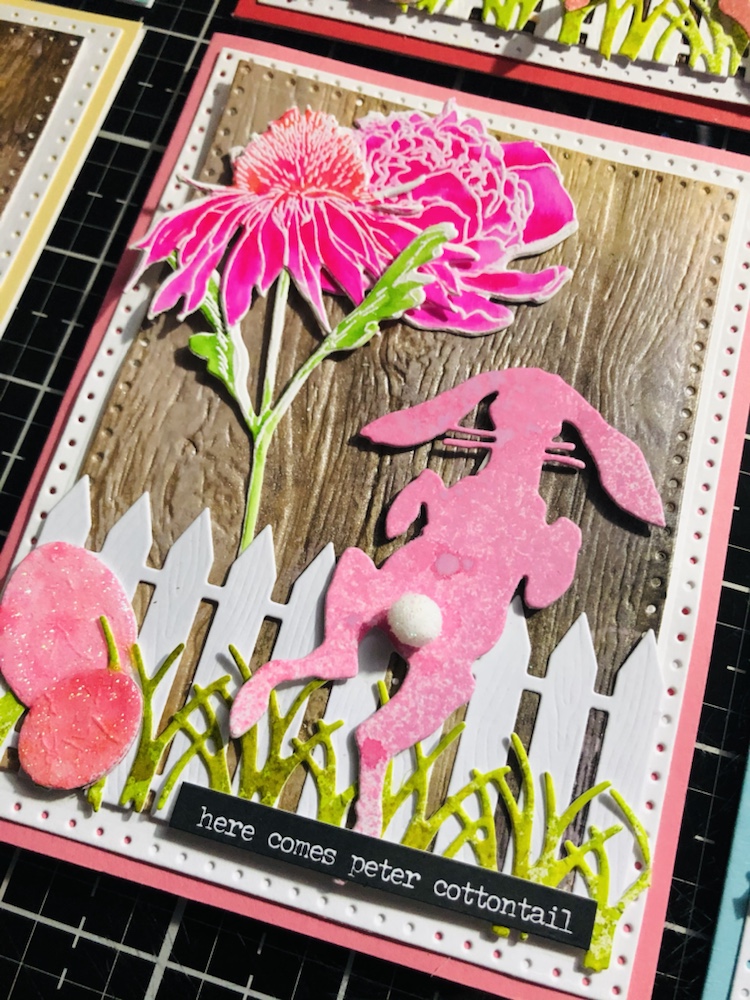
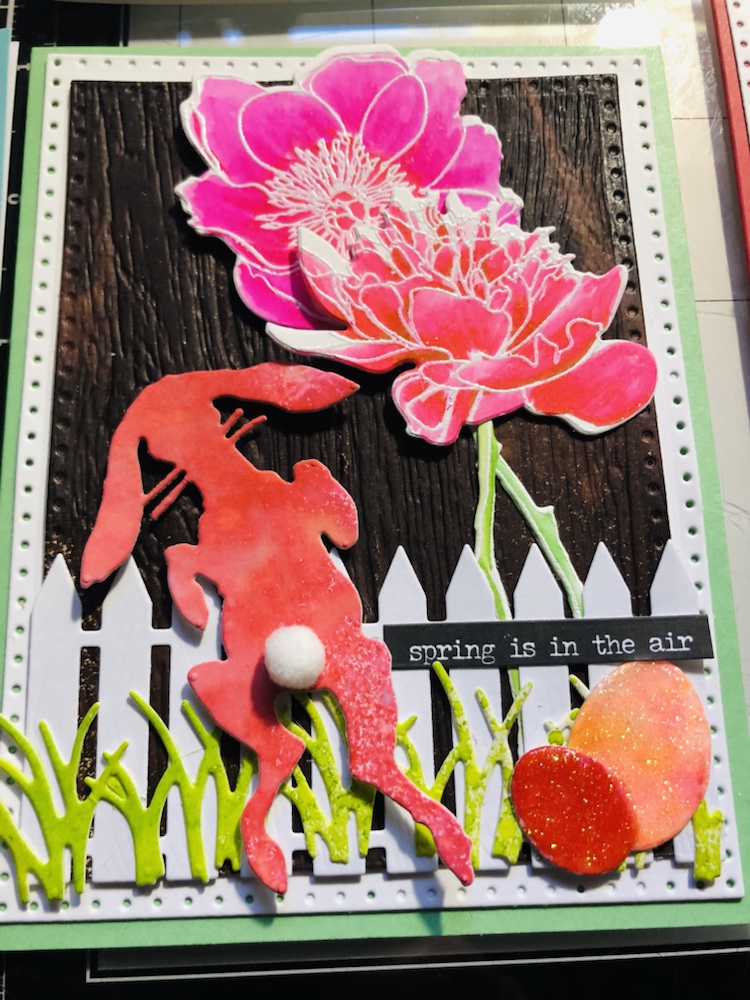
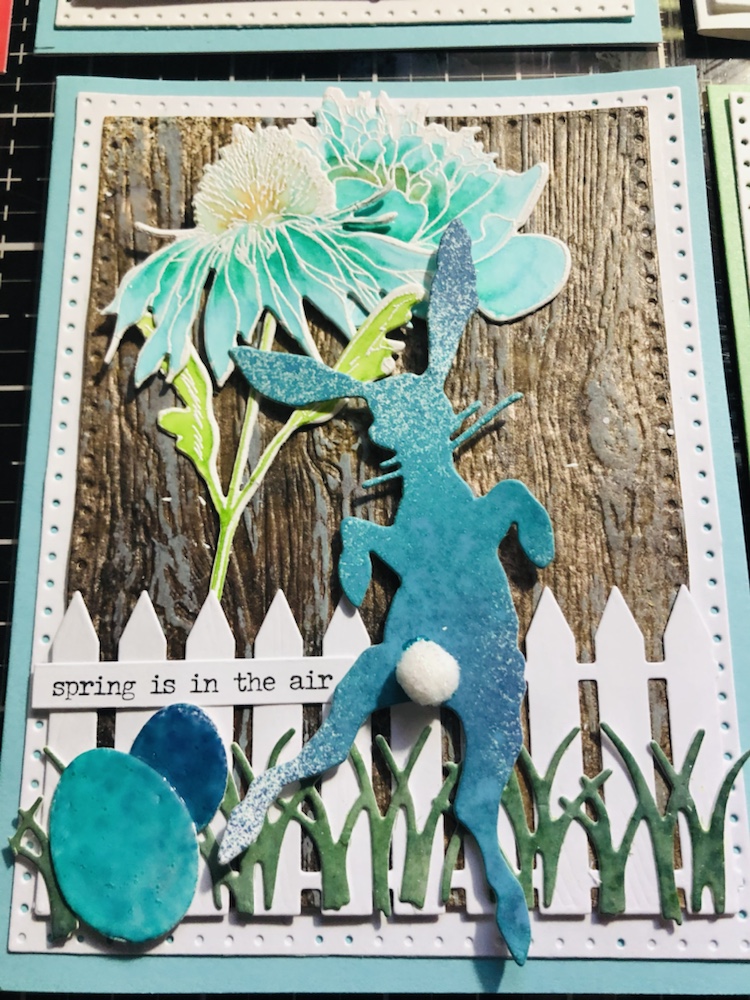
Hello my crafty friends. Today I finished my sneak peek Easter cards. I did nine cards using Tim Holtz products. Theses are extra Easter cards I made. If you leave me a comment and like on my blog or facebook. I will put your name in a drawing this Saturday March 6, I will pick two winners to receive three Easter cards each. I will list everything I used down below.
Happy Easter Cards
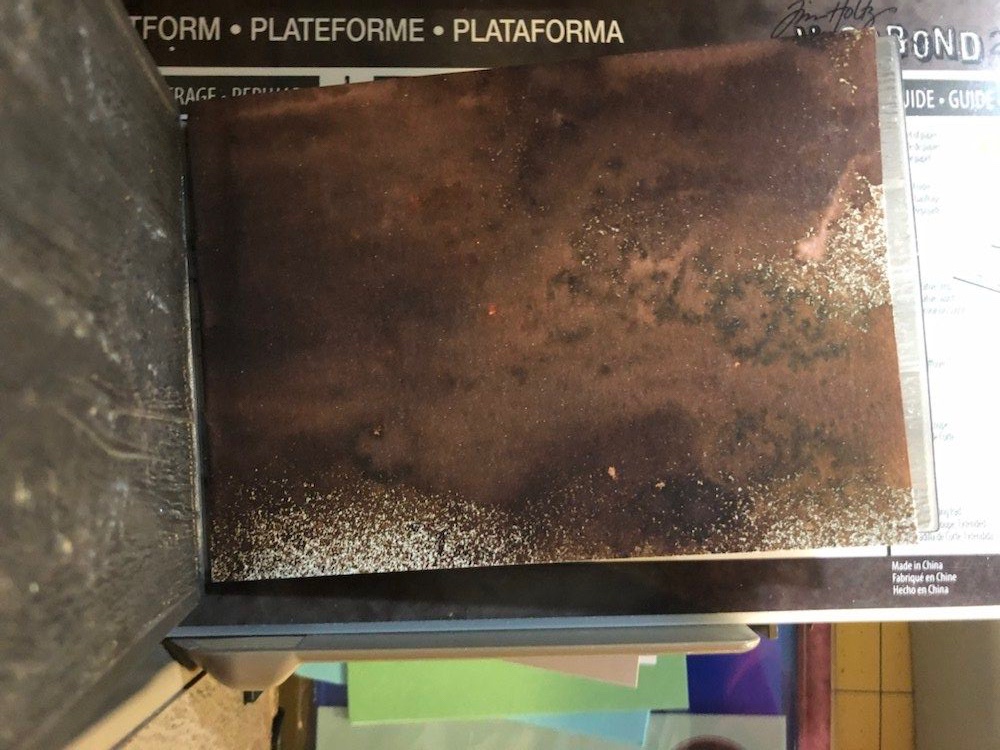
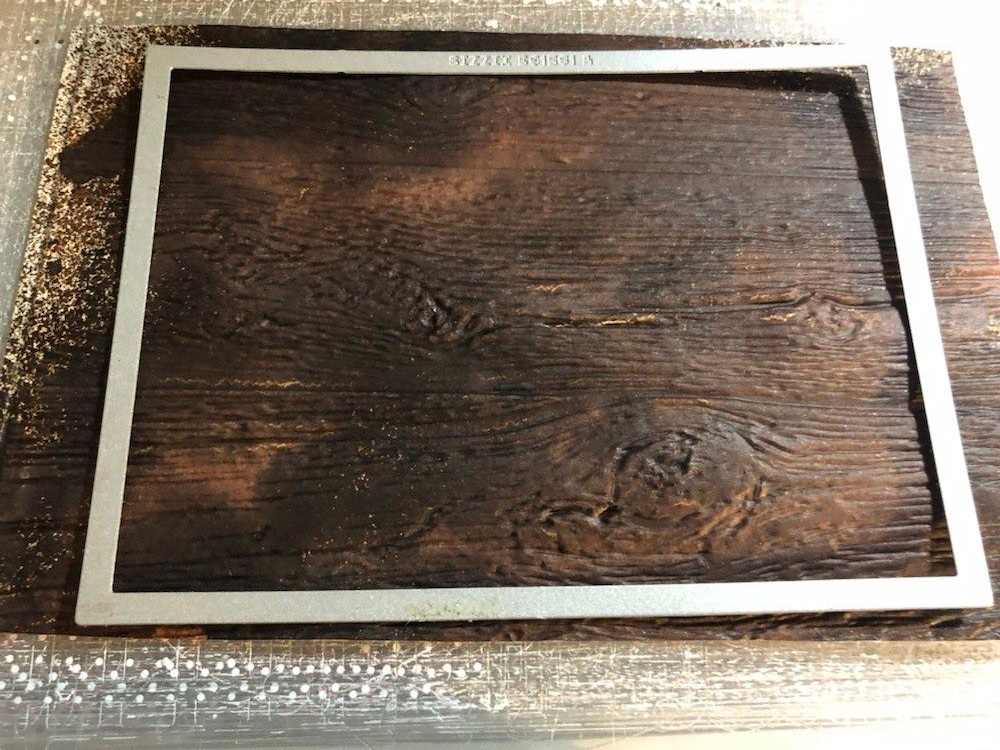
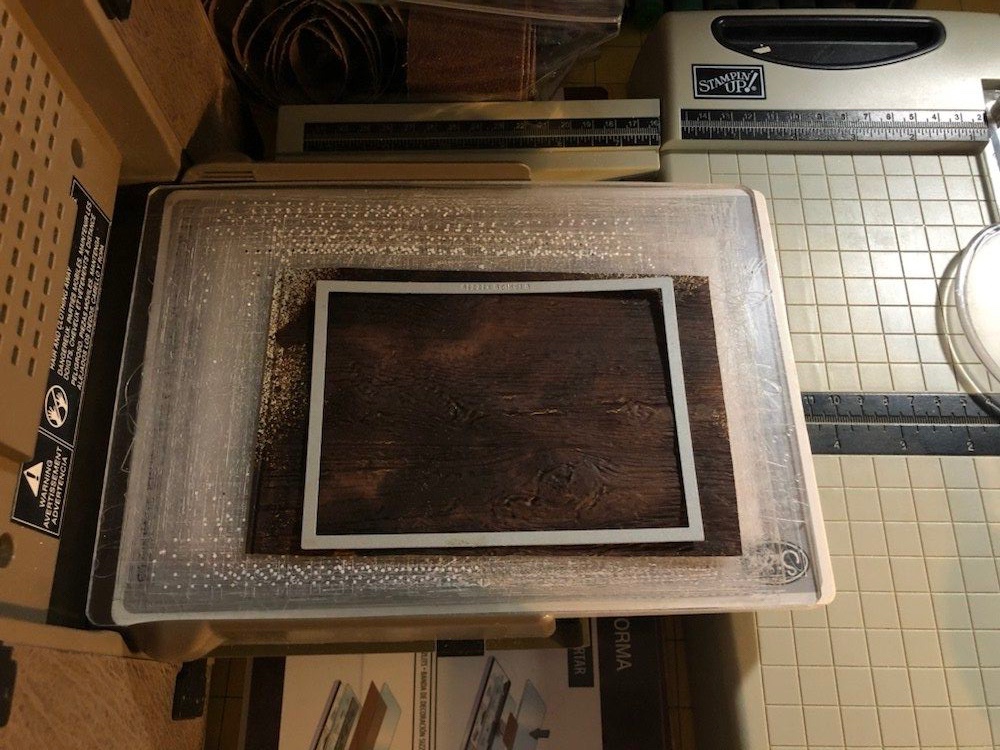
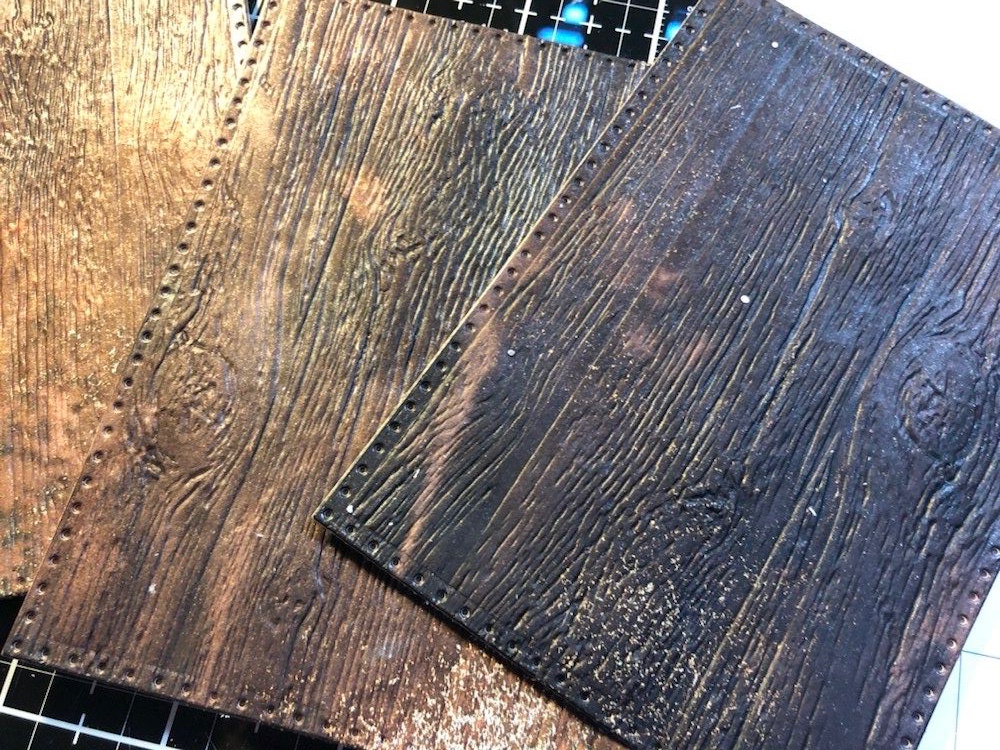
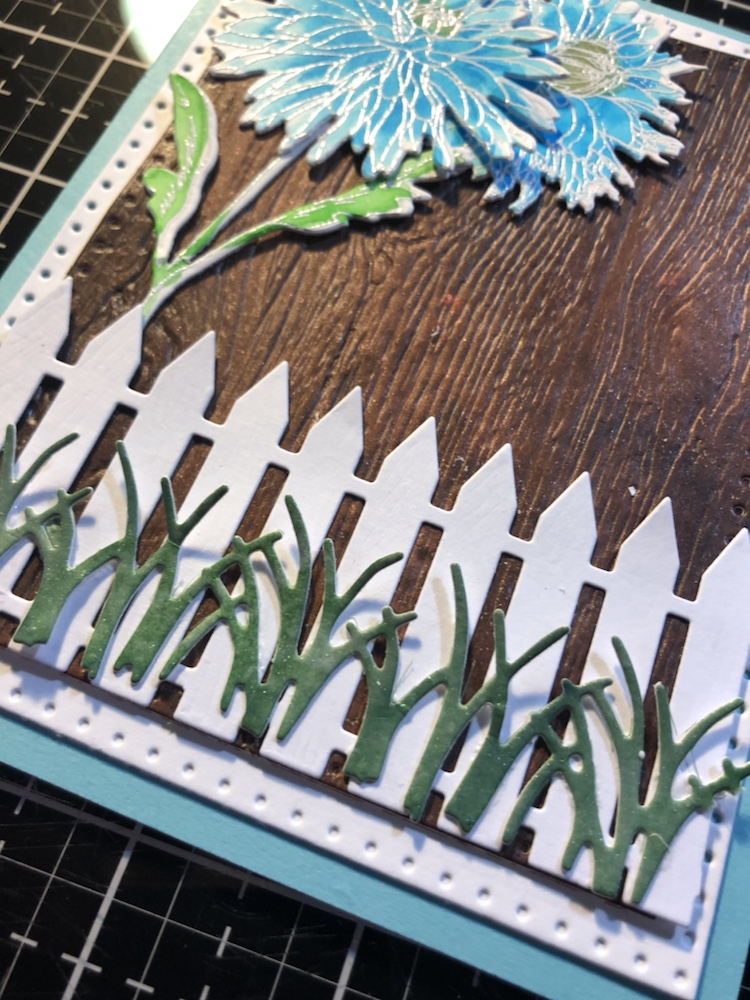
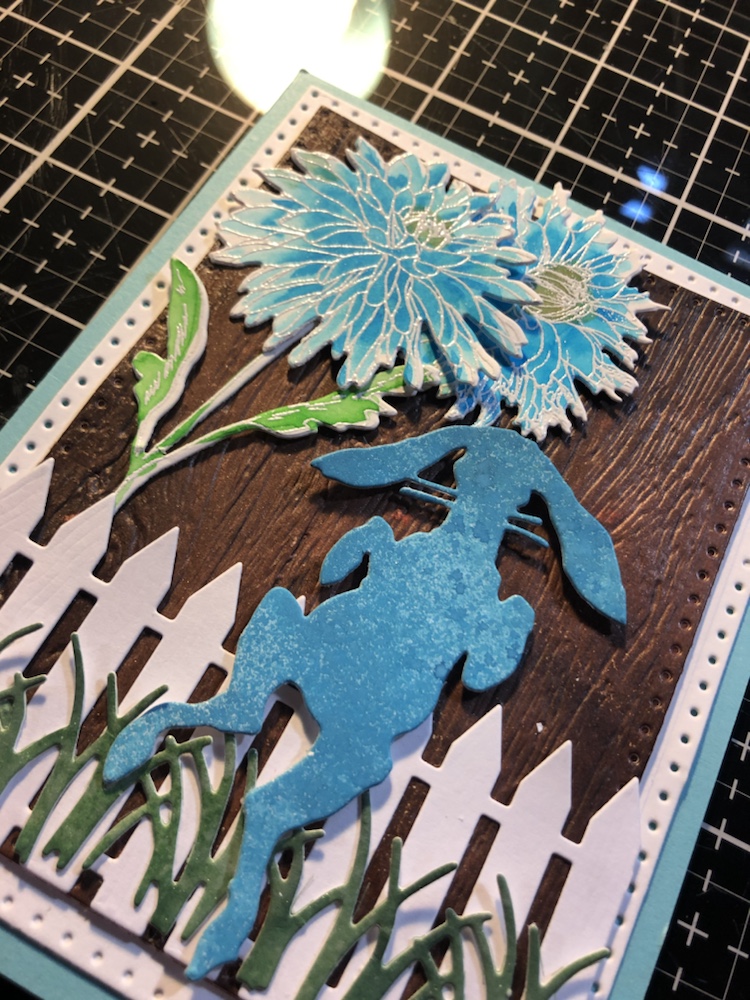
I used Distress spray stain ground espresso and Dylusions ink spray melted chocolate. I pick Tim Holtz 3-D texture fade Lumber #662718, run it threw my T.H. Vagabond 2, three time. Then took My Favorite Things frame die and also run it threw my machine. Gave my back ground a wonderful real look of wood.
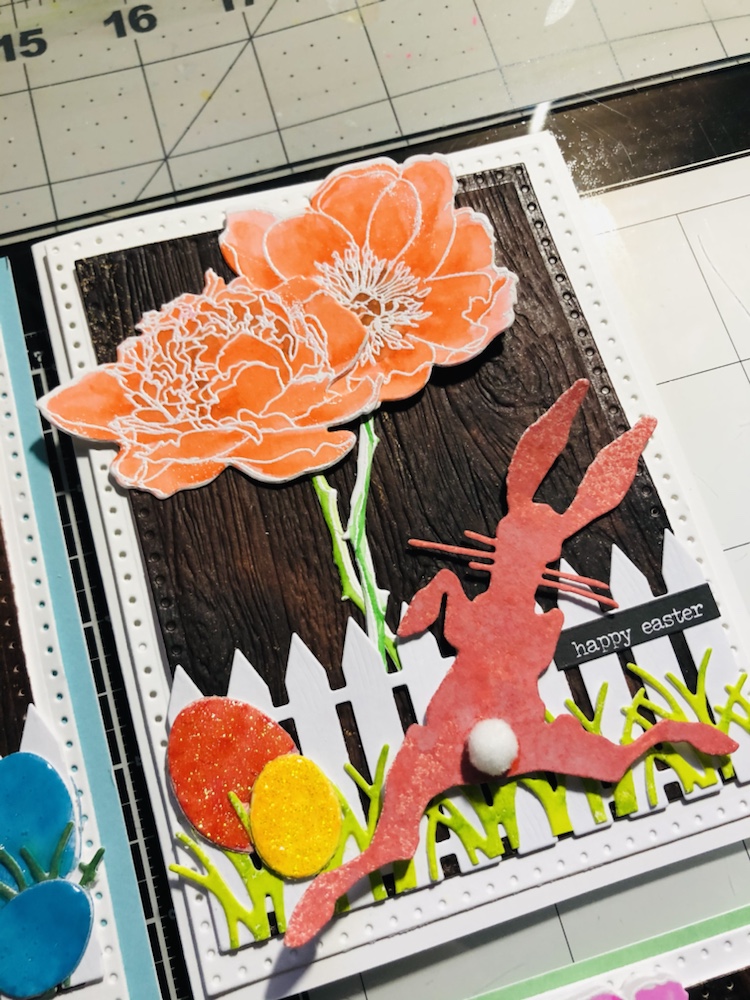
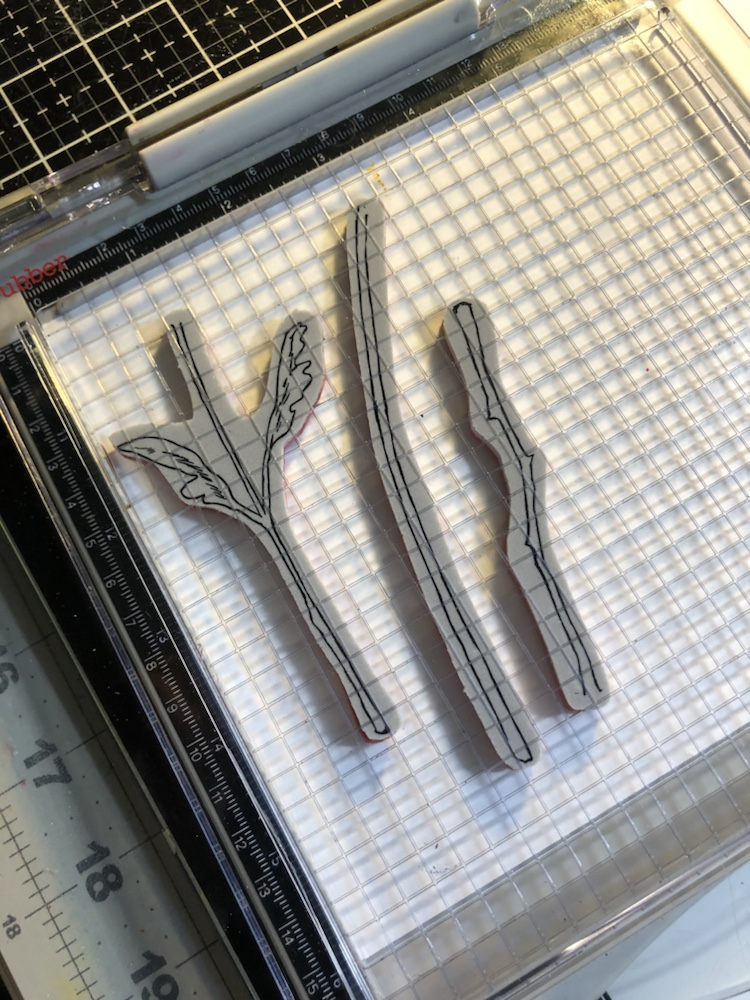
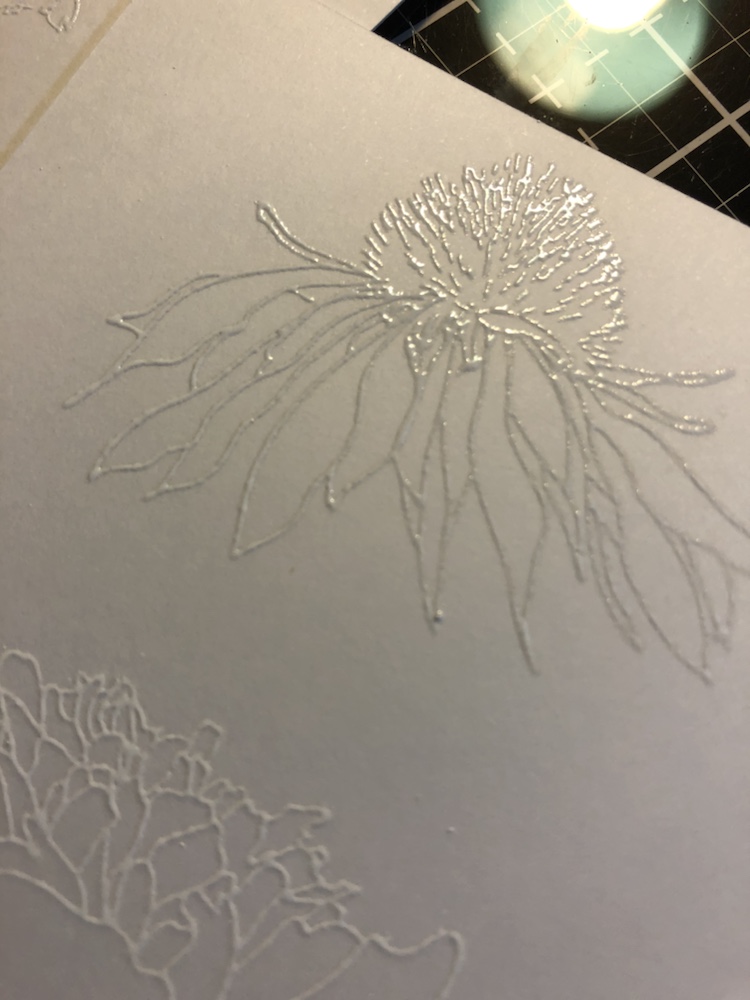
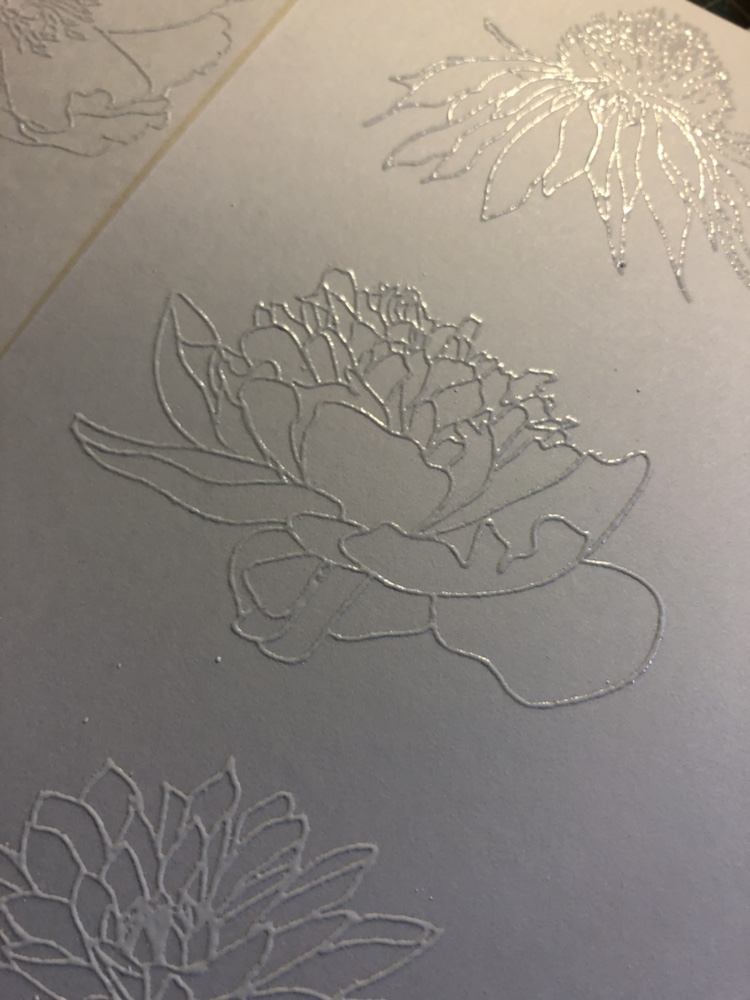
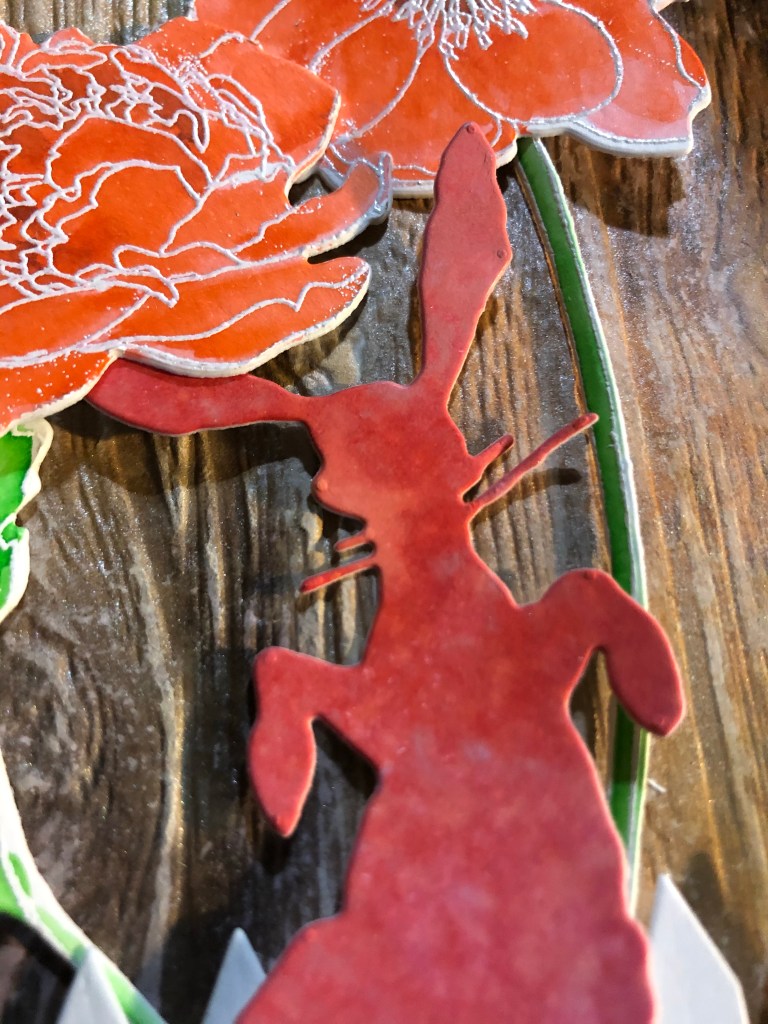
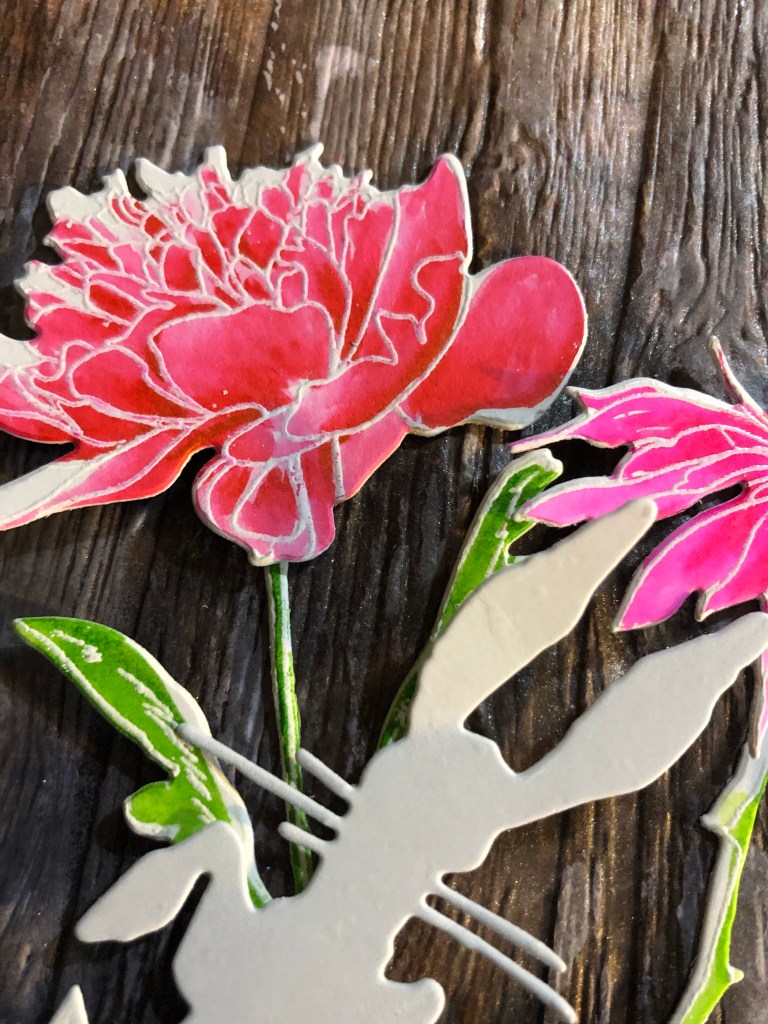
Here I used Tim Holtz stamper anonymous flower garden set CMS215, T.H. Platform, distress embossing ink, ranger embossing powder white and stamp it on Strathmore mixed media paper vellum surface. Then used my heat gun to dry it. Gave it a beautiful glossy look.
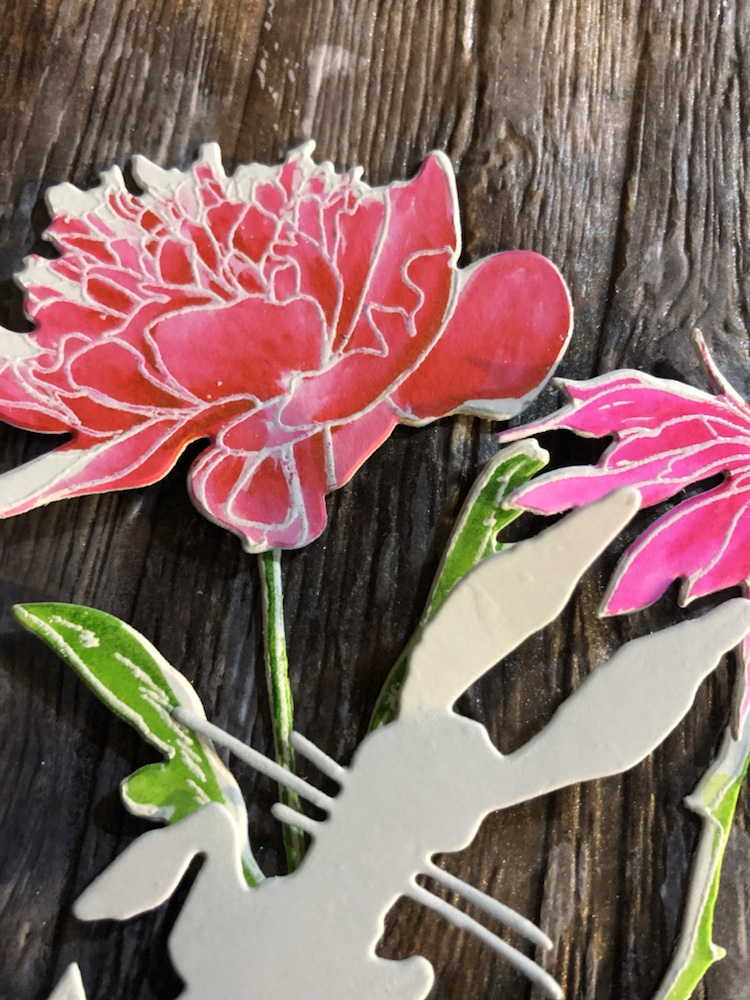
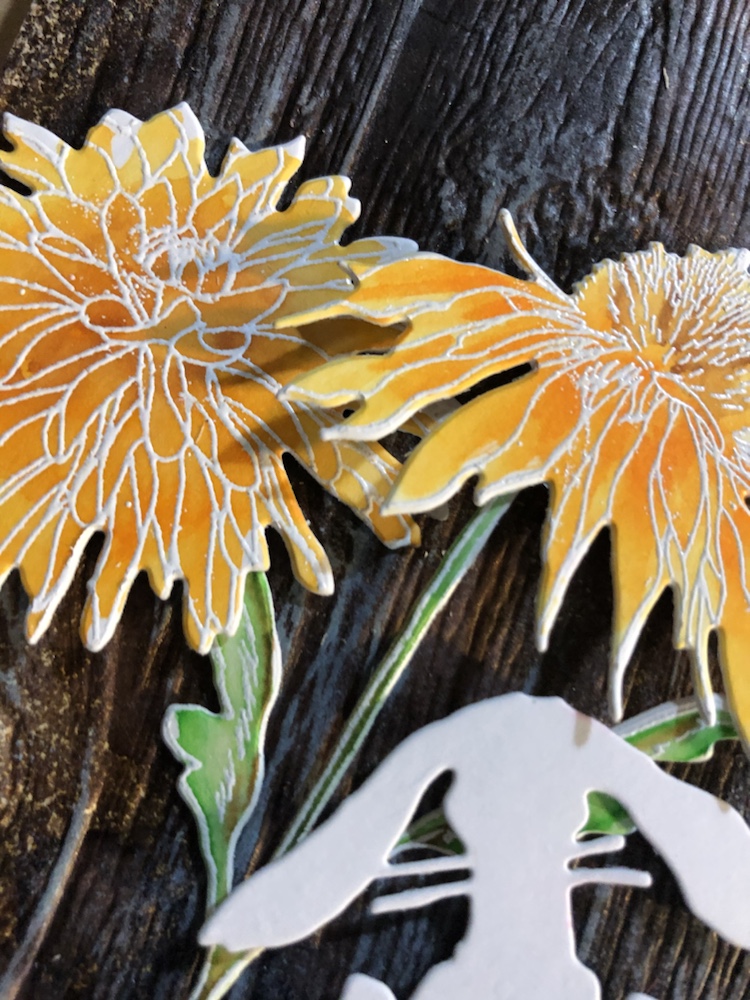
List of colors I used for all flower are Zig water color pens 031 cobalt blue, 036 light blue, 042 turquoise green, 041 light green, 047 may green, 067 mustard, 052 bright yellow, 050 yellow, 061 light brown, 023 scarlet red, 070 orange, 021 light carmine. 022 carmine red and 025 pink. Took a water color brush and blend colors in each flowers. Cut flowers out with Tim Hotlz flowers garden & mini bouquet framelits #661613.
Other products I used are Tim Holtz distress oxide sprays fired brick, mustard seed, squeezed lemonade, kitsch flamingo, peacock feathers, mermaid lagoon and salty ocean. I spray theses colors on strathmore water color paper. And then used Tim Holtz bunny Hop Thinlits #664421 to cut them out. Other products of T.H. I used are distress paint picket fence, speckled egg and sizzix eggs dies, little white furry balls for tails and T.H. Small talk stickers occasions and Nuevo glitter drops white blizzard, sea breeze, morning dew and yellow bird on Easter eggs and tails.
Looking forward to picking two winners for theses Easter Cards…….
I hope to inspire others to have fun and create Easter cards and more. Thank you for checking out my bog. And have a wonderful day.
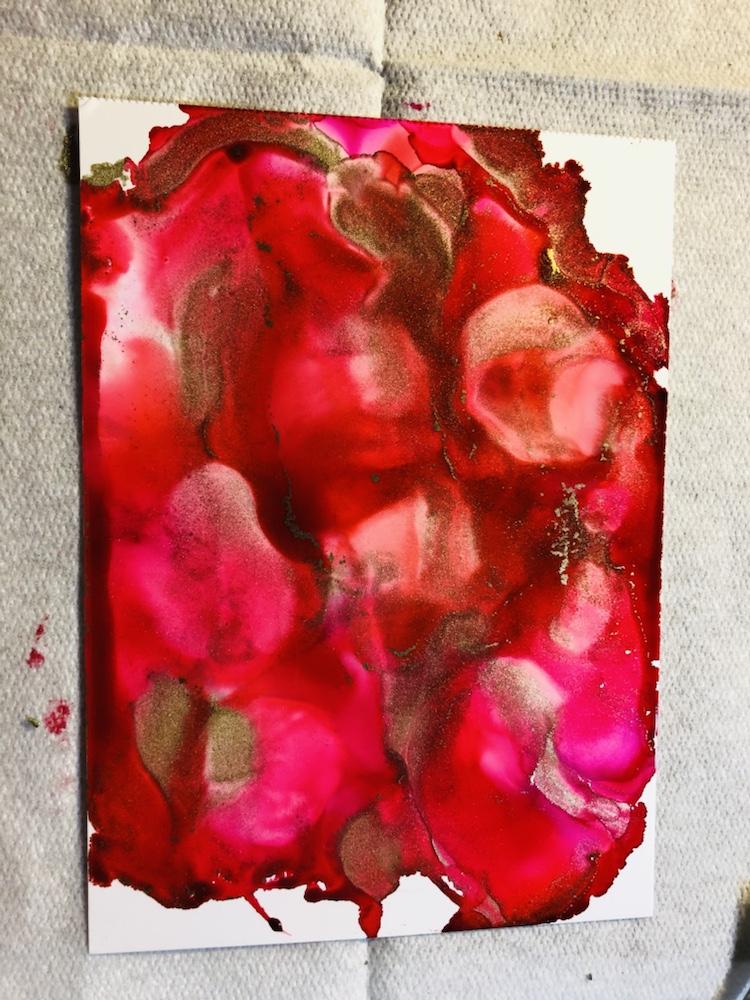
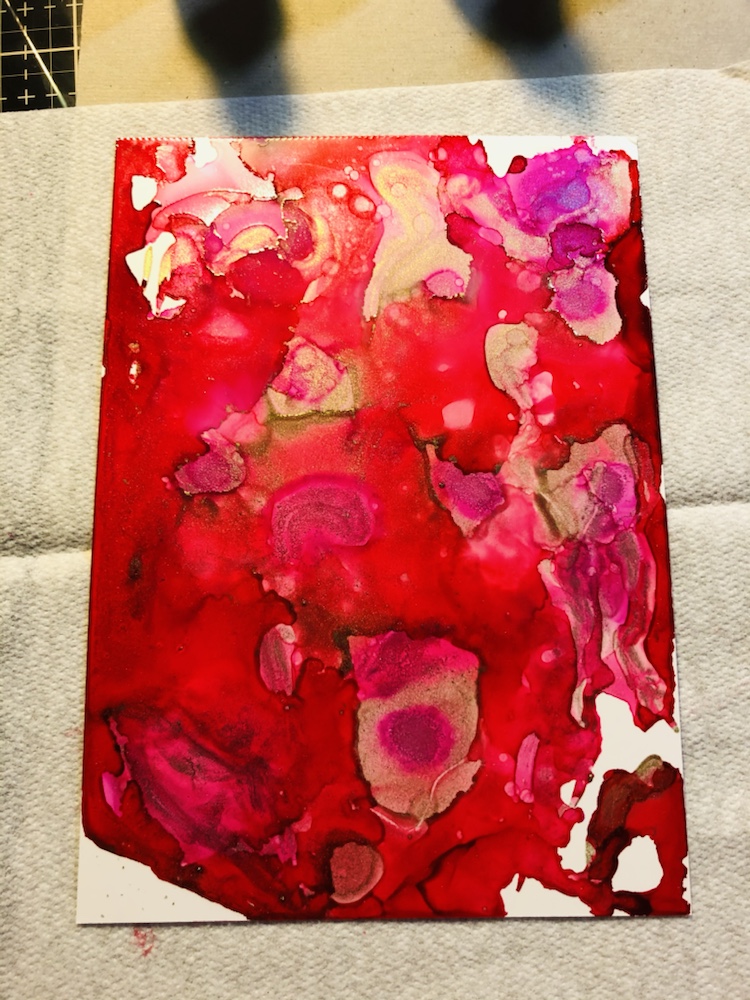
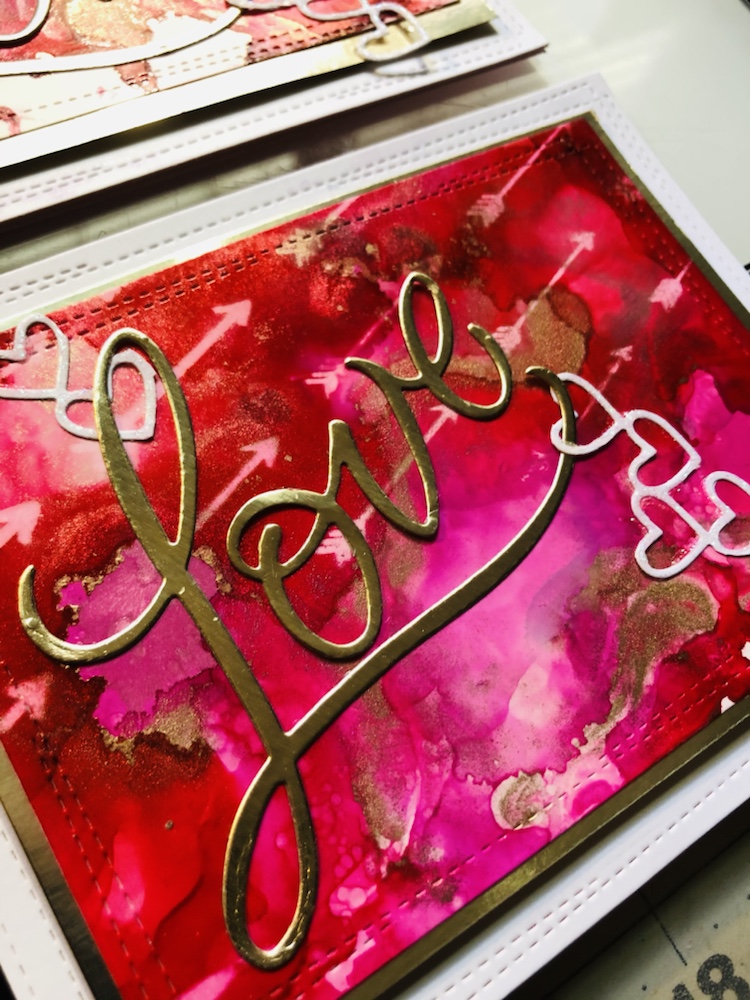
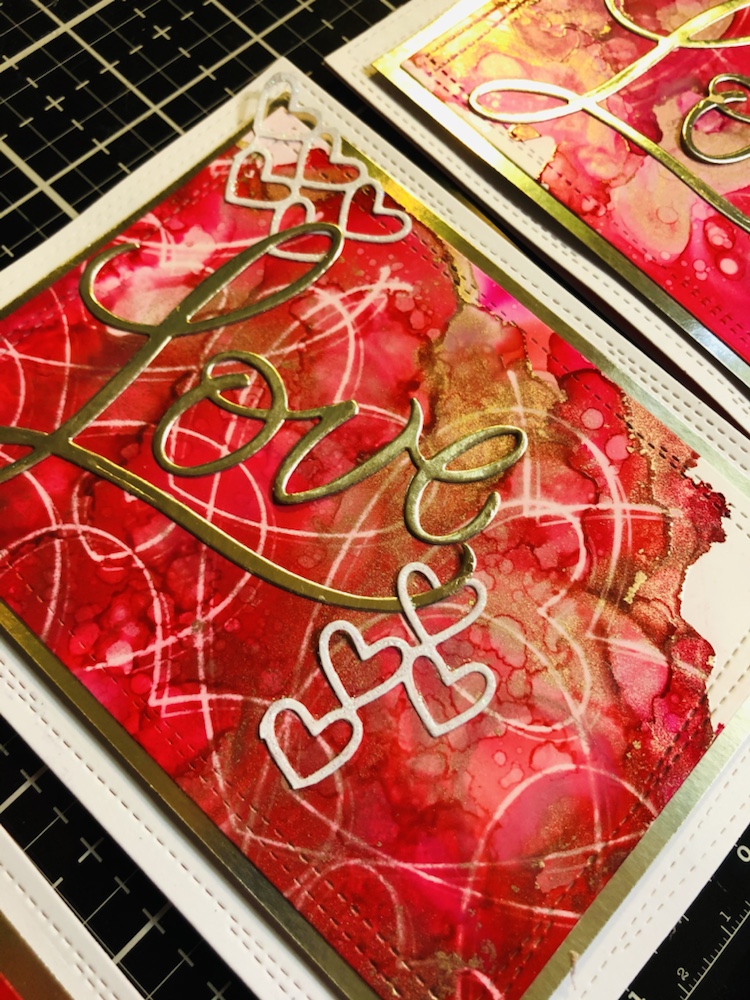
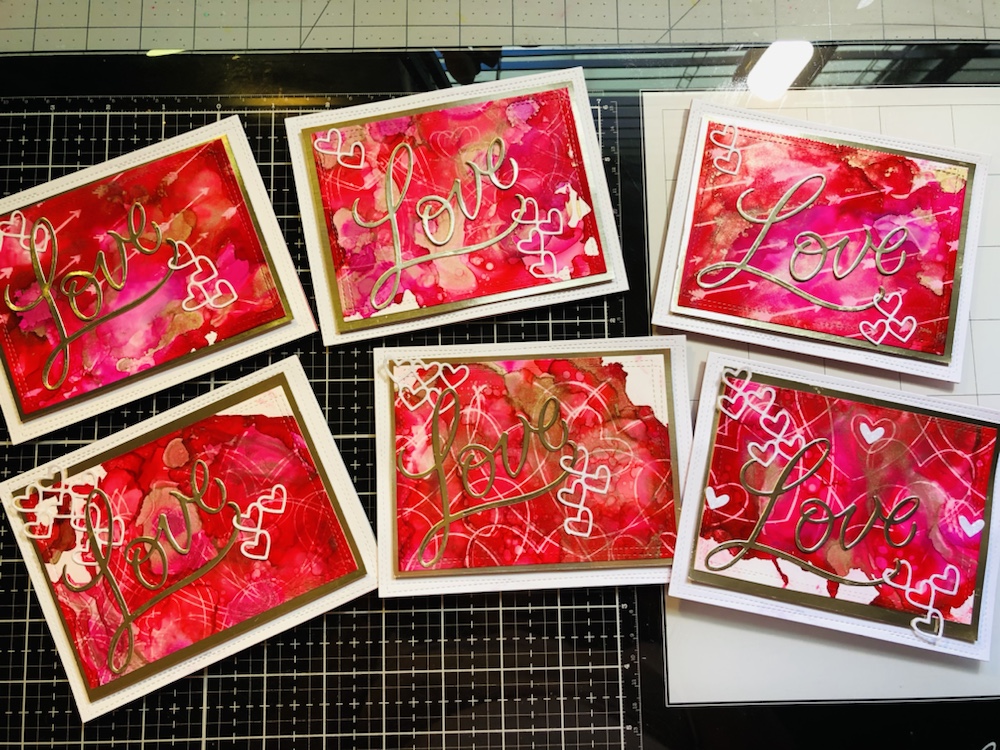
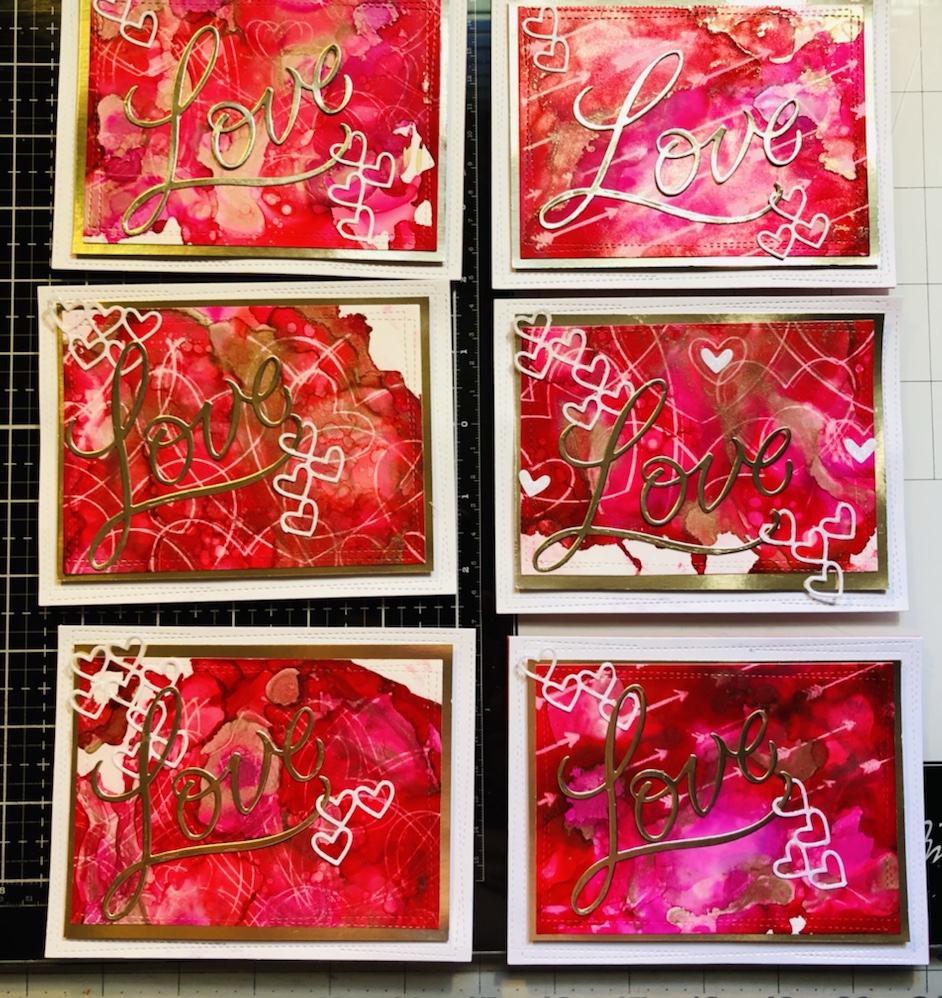
Hello my crafty friends! Just a quick handmade Valentines cards made with using Tim Holtz alcohol inks and other products, I’ll list down below.
Happy Valentines Day Cards
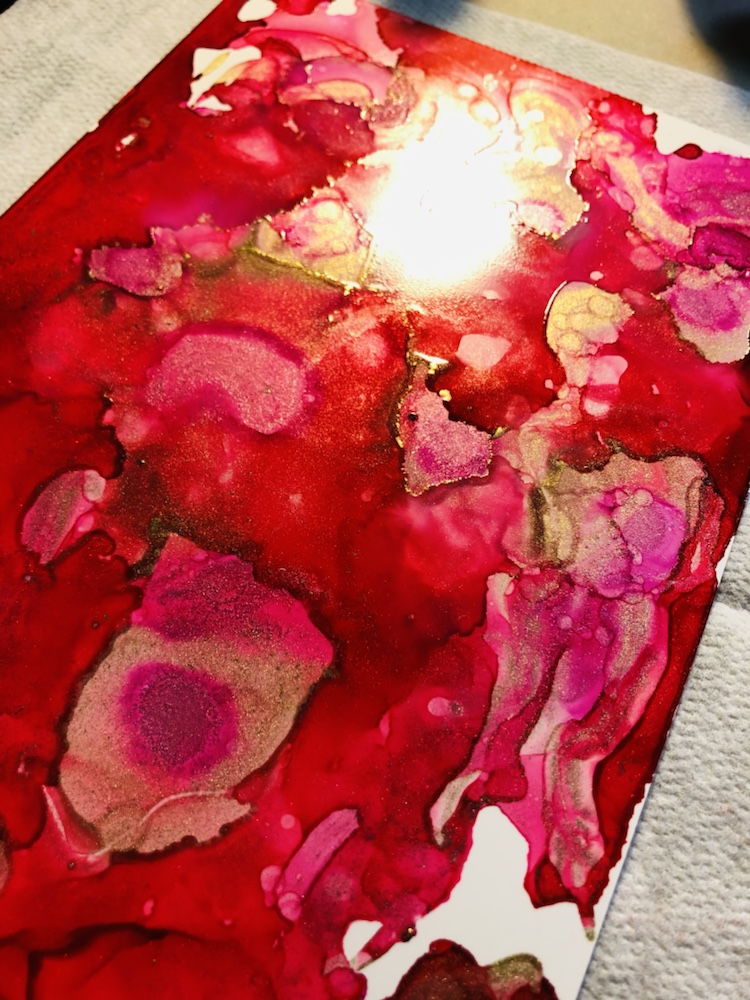
Tim Holtz Alcohol inks are watermelon, gumball and pearl intrigue. I also used Pinata alcohol ink rich gold and blanco. Tim Holtz blending solution and yupo paper.
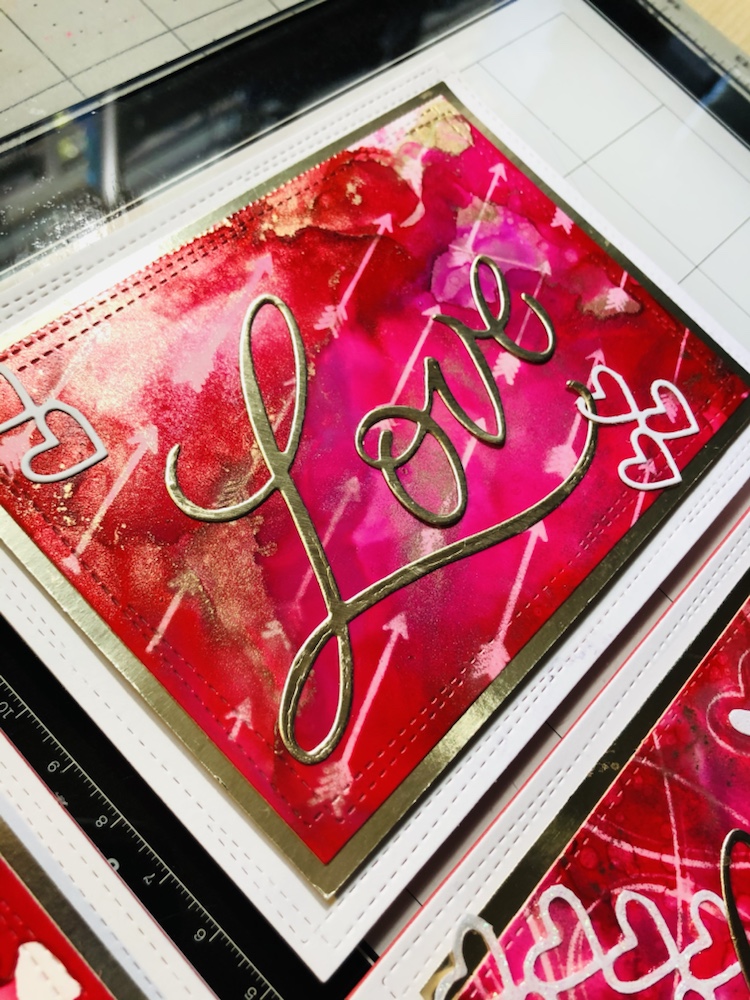
Here I took Tim Holtz alcohol Lift- Ink pad and Simon Says stamps heart, arrows stamp and ink it with his alcohol lift-ink and clean it up with a paper towel. Very simply and easy to do. Die cuts are Sizzix Love, cut out with Tim Holtz kraft stock Metallic-3. Other dies were simon says stamp stacked hearts and memory box inc. wrapped stitch rectangles. 110 white card stock.
Thank you for checking out my blog. Please let me know what you think and give me a like. Happy Valentines Days.
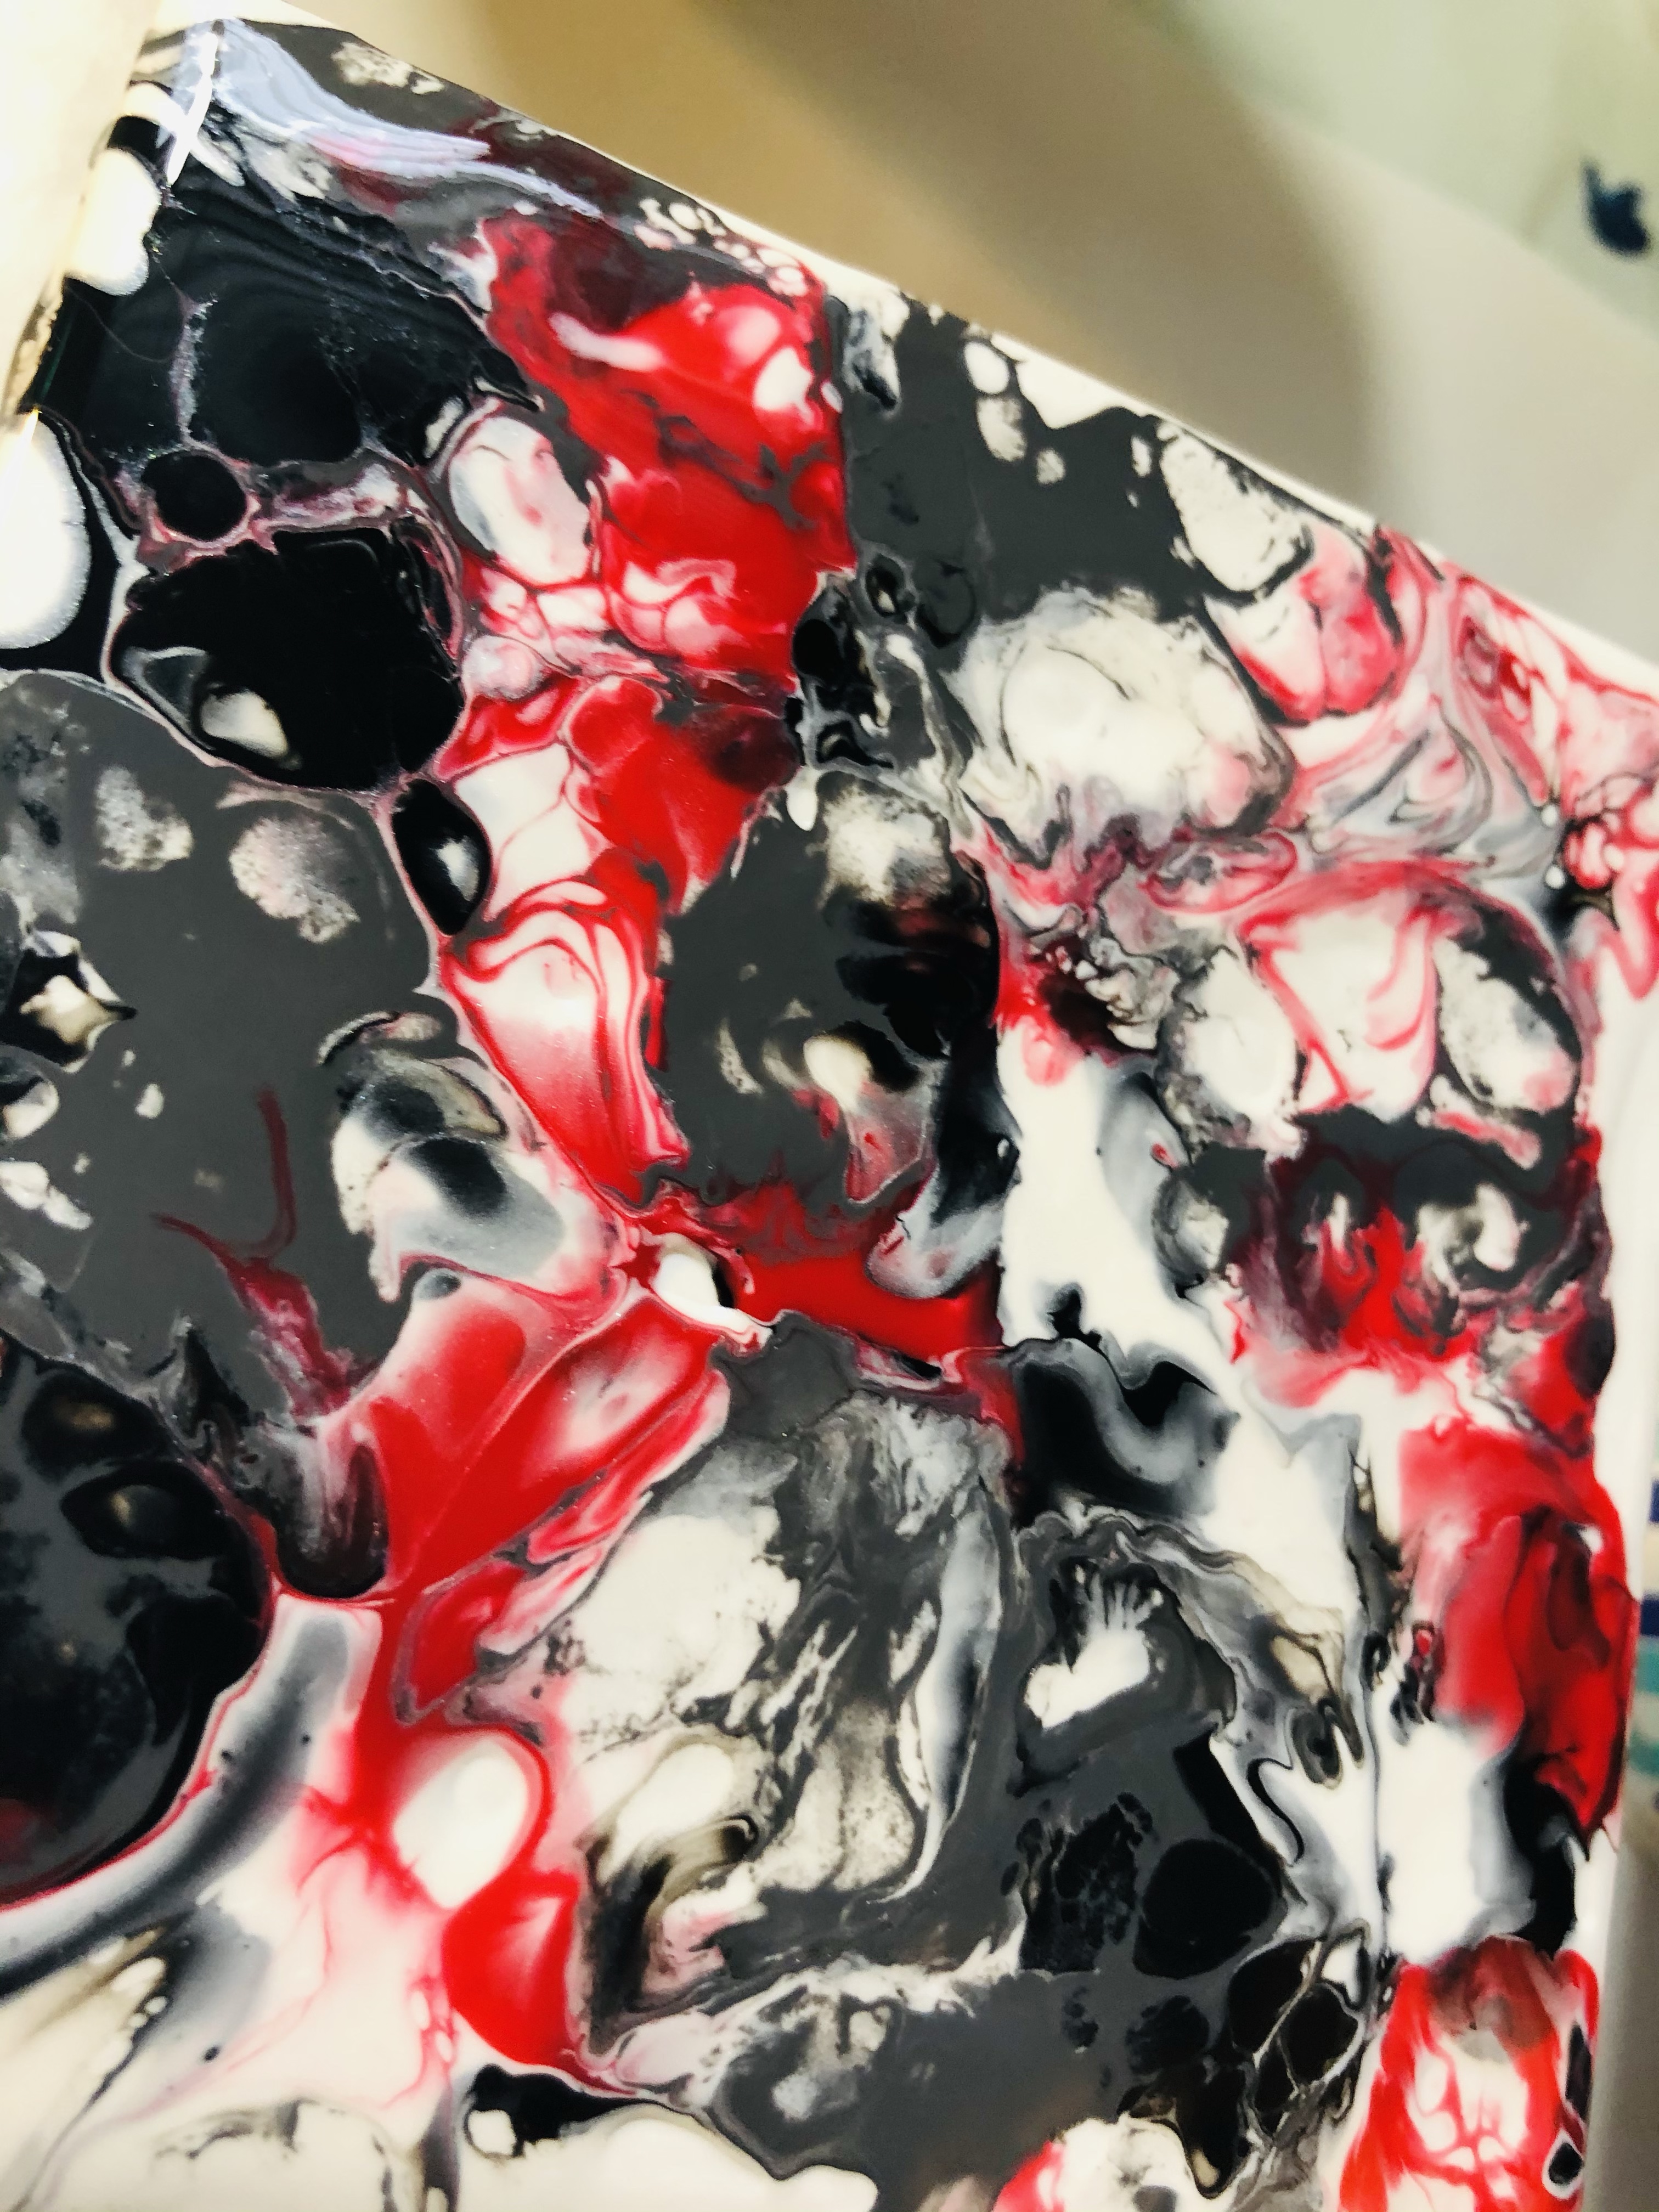
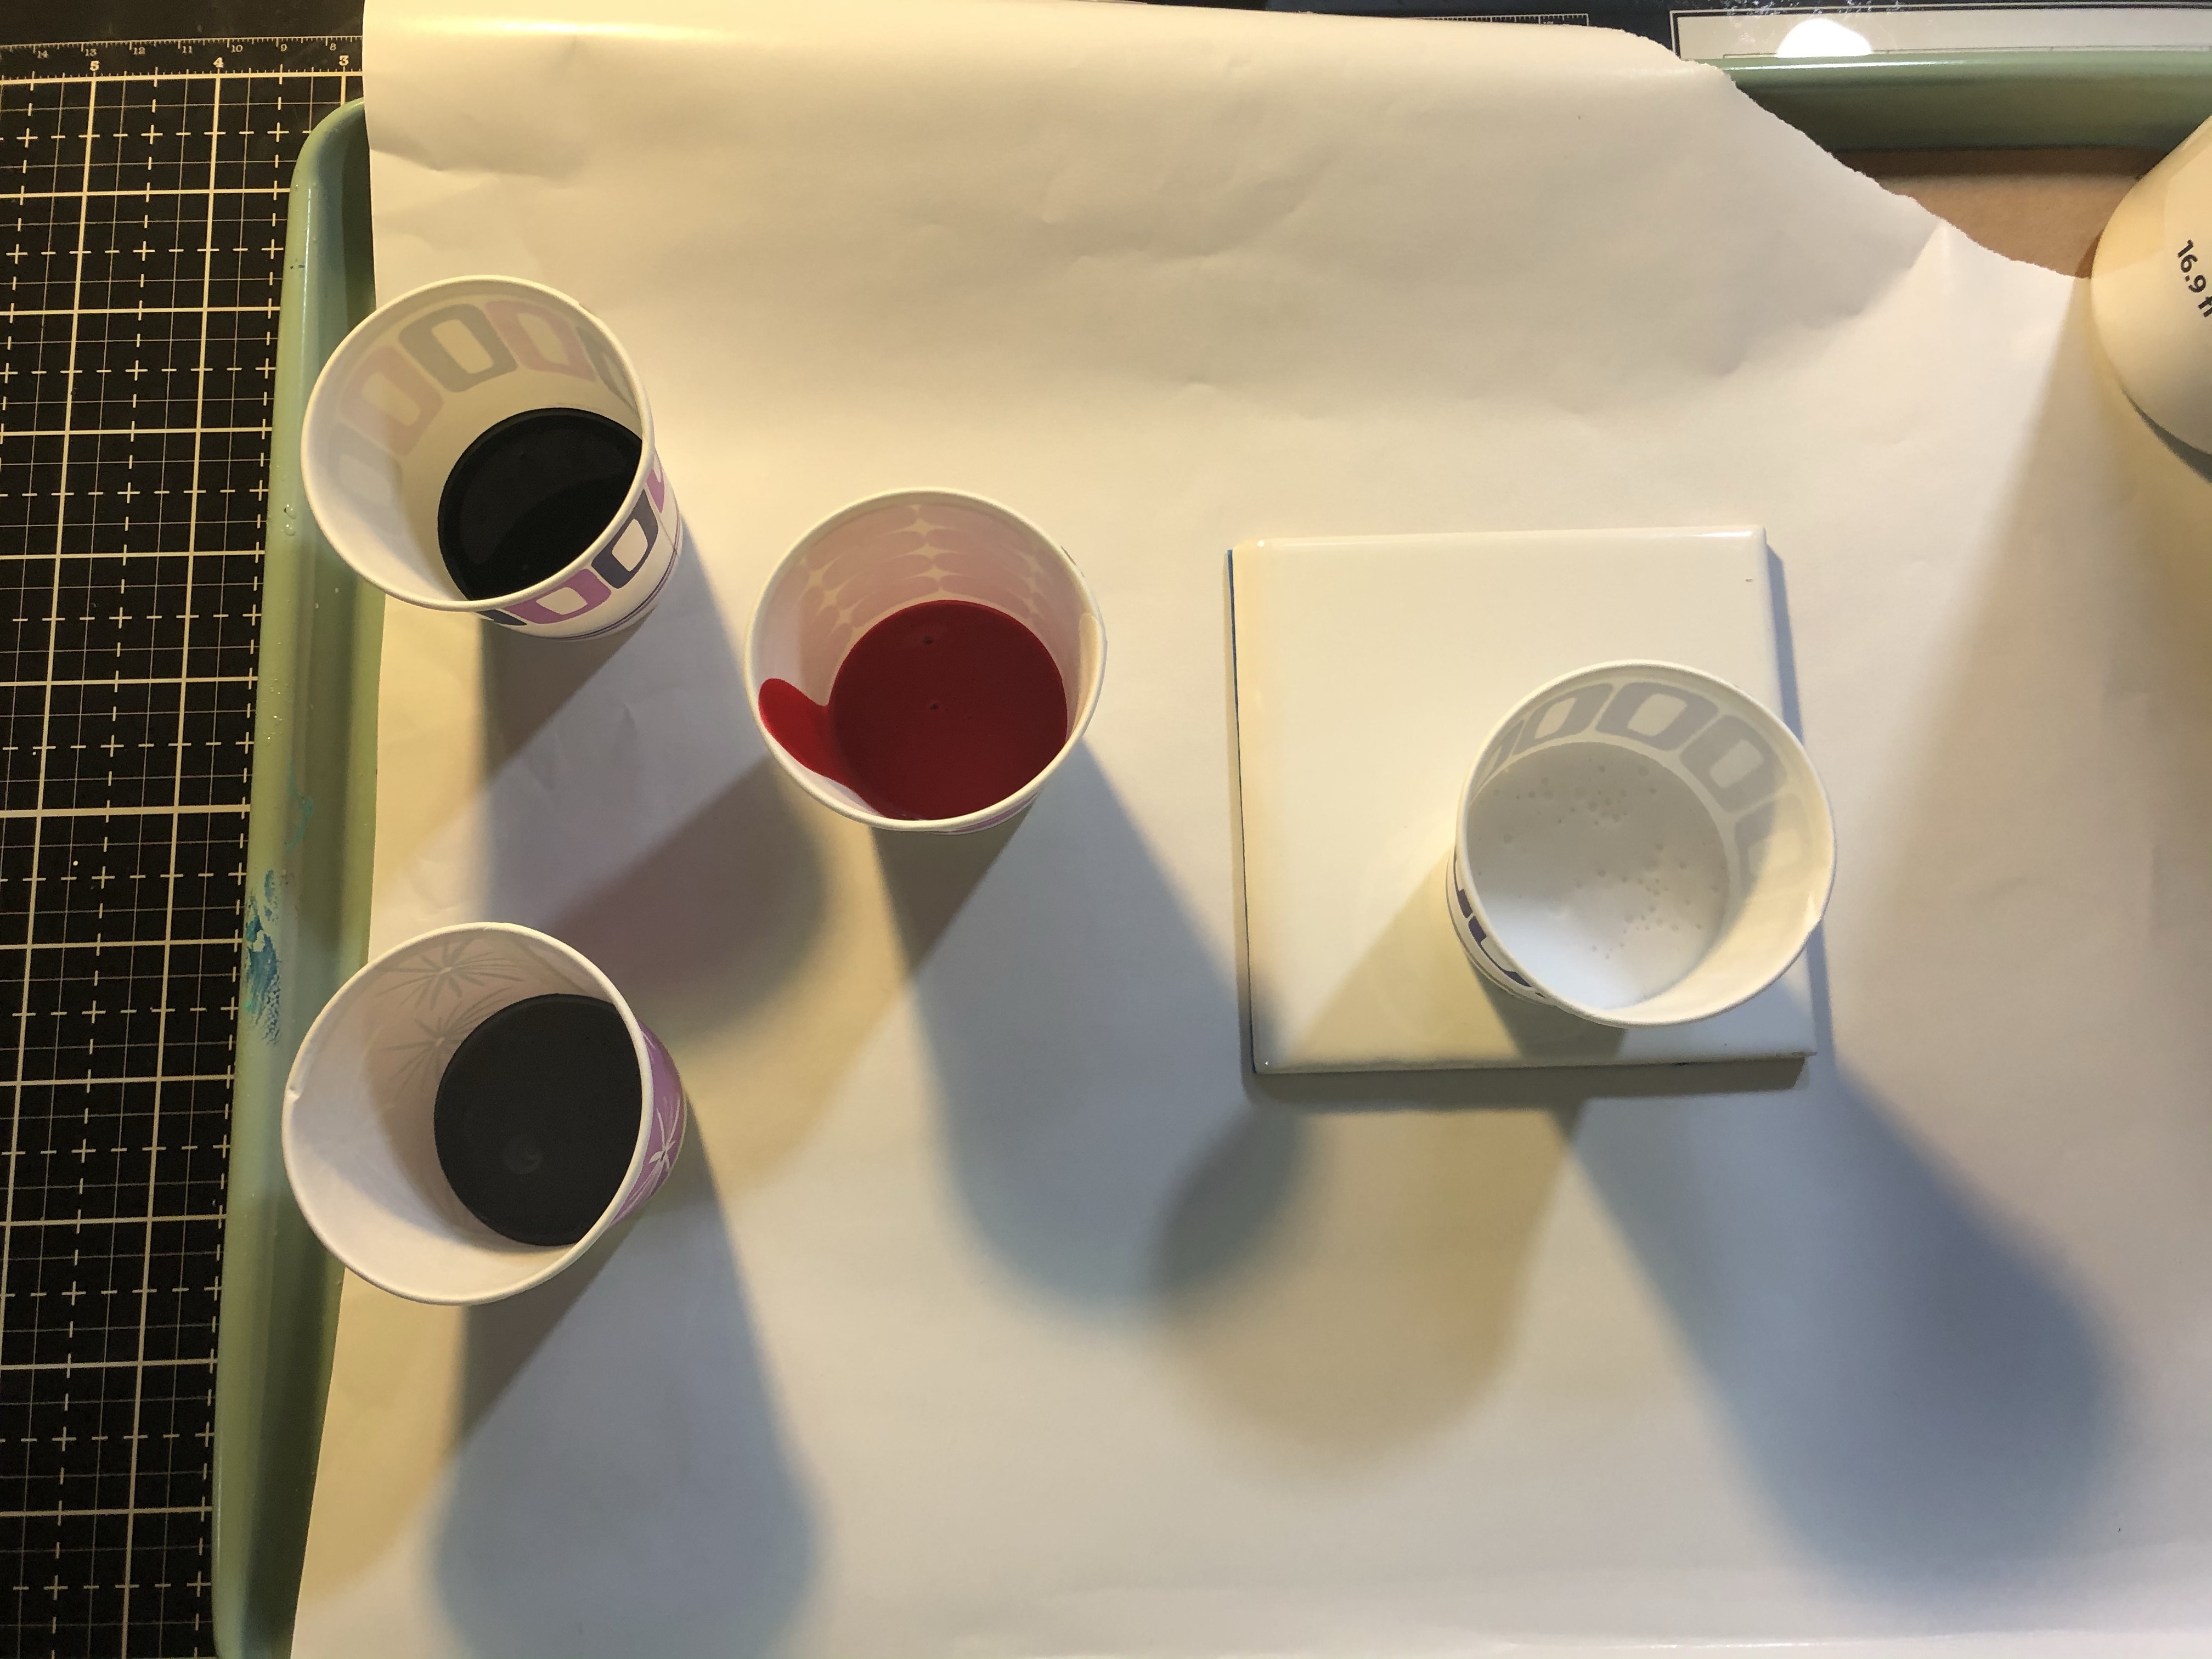
Hello my crafty friends! I thought today since it’s raining here in my little town. I decided to make some coasters. I use different colors out of my color zone, so I went with black, gray, red and white. I’ll list all the products I use down below.
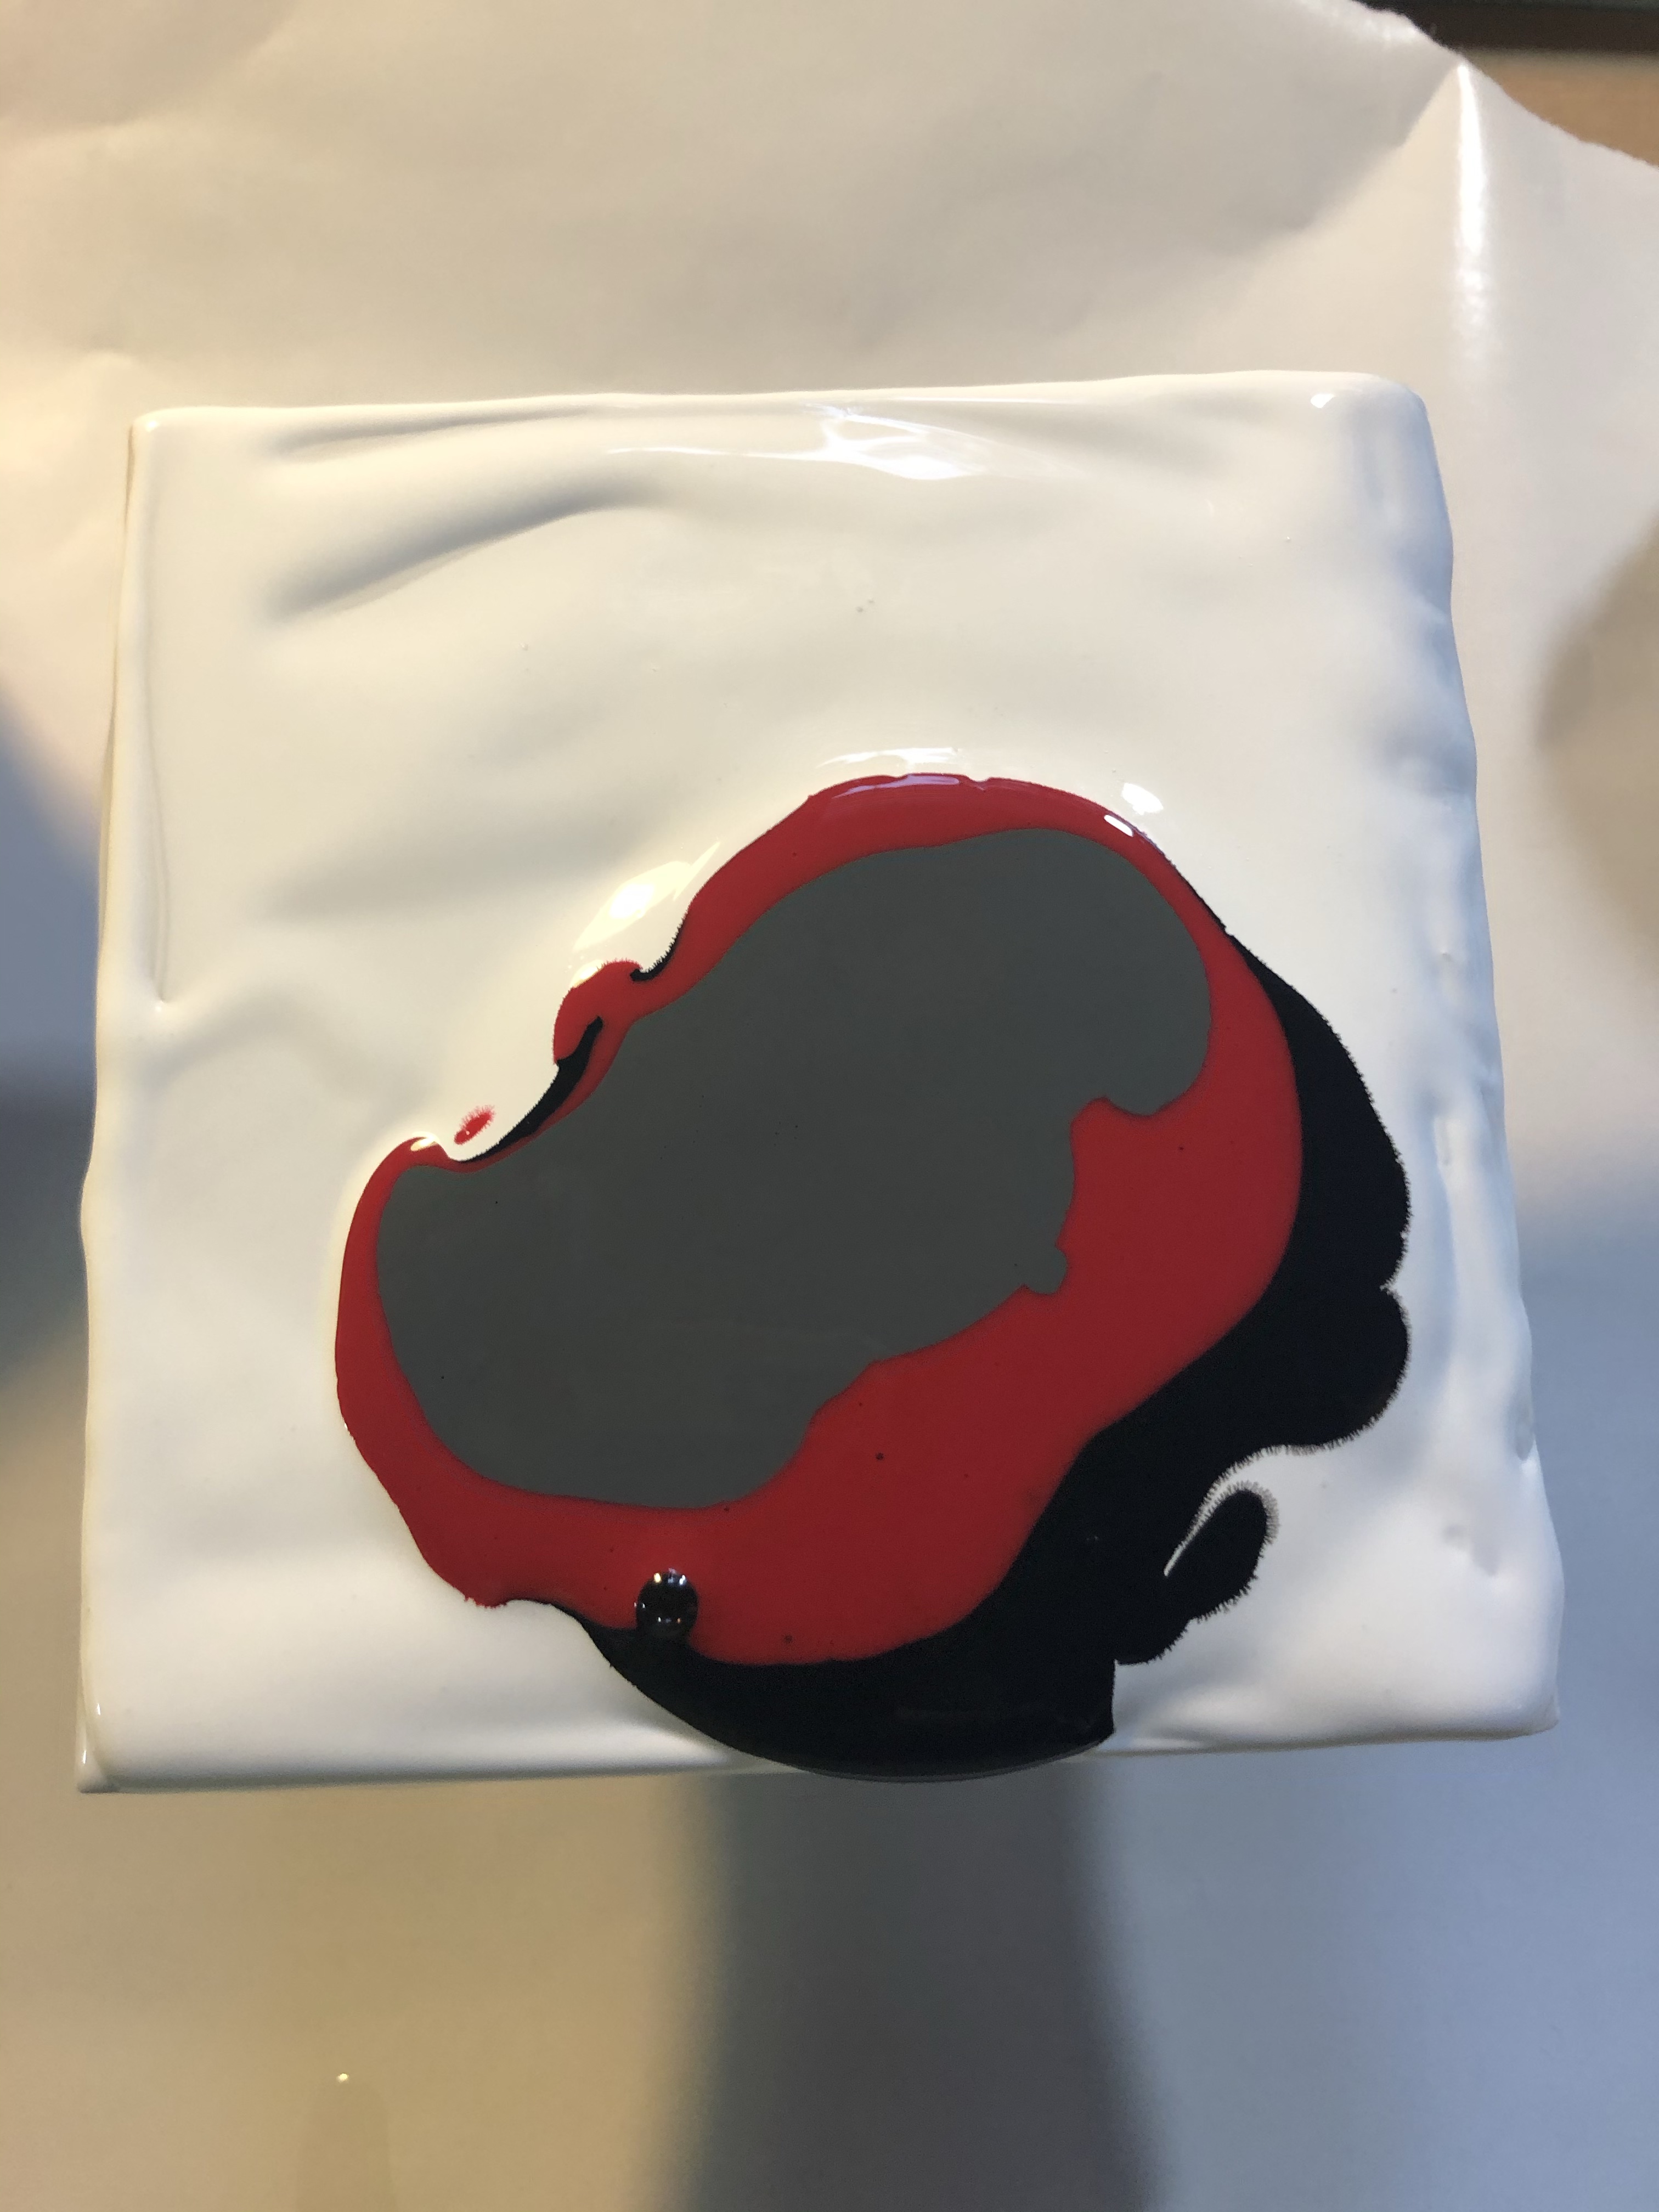
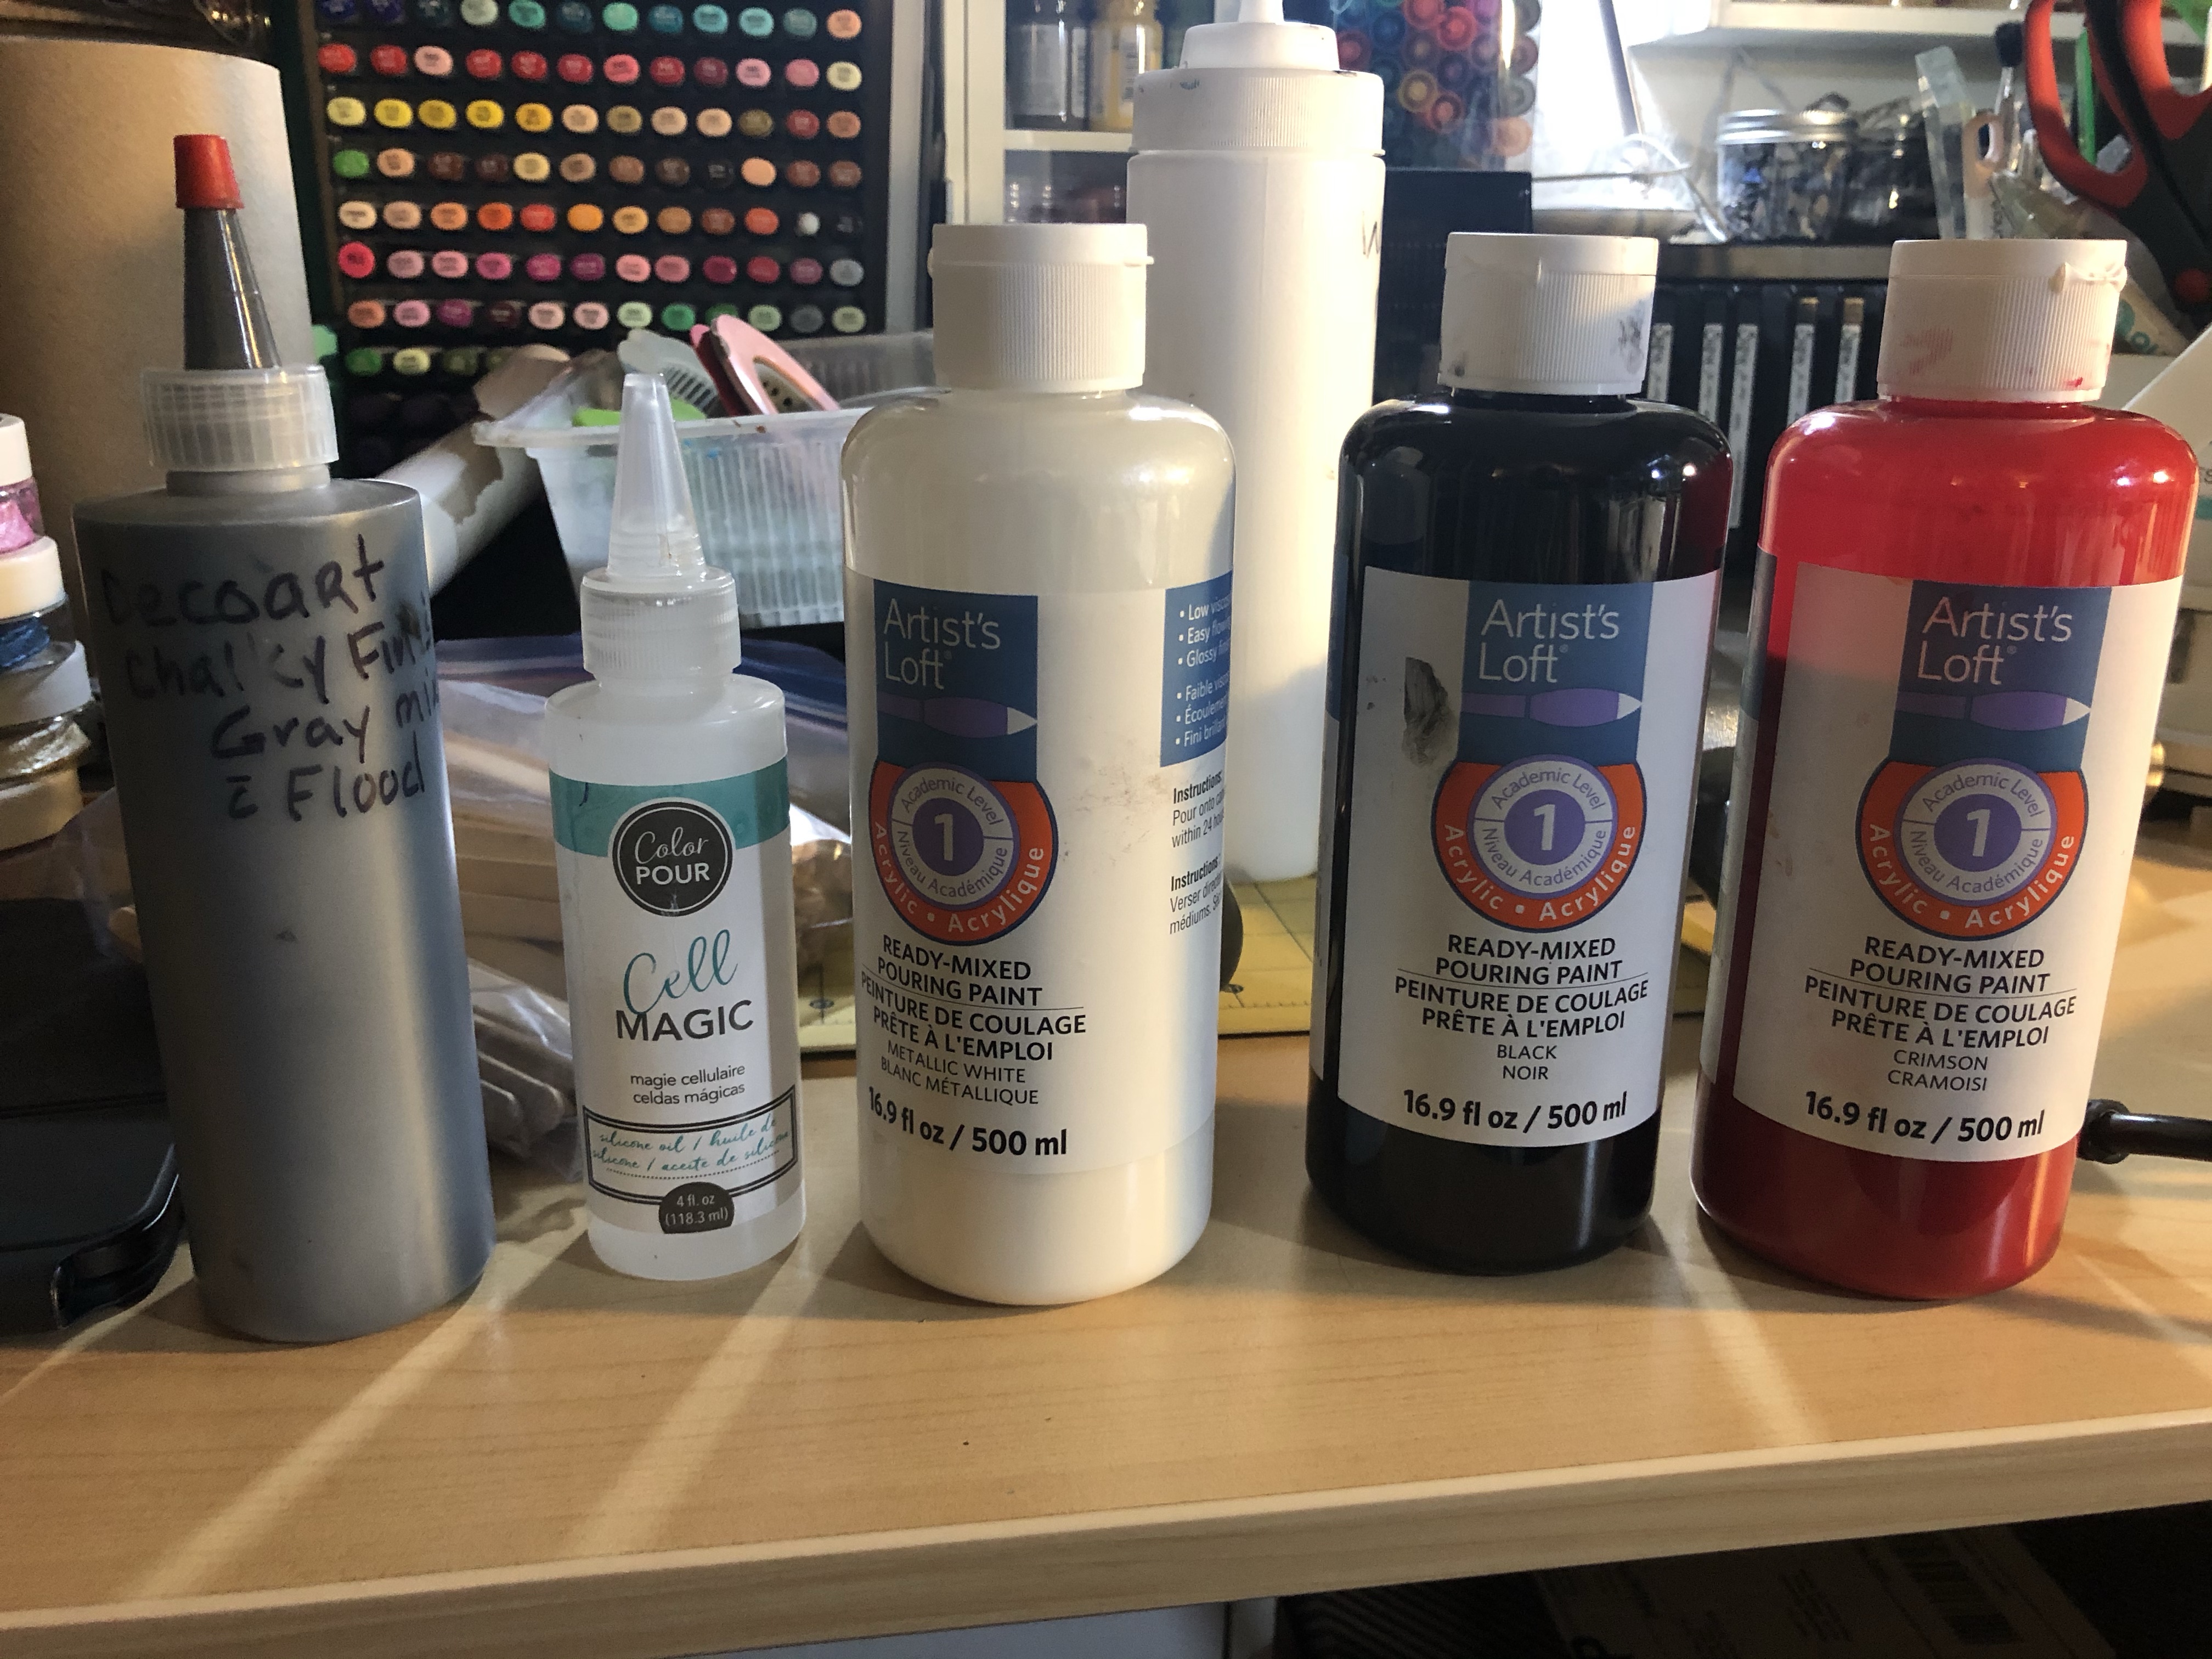
I used Artist’s Loft Acrylic ready mixed pouring paint. Black, Red, Gray and metallic white. I added the Cell magic to only black, red and gray. I first pour the metallic white down. Then I poured the black, red and the gray, then I blew through a straw to move the paint around. Heat gun also to get ready of bubbles. Now I’ll set aside to dry. Then once dry I cover with resin.
Thank you for checking out my blog. Have a wonderful day.
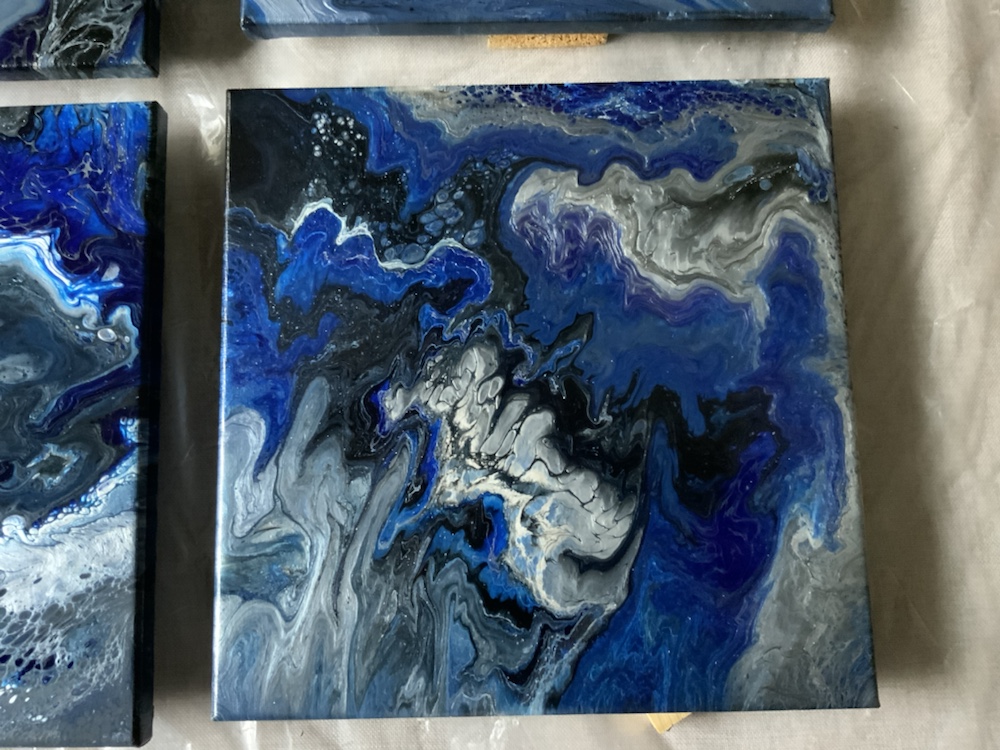
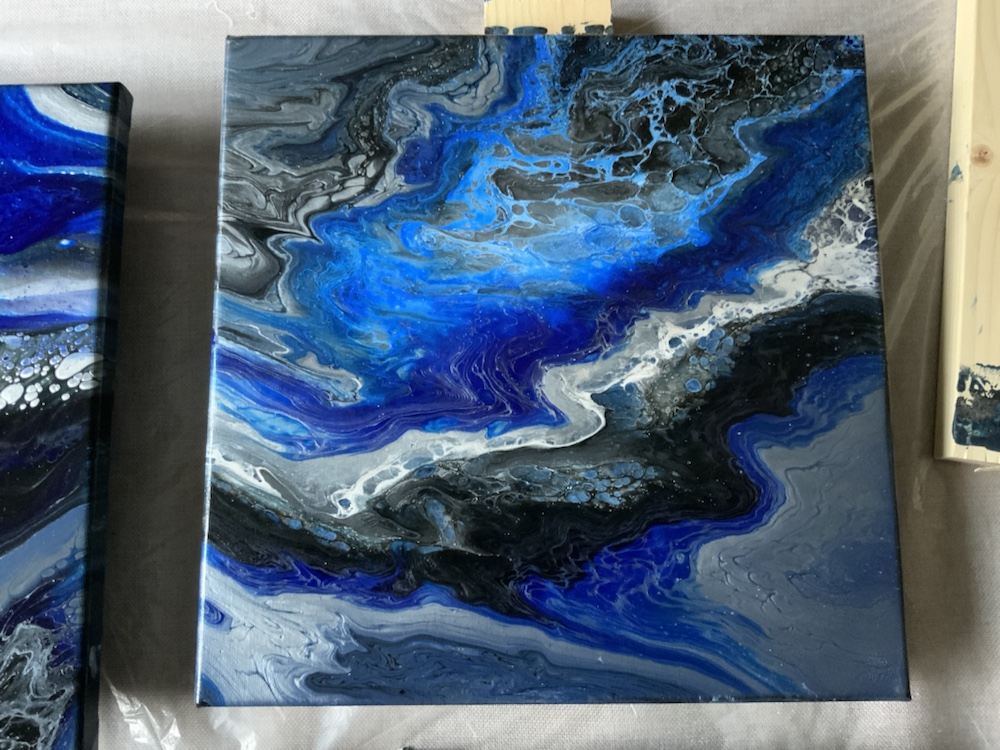
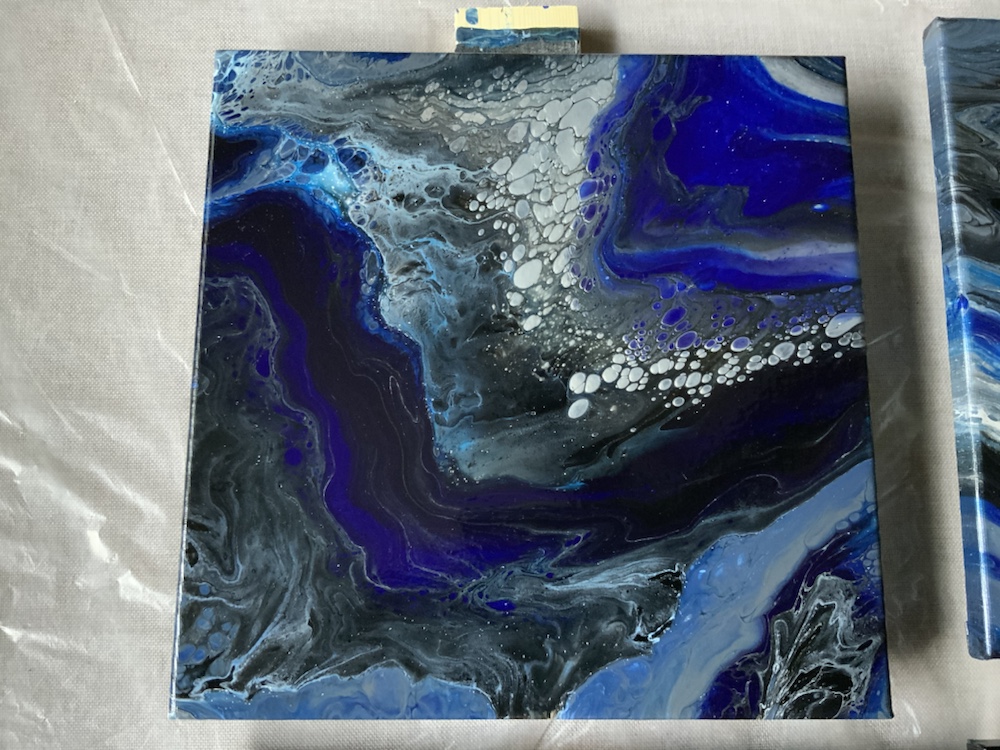
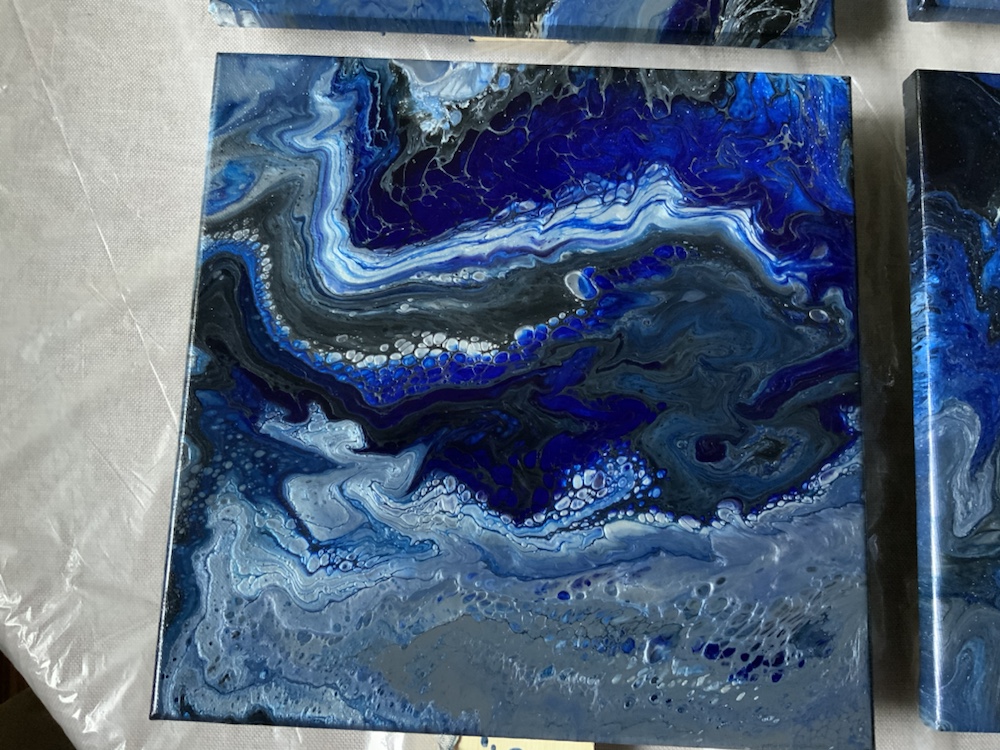
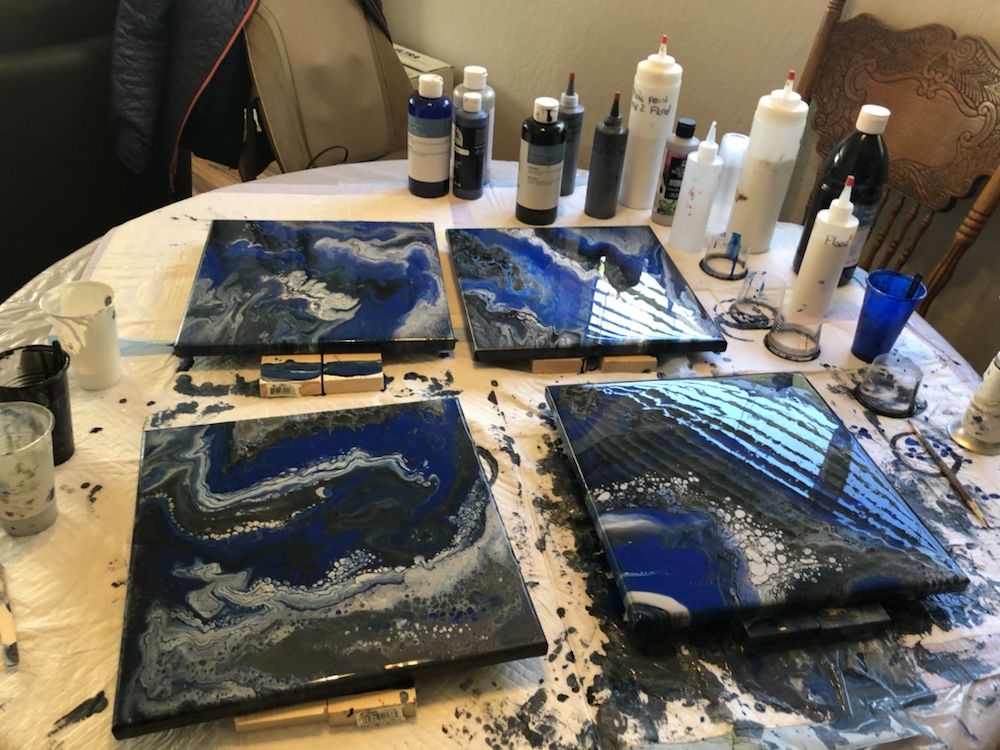
Hello my crafty friends! My daughter ask if I can do a open cup pour with acrylic paints. Of course I said yes, she wanted the colors of Amador High School where she graduated from. Also my Mother and grandson graduated from the same school. So when I was making theses for her I thought of them too. I’ll list all products down bellow……
Amador High School Colors
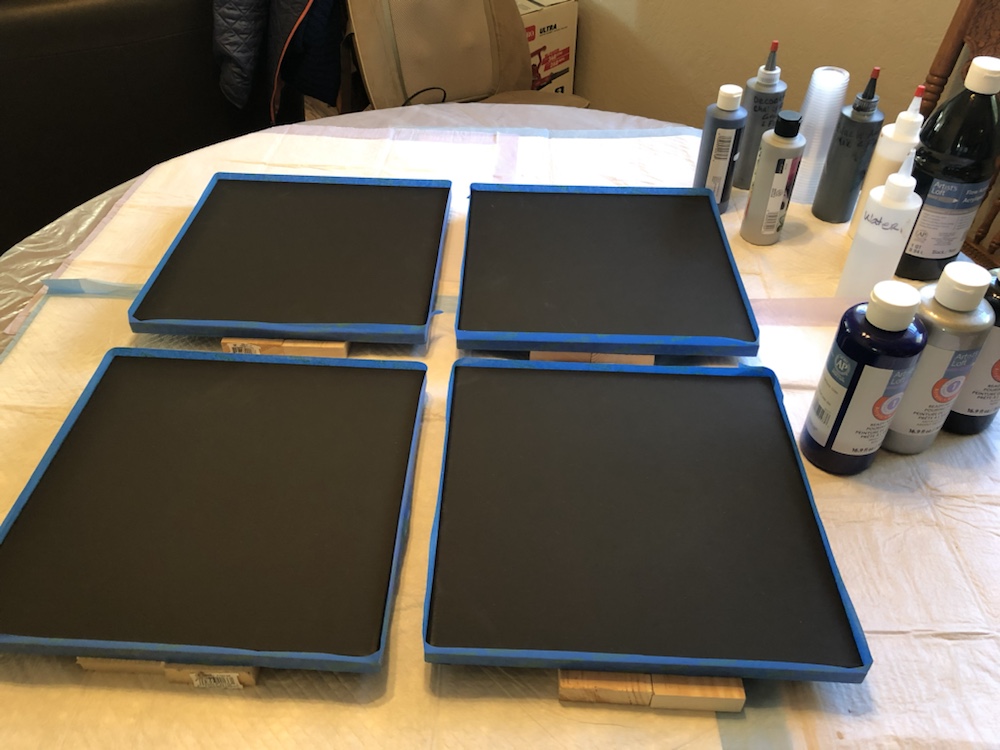
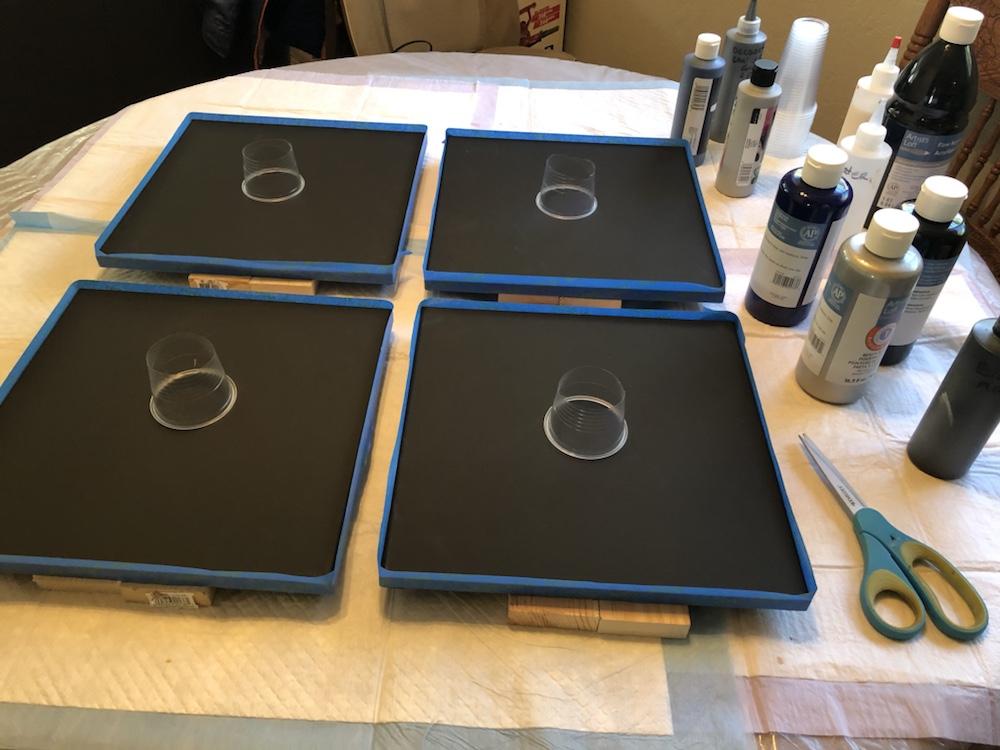
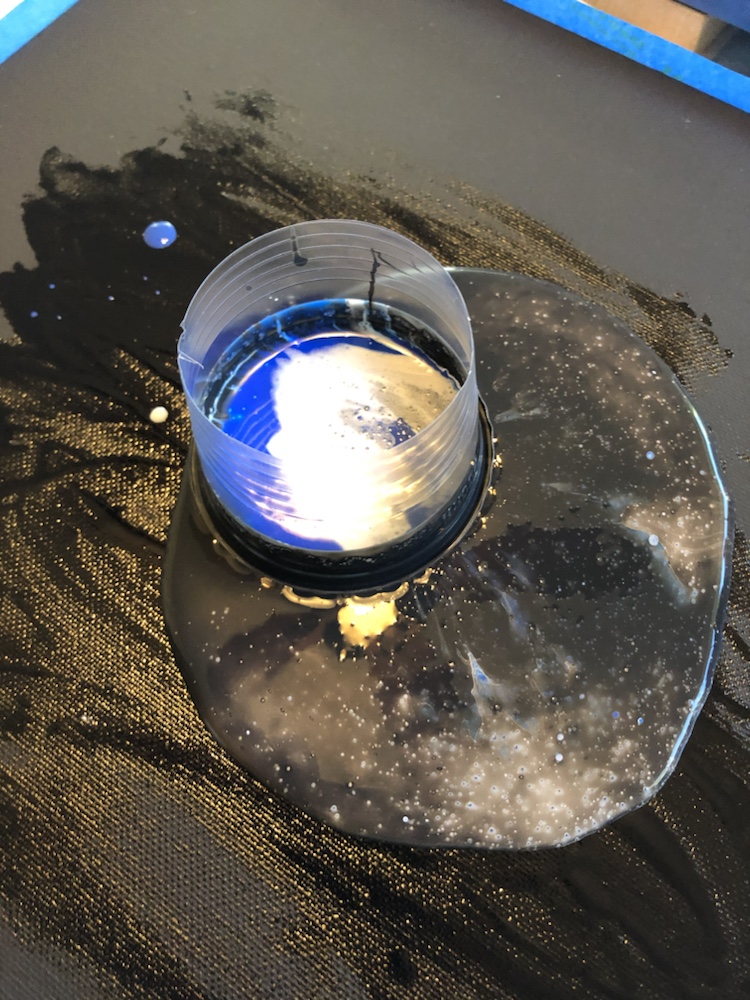
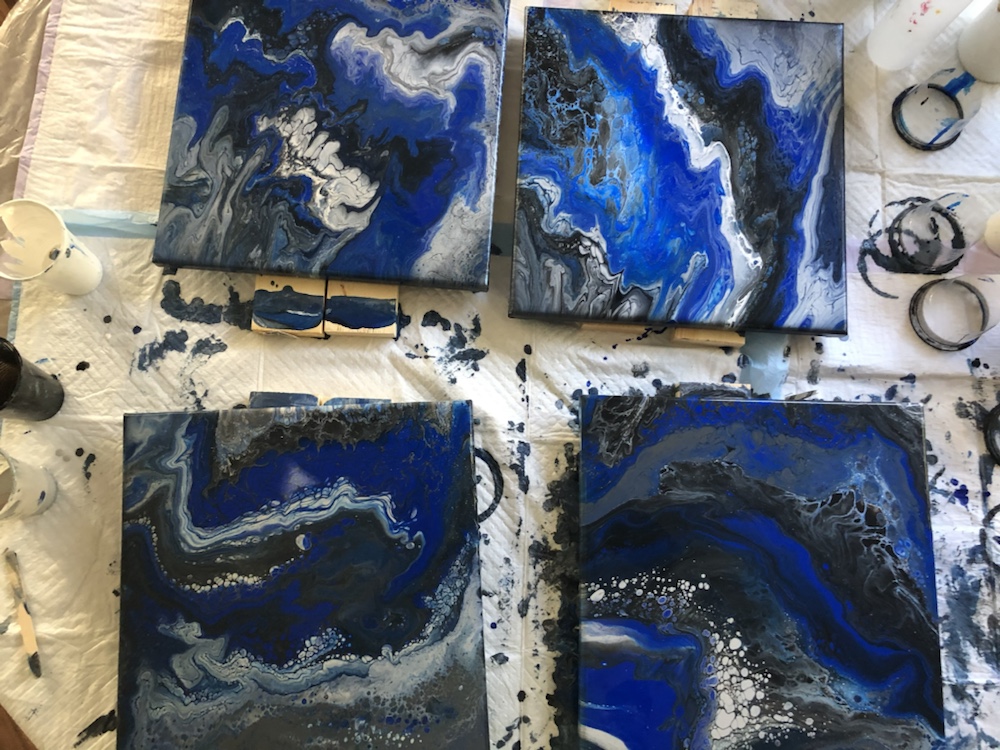
Prep everything first, used four 14×14 black canvas, tape around canvas and cut your cups to size. Pick your colors……
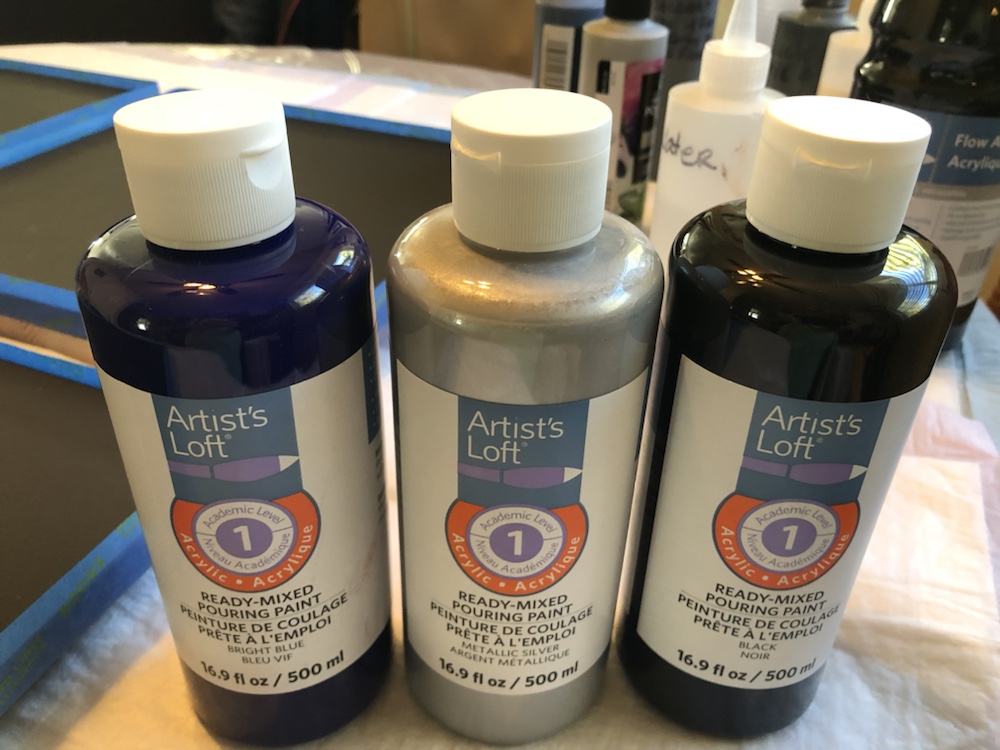
Artists Loft Acrylic paint ready mix pouring paint bright blue, metallic silver, black and white. Also decided to add a couple more colors Apple Barrel True Navy and Gray. I mix my other colors with Golden Color Pouring Medium Gloss.
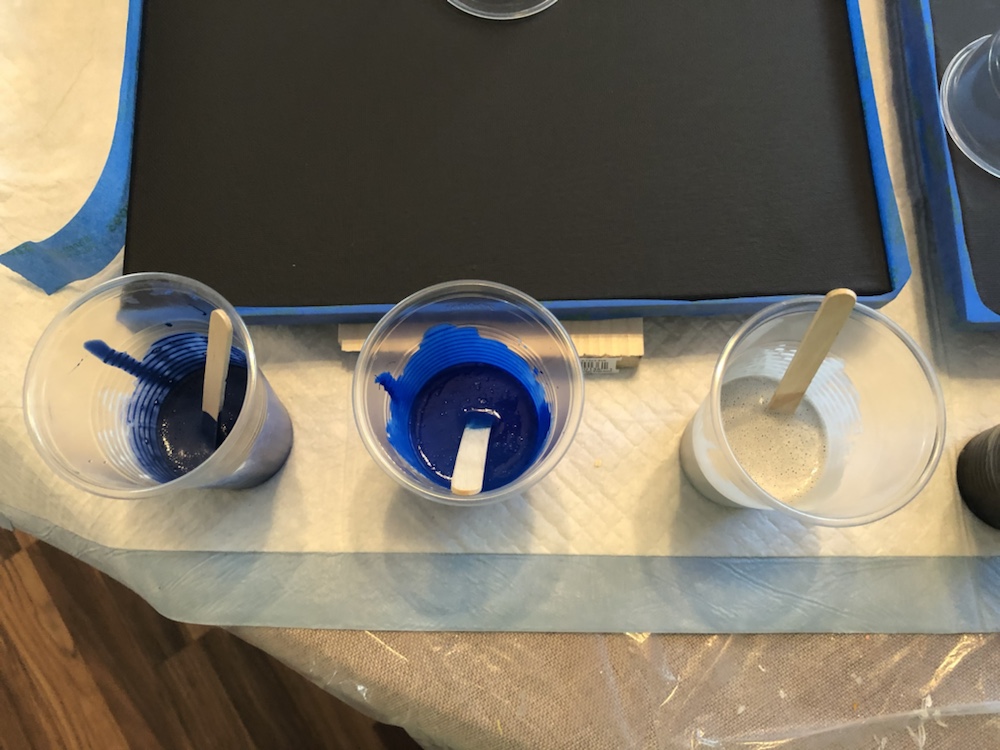
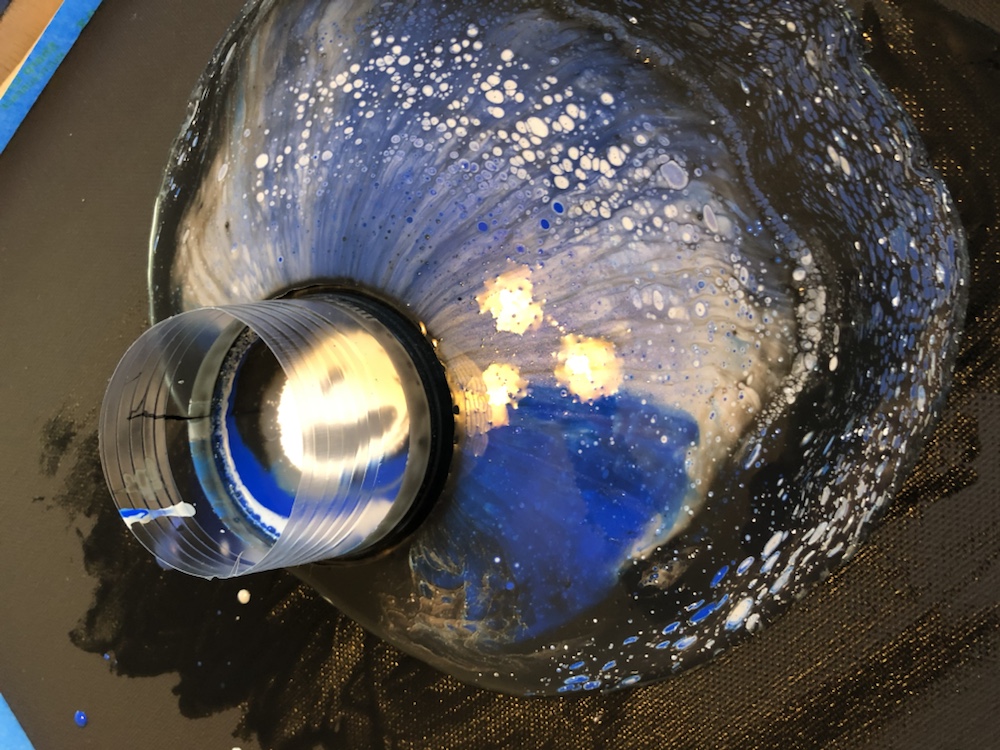
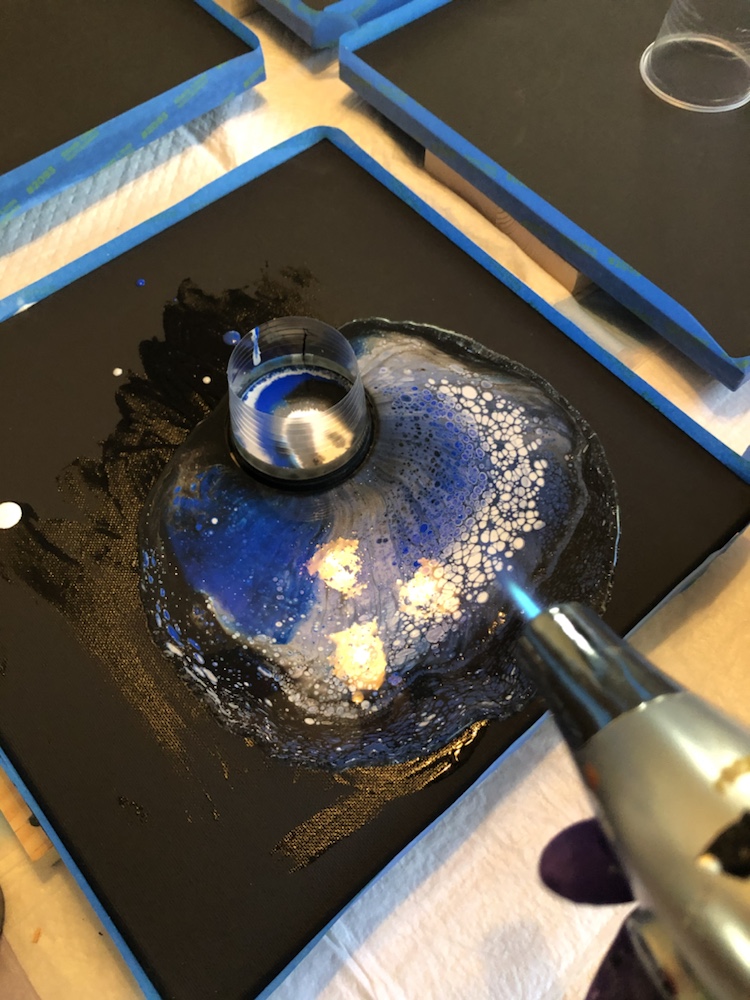
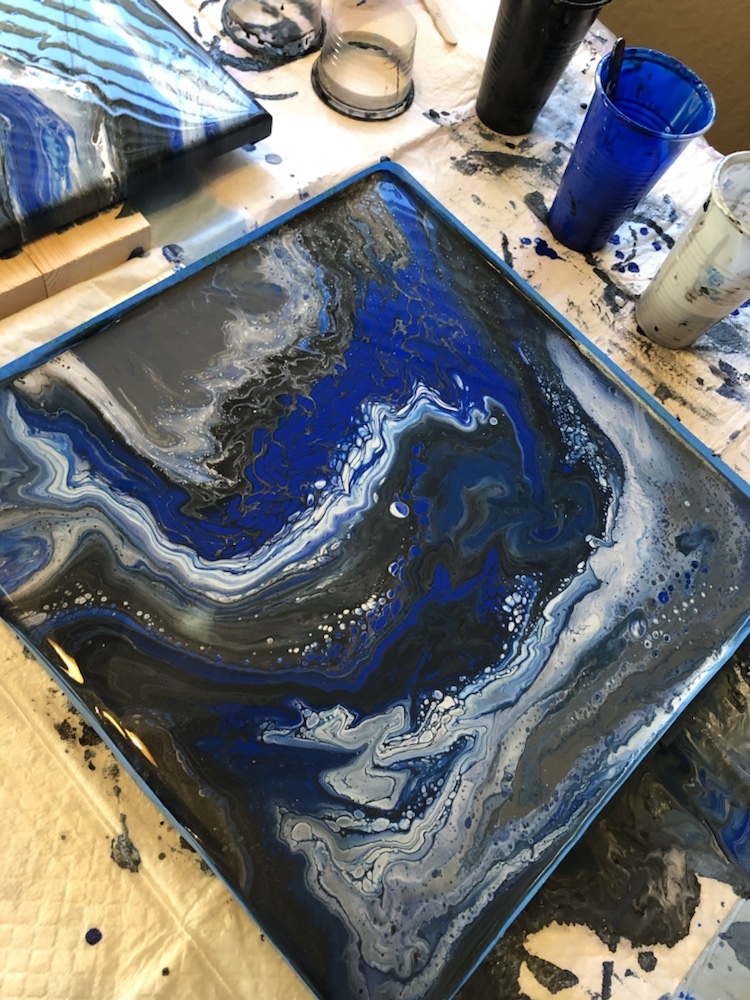
Started pouring with black and slowly pouring each color into the cup. Watch if flow out of the bottom. Beautiful! Took a torch gun and create some cells.
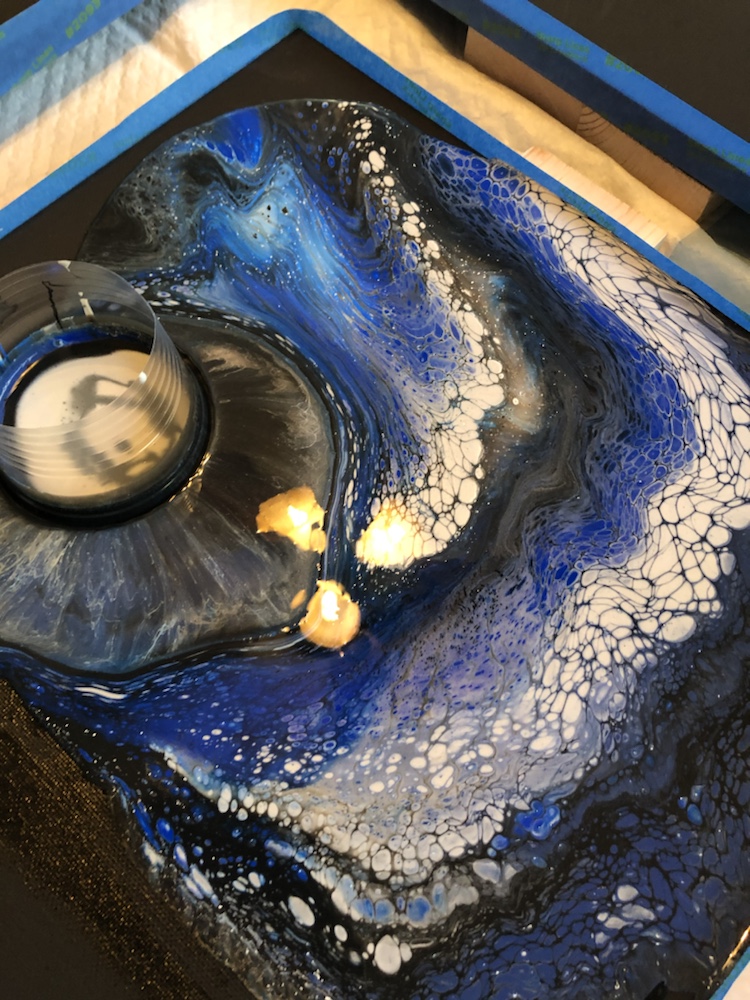
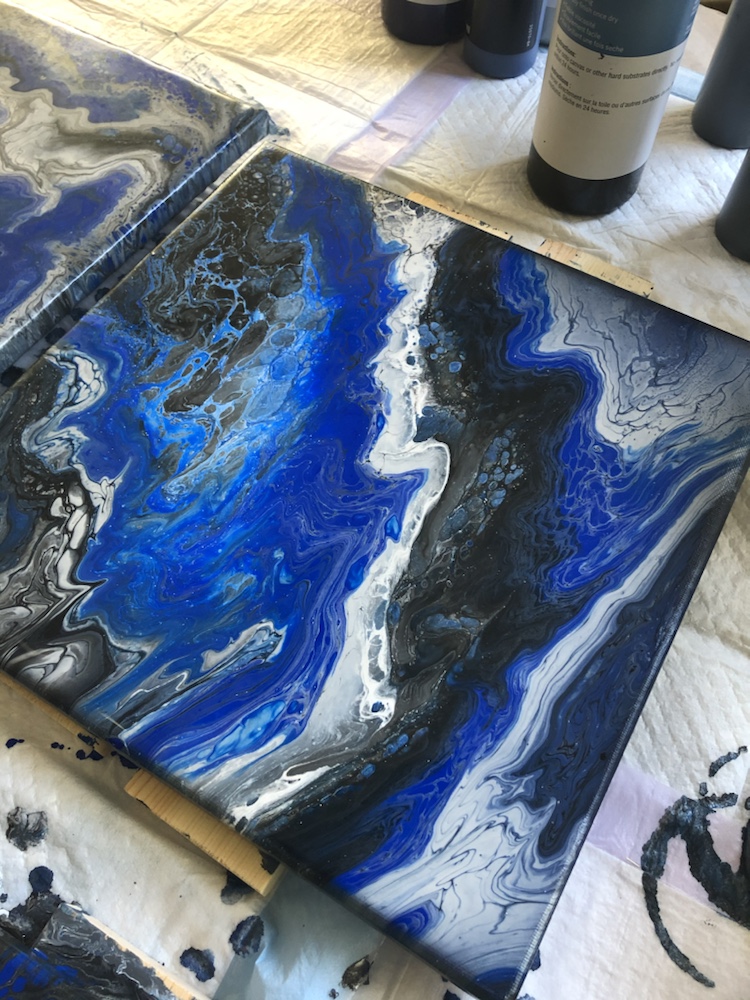
Remove cup and then move your canvas around slowly once cover completely take tape off and watch paints flow over canvas. Then take torch gun again and pop any bubbles. Continue this process on all four canvas.
Thank you for checking out my blog. Have a wonderful day.


Recent Comments