Hello my crafty friends! It’s beginning to look a lot like Christmas around my home. I’m really enjoying making handmade ornaments this year for my tree. I wanted to share with you guys three that I made today. Let me know what you think and I hope you guys try this at home for your Christmas tree.
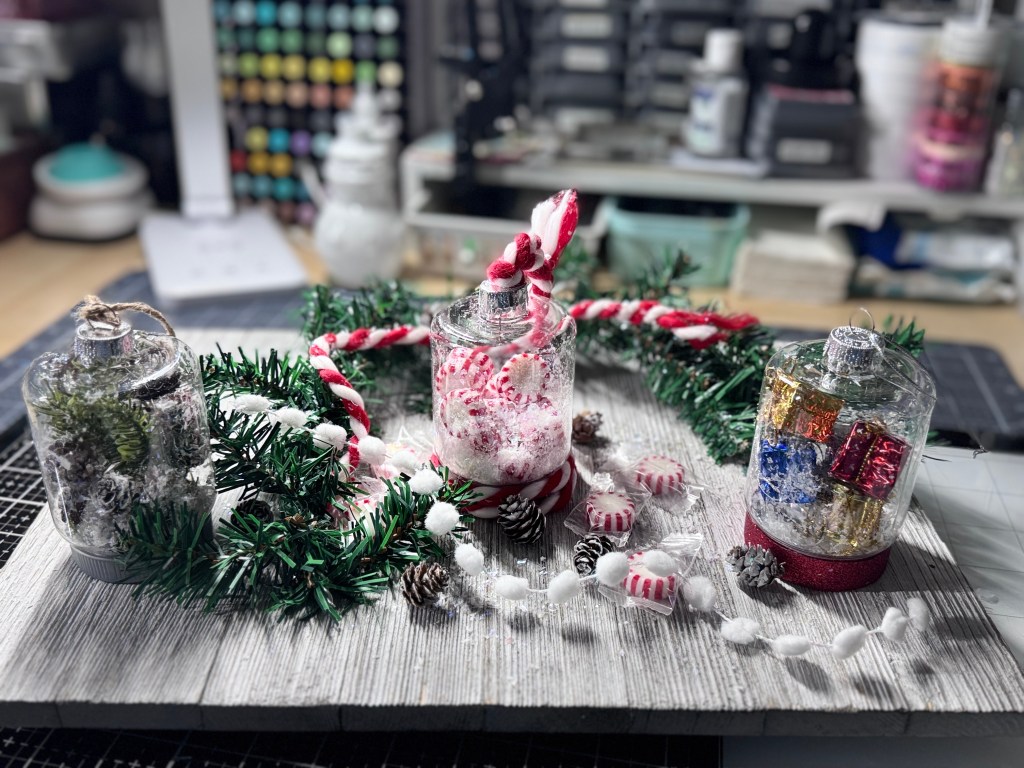
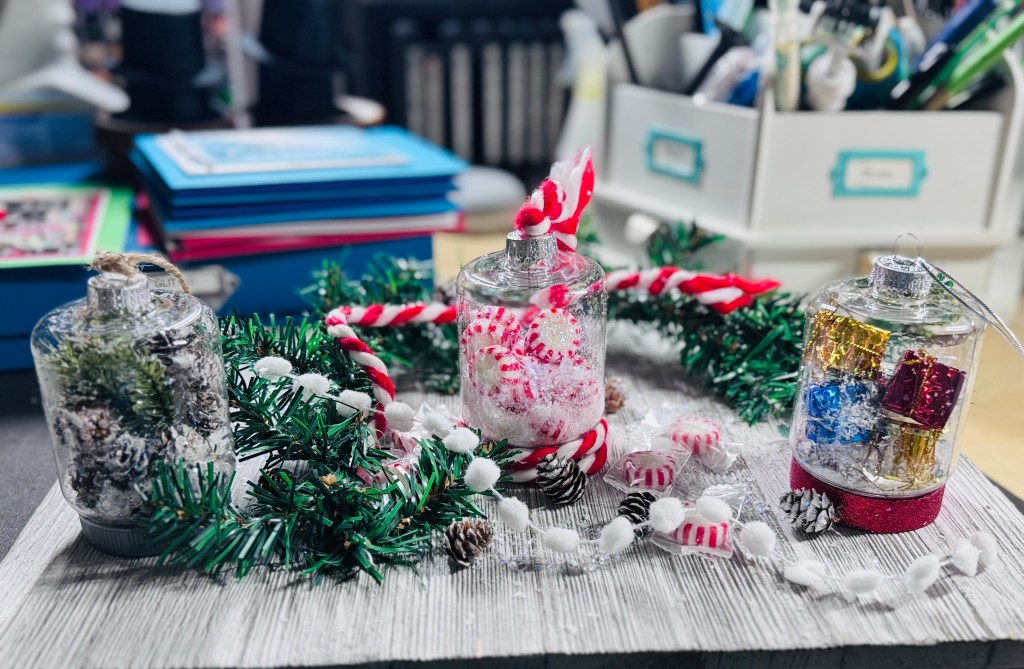
Here are the three I made tonight. One peppermint candy ornament, one gift box ornament and one tree with pinecones in it.

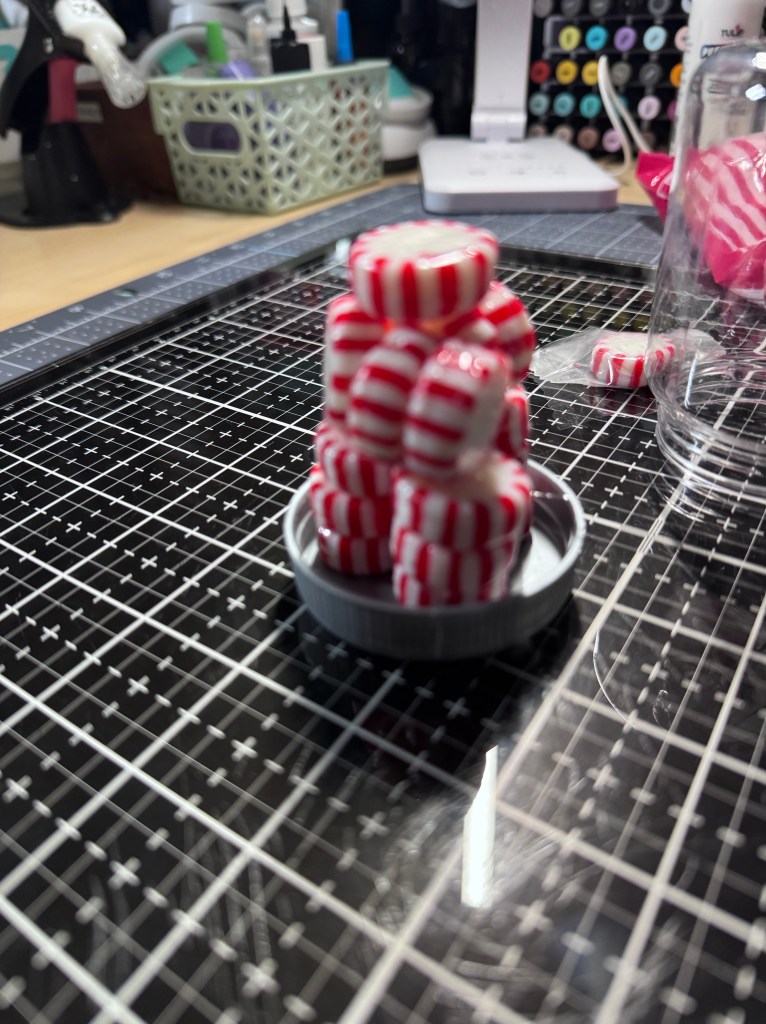

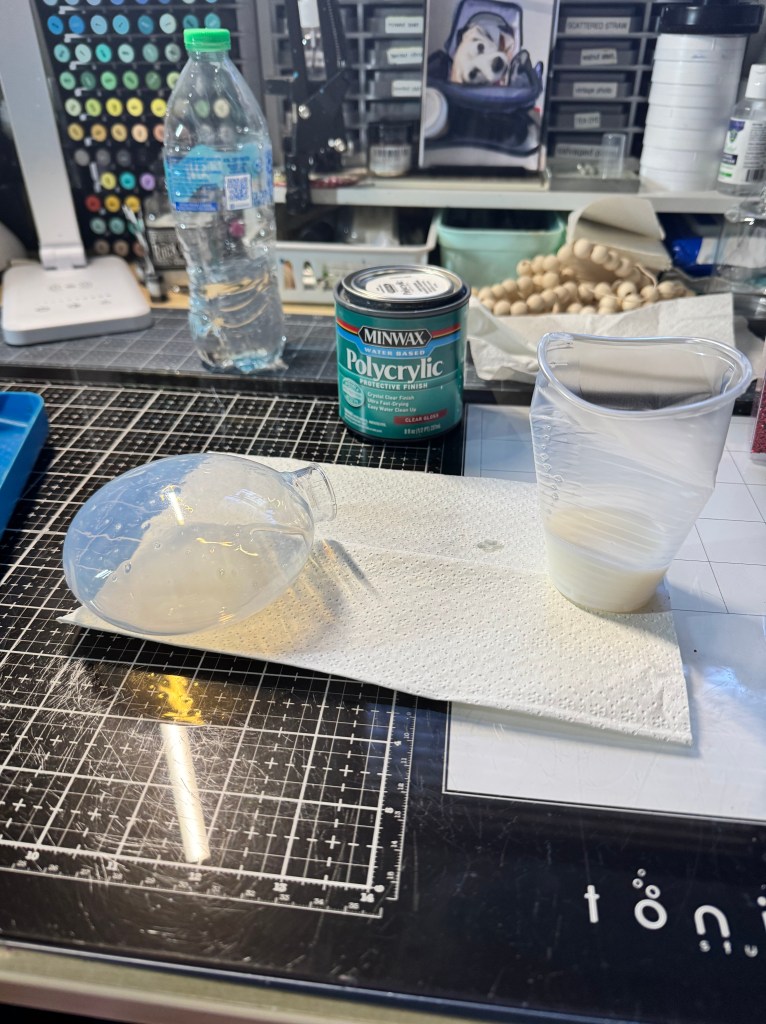
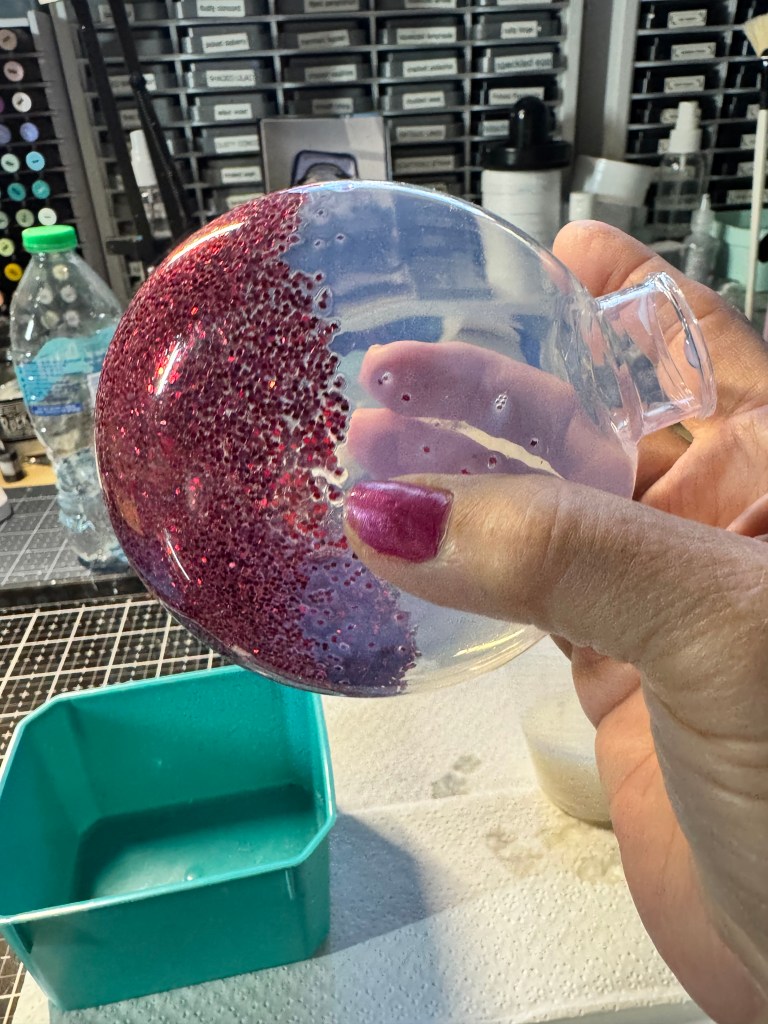
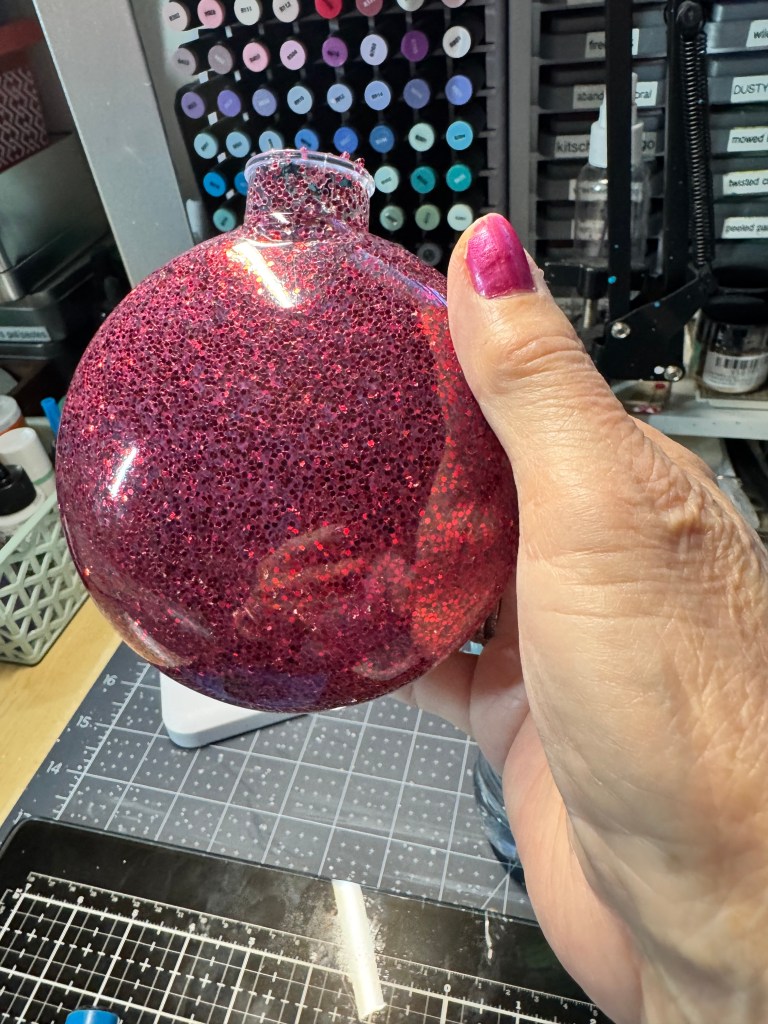
Very simple just get your ornaments open it up get some of your peppermint candy. Hot glue them together, stack the way you want them in the ornament. Then slip it in the ornament screw it on and add snow from the top into the ornament, then take your ribbon that you want use and wrap it around the way you would like it. This is how I did mine and I really love the way. It came out cute.
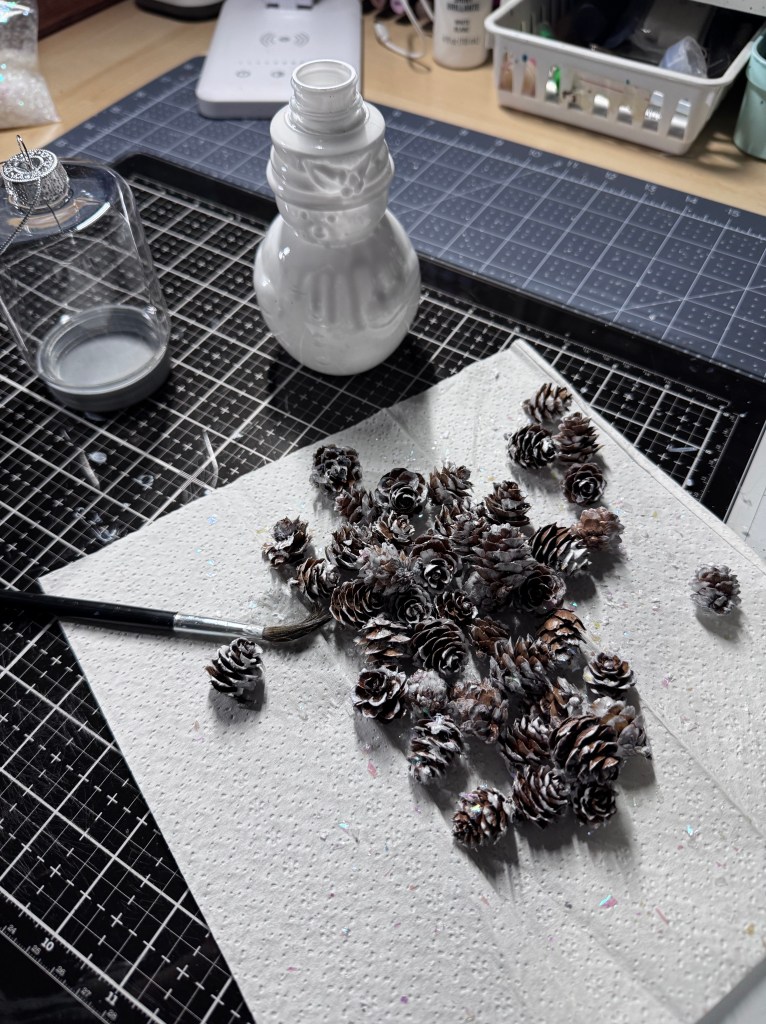

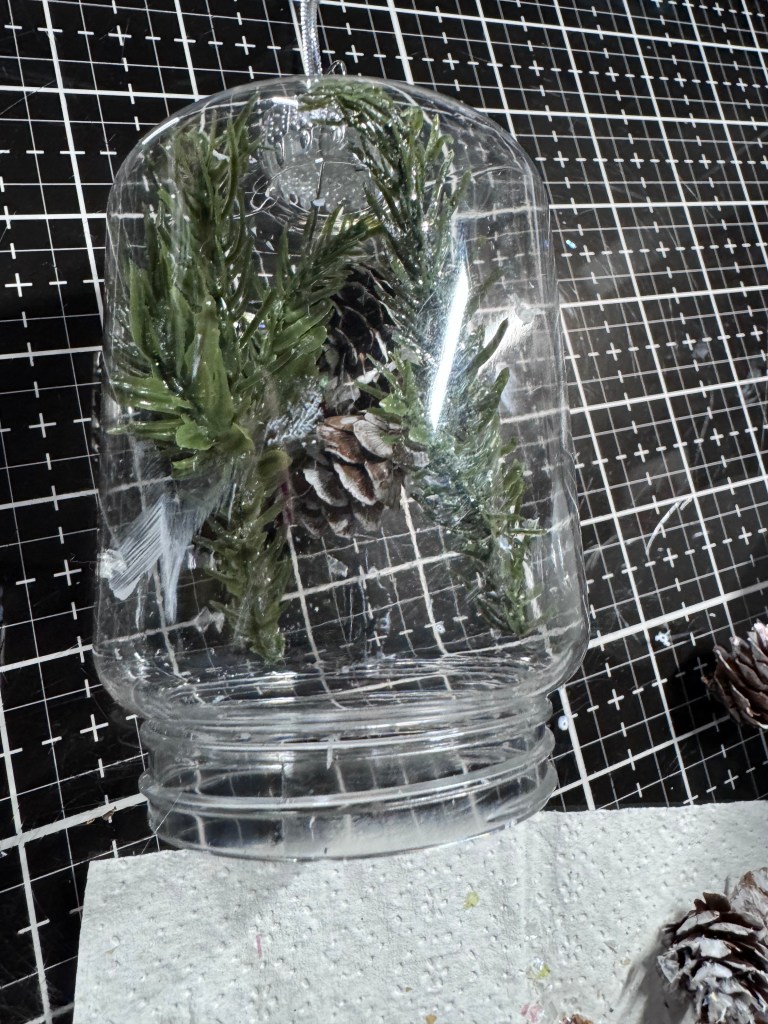
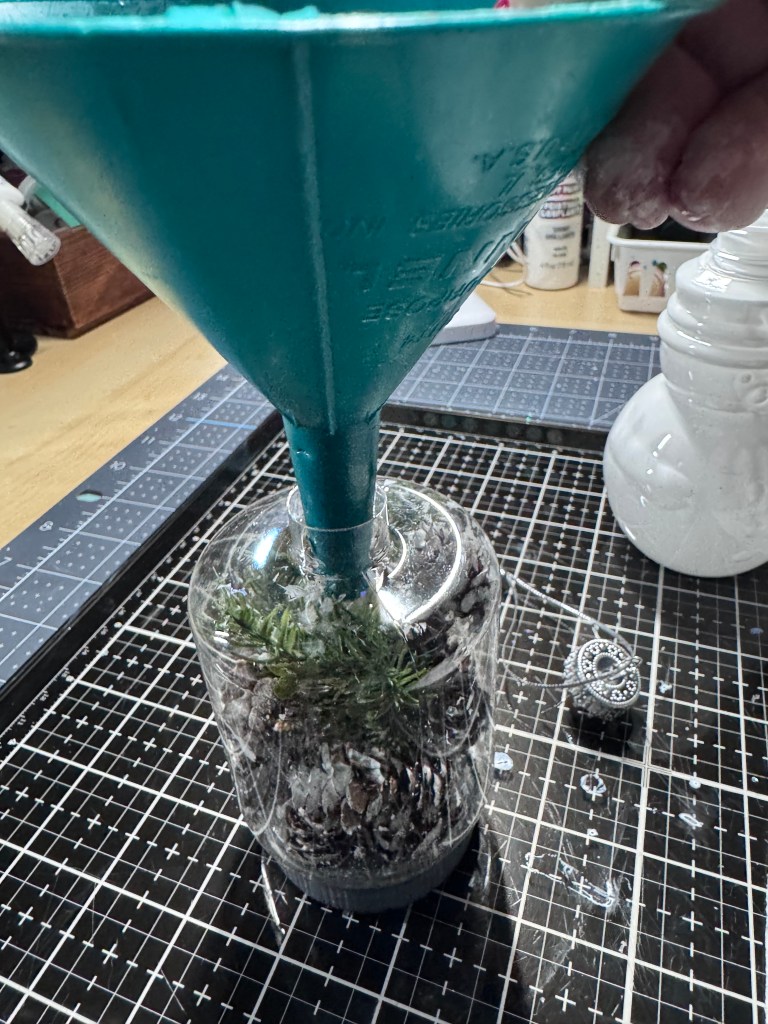
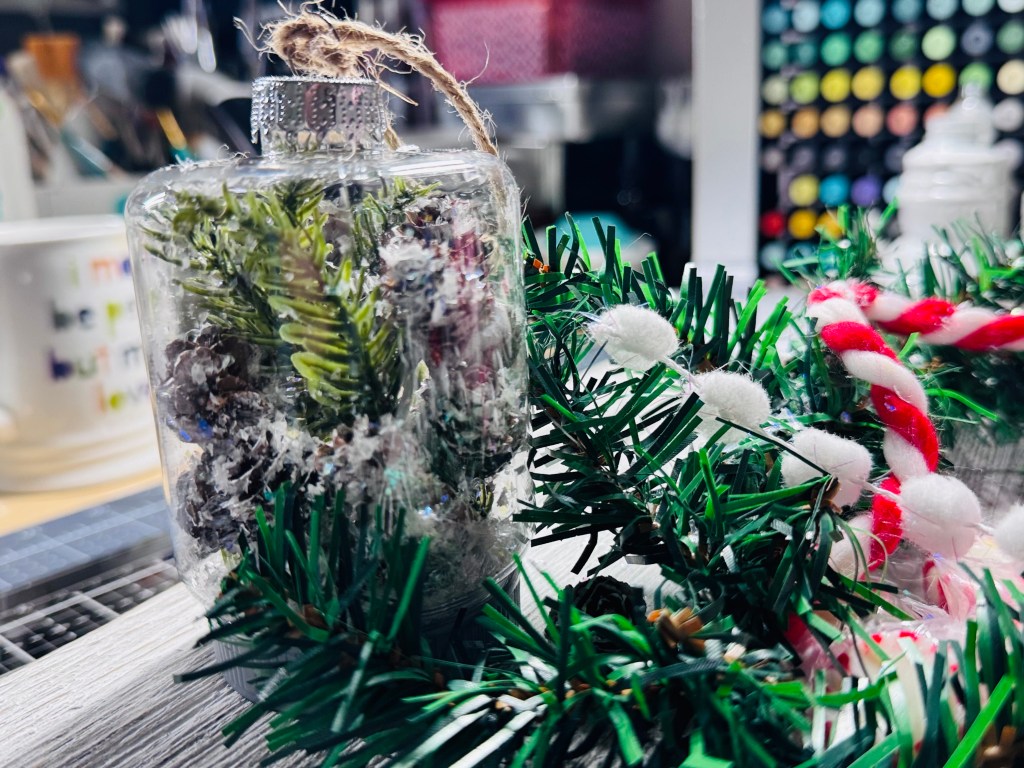
The tree one was very simple with the pine cones. I just took white painted to the pine cones and let them dry. Cut up some Pine-needles and added them to the ornament. Then I put the pine cones in and shook them around and closed it with the lid and dropped some snow in the top of the ornament. Came out adorable.

With the last one I just did the same like the other ones put the little gift boxes into the ornaments, added some snow inside and close it up. Hot glue my red ribbon to wrap around the bottom.
Thank you for checking my website and I appreciate your feed back. Handmade by Simplycraftydesigns.com Annalicia Spannaus


Recent Comments